+ Reply to Thread
Page 8 of 11 FirstFirst ... 6 7 8 9 10 ... LastLast
Results 71 to 80 of 103

Thread: Project: LS1ick68

  1. #71
    Join Date
    Feb 2011
    Location
    Sevierville, TN
    Posts
    293
    I've made a little bit of progress.

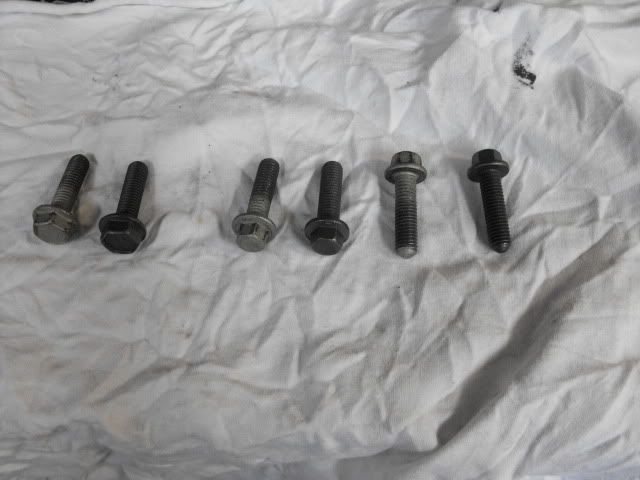
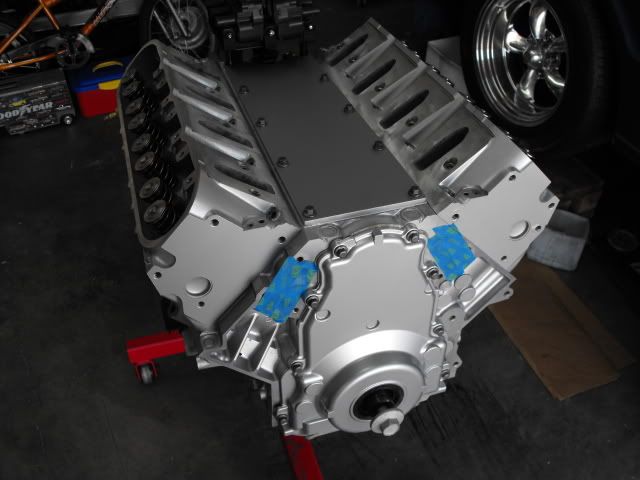
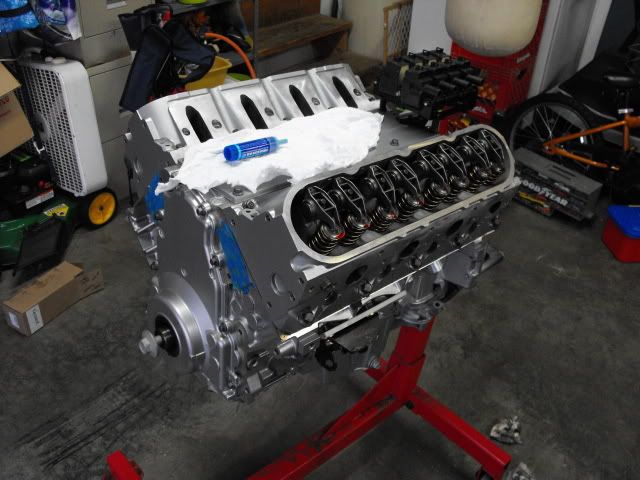
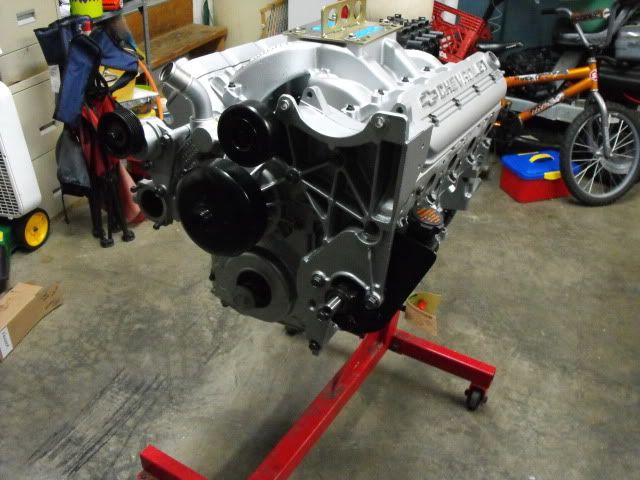
    Got all my accessory and engine bolts nitrided. The nitriding leaves the metal with a durable finish. It's a really dark gray color when done. I got an LS2 timing chain to replace the stock LS1 chain. I also finally assembled the engine last night.


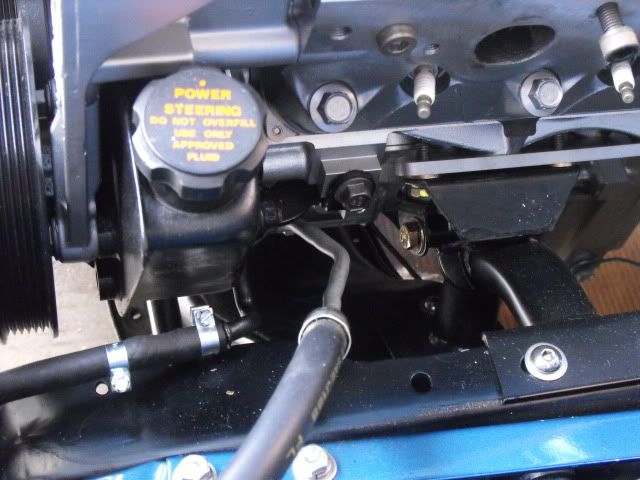
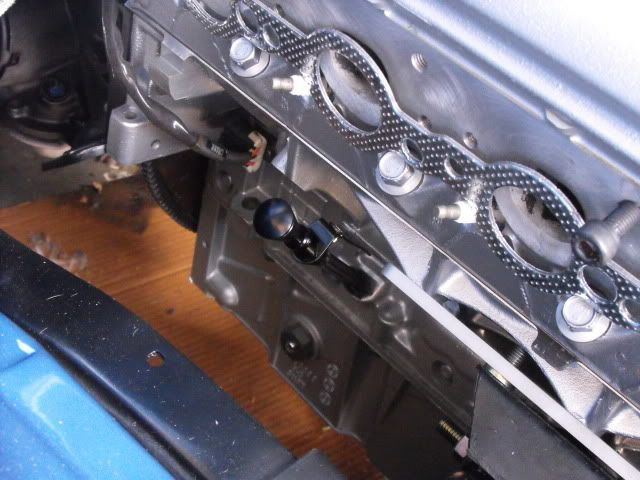
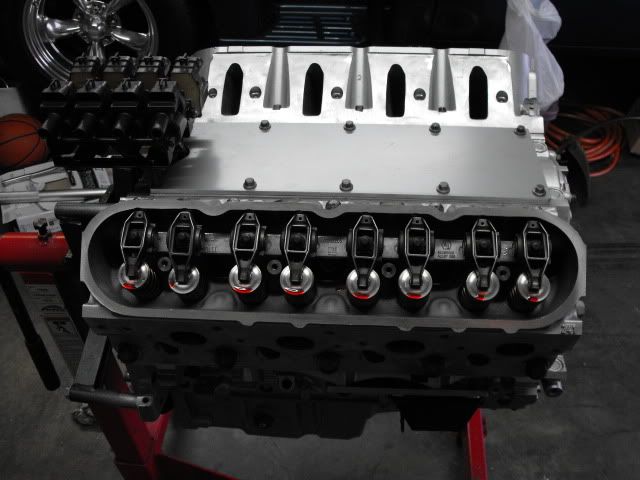
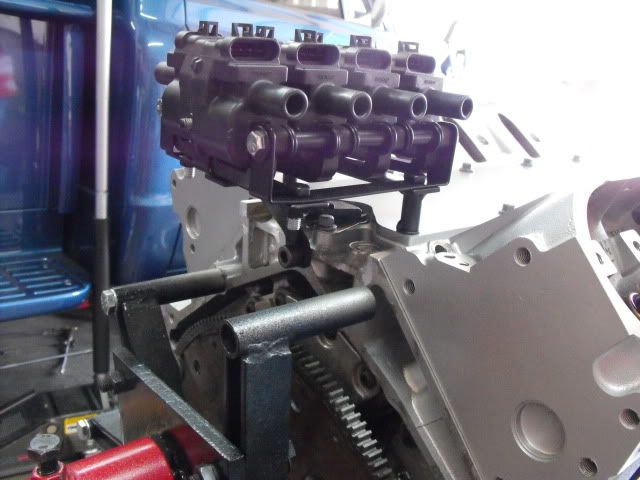
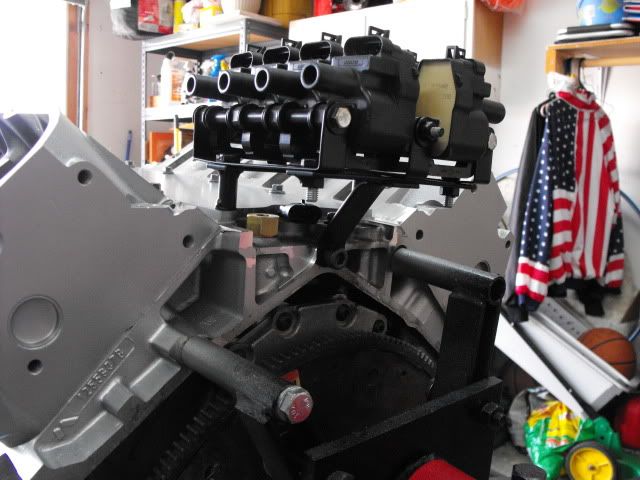
    Here's some closer shots of the coil pack bracket.


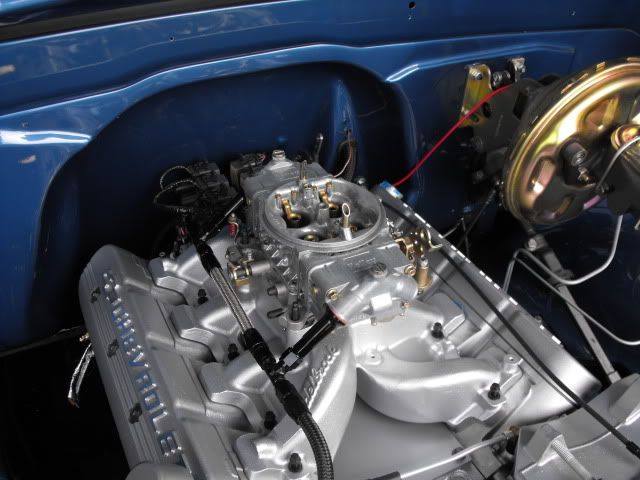
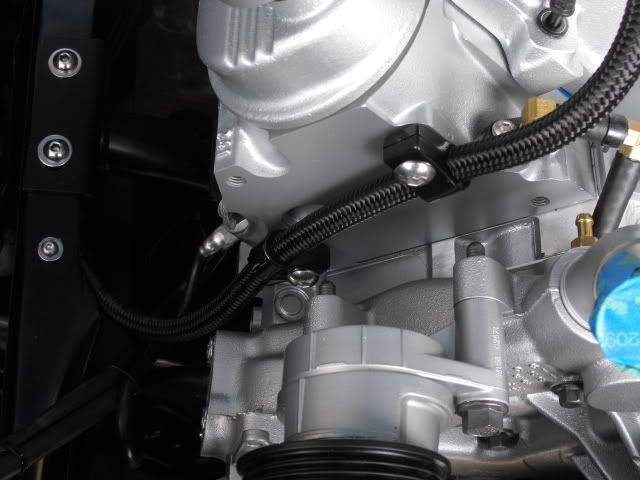
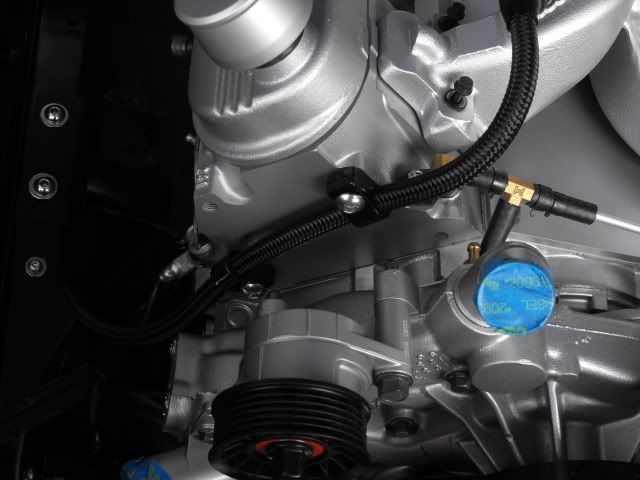
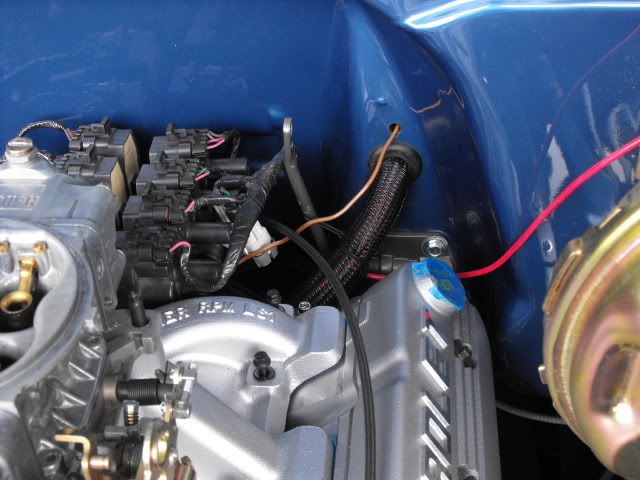
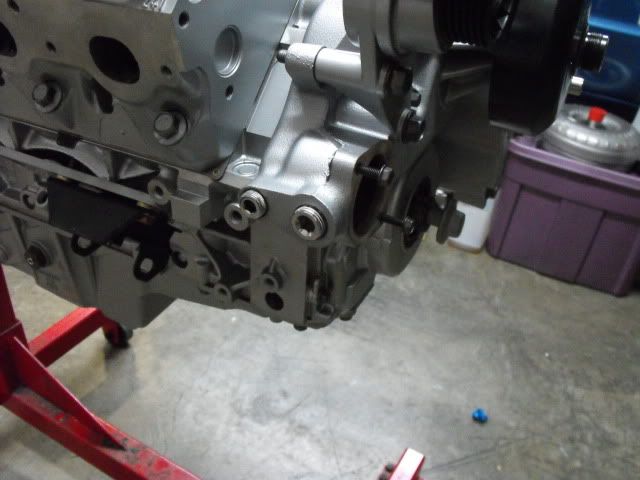
    I have no heater in my truck(for now), so the heater hoses are pointless. So I pulled out the hose barbs, and tapped them 3/8" and 1/2" NPT. Plugs will do for now, but if for some reason these need to be connected, I'll get some -12AN adapters and connect them with a 180 deg. fitting.


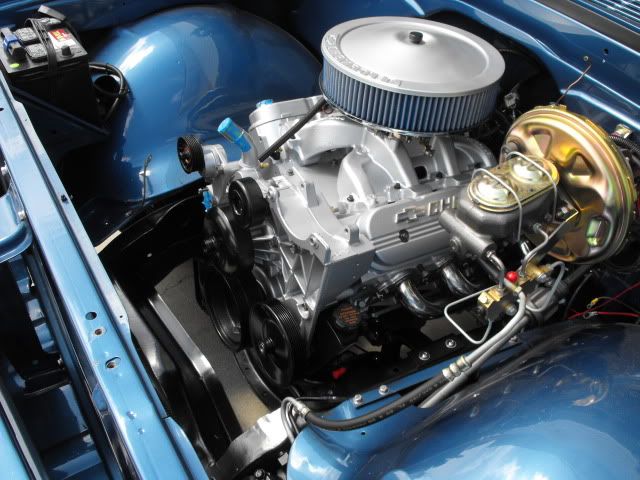
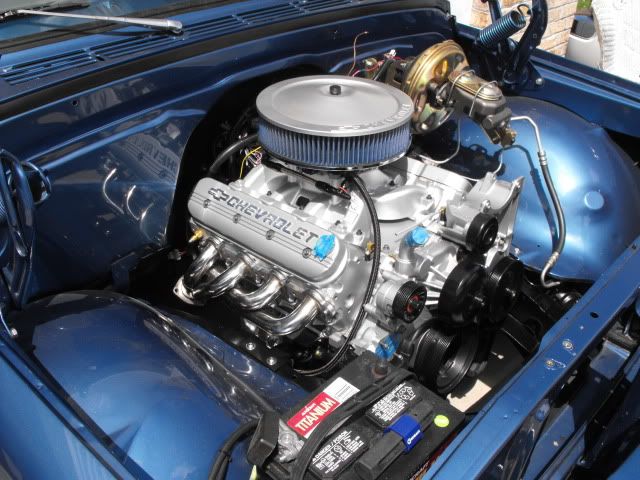
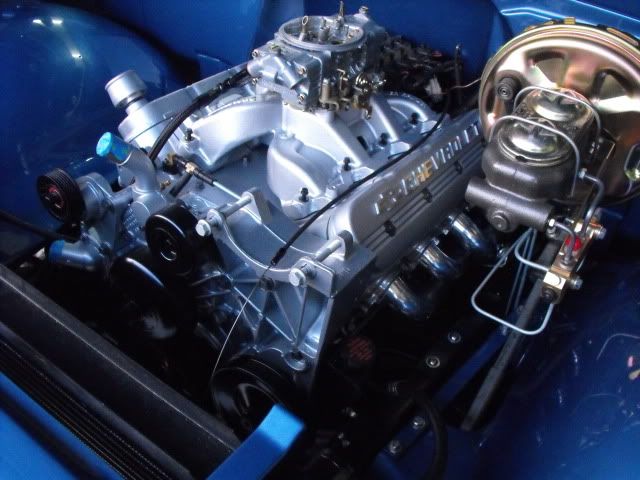
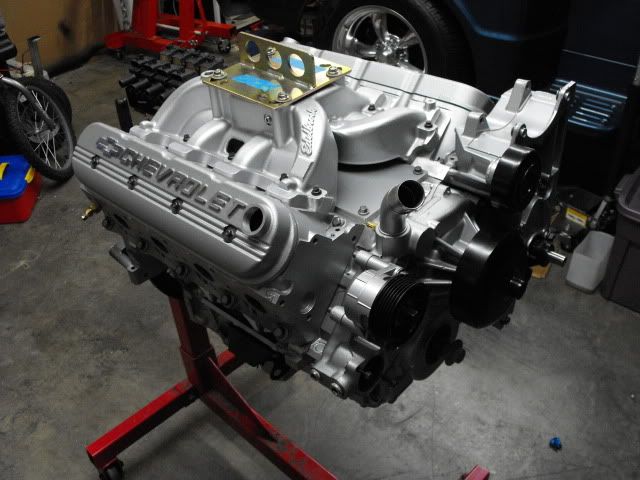
    More stuff installed(for good, at least this time).


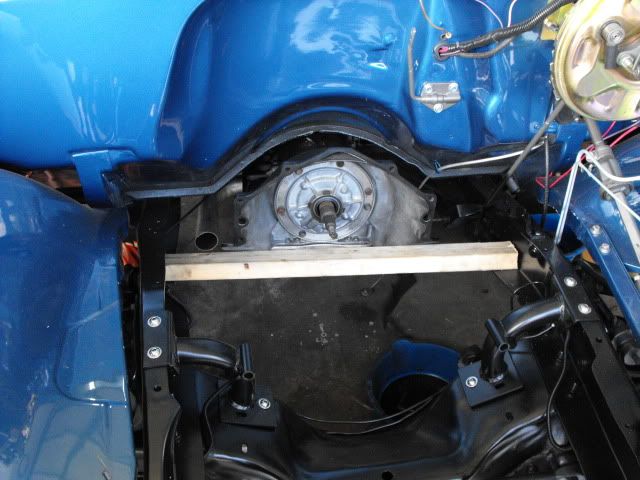
    Transmission set in place.


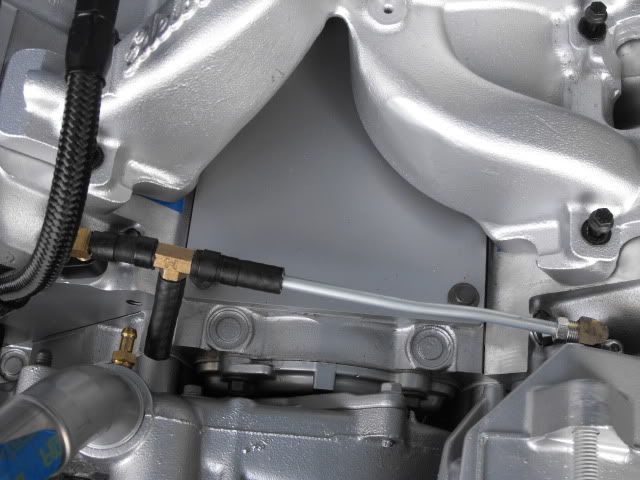
    I'm working on finishing up my steam line fittings, need to install the balancer, and power steering pulley, then she'll be ready to drop in. I'm shooting for setting it in this Saturday.
    Matt

    Thanks to all American soldiers for their service and sacrifices.


  2. #72
    Join Date
    May 2009
    Posts
    428
    Wow I love the heater hose idea, i might do that with my lines. The engine looks perfect, you are doing a really nice job fixing it up. Keep up the great work!!!

  3. #73
    Join Date
    Jul 2008
    Location
    Mesa, AZ
    Posts
    5,979
    Do you have any pics of the coil brackets by themselves?

    Also any pics of the bolts after the nitriding?
    T-RAV
    99 GMC | 5.3 | Skinny White Guy Tuned

  4. #74
    Join Date
    Feb 2011
    Location
    Sevierville, TN
    Posts
    293
    IT'S IN!!!!!!!!!!!!!!!!!!!!!


    I still have some work to do. I have to do some wiring, figure out where to mount the MSD ignition controller, have the headers coated, then get the exhaust connected, driveshaft shotened, belts, hoses, fluids, yada, yada, yada. Hope to have it running by this weekend!
    Matt

    Thanks to all American soldiers for their service and sacrifices.


  5. #75
    Join Date
    Feb 2011
    Location
    Sevierville, TN
    Posts
    293
    Quote Originally Posted by bangbangskeetskeet View Post
    Do you have any pics of the coil brackets by themselves?

    Also any pics of the bolts after the nitriding?
    I may have to remove the coil brackets to route some wiring and install my oil pressure fitting that I forgot to do while it was out. I'll try to get some pics of the coil brackets. I'll also get a shot of some of the extra nitrided bolts.

    EDIT- Page 3, post #27 is a somewhat better shot of the coil brackets.
    Last edited by Slick68; 05-06-2012 at 07:34 PM.
    Matt

    Thanks to all American soldiers for their service and sacrifices.


  6. #76
    Join Date
    Feb 2011
    Location
    Sevierville, TN
    Posts
    293
    Here's a shot of the bolts. stock next to the nitrided.


    I ended up not having to remove the coil brackets, so I won't be getting any pics of them by themselves.
    Matt

    Thanks to all American soldiers for their service and sacrifices.


  7. #77
    Join Date
    Feb 2011
    Location
    Sevierville, TN
    Posts
    293
    Nothing major happening lately, but I did get a little bit done yesterday evening. I removed the wires from the weatherpack connector on the MSD wiring harness and fed them through the existing hole in the firewall then reattached them inside the cab. I'll find a place inside the cab to mount the MSD controller later. I'll mainly work out the ball of spaghetti in the engine bay first.

    I torqued down the trans crossmember and trans mount, then measured the length to have my driveshaft cut down.

    Lastly, I finally got around to changing out the old CPP 1" front drop springs for the new ECE 2" drop springs. Sorry, no pics yet, but, wow, 1" of drop makes a big difference!!

    I'll try to finish cleaning up the wiring, install the MSD box, reinstall the intake, and finish up some other odds and ends this weekend, then try to take the driveshaft to get cut and take the headers to get coated next week.
    Matt

    Thanks to all American soldiers for their service and sacrifices.


  8. #78
    Join Date
    Feb 2011
    Location
    Sevierville, TN
    Posts
    293
    Well I've not made much progress lately. I've been a bit under the weather. I've had some sort of viral bug for the past couple weeks, and I just don't feel much like working out in the heat and crawling around under the truck. Along with my sons baseball games and practices, when I have felt like doing something, I haven't had the time.

    Anyway, enough of my whining. Here's what I have accomplished. I picked up a barely used 750 HP Street carb.


    Worked on mounting the fuel lines. I wish someone made clamps with holes bigger than 1/4". I had to drill out these clamps to use 10mm bolts. I'm gonna take them along with the bolts to my buddies machine shop to make them look a little cleaner.


    Here's how I had planned to run my steam lines, but I don't really care for it. A friend of mine gave me a better idea that I may try. I'm trying to keep from running AN lines which is costly. So far, I've got about $12 in this setup.


    Here's the modified power steering hose. It's not pretty, but it will do for now.


    Wiring finally put into loom and cleaned up a bit.


    With my custom plug wire looms, the Lokar dipstick interfered, so I cut 8.75" out of the housing and the dipstick cable itself. The dipstick handle should sit underneath the headers. This will make checking the oil a real PITB, especially when hot, but at least it works.


    I got the headers picked up yesterday!


    Things not pictured: Driveshaft is shortened with new 1310 U-joints, painted and ready to install.

    Lokar TV cable installed at transmission end. I still need to cut it to length after the carb is actually installed for good.

    I still need to wire the fuel pump. I found a fused wire from my fuse panel to hook it to. I just need the time to route the wire along with the rear light section of the harness.

    I also need to plumb the trans cooler lines. I'm not sure if I want to run an external cooler or just run it with the cooler in the radiator. I may just hook it to the radiator for now with a temp guage and see what the temps run, and if I need it to add a cooler, I can later.

    Lastly, I need to ream the holes in the flexplate to fit the torque converter.

    The only things left to pick up is an alternator, belt, hoses and a trans dipstick.

    I'm hoping to get some more work done on it this evening. I may try to pick up an oil primer setup today at lunch and pick up some oil and filter. If I can get the oil system pressurized and get the wire routed to the fuel pump, I may try for a short startup. Don't go getting your hopes up, yet. I'm going to shoot for it, but it may not happen.
    Matt

    Thanks to all American soldiers for their service and sacrifices.


  9. #79
    Join Date
    Feb 2011
    Location
    Pittsburgh, PA
    Posts
    470
    Looks amazing, everything has turned out really clean!

  10. #80
    Join Date
    Feb 2011
    Location
    Fort Worth Texas
    Posts
    143
    slick68, you certainly have the right nickname,definitely slick!

+ Reply to Thread

Posting Permissions

  • You may not post new threads
  • You may not post replies
  • You may not post attachments
  • You may not edit your posts