-
It's been awhile since I've showed any progress of my swap on here, but that's because I've had to make a couple trips back home, move off base, and help the guy build his dragster where I'm doing my swap at. Even though I haven't wrenched in a month on the swap, I've been collecting all the final pieces to the swap. Now all I've got left is the; tune (which a buddy of mine is going to hook me up with a $200 dyno tune session), A/C bracket, power steering hoses, pieces to make a "CAI", and a full rack of cooked ribs for the guy welding up my exhaust.  Now to get it ready for Super Chevy I've got to bedline it, and put window tint on it. Not like I have less than 3 weeks to do all this or anything....anywhore....
I had to help my buddy with his Dragster first, so I could have the garage up until the day we leave for Super Chevy. It's a heavily cammed LS2, Holley High-Rise, Dual 750's, p and p heads, etc... Gonna run consistent mid-8's, high 7's on N2O! Here's some pics of his set up:
The intake, carbs, and scoop are 22.5" tall! [IMG]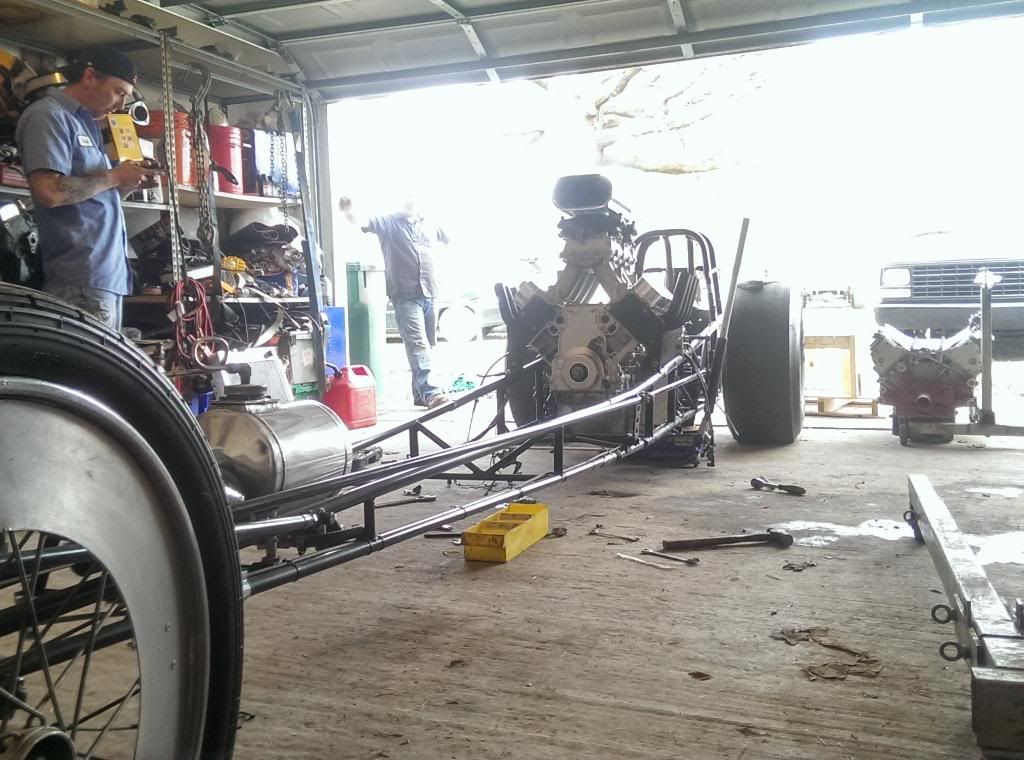 [/IMG]
[IMG]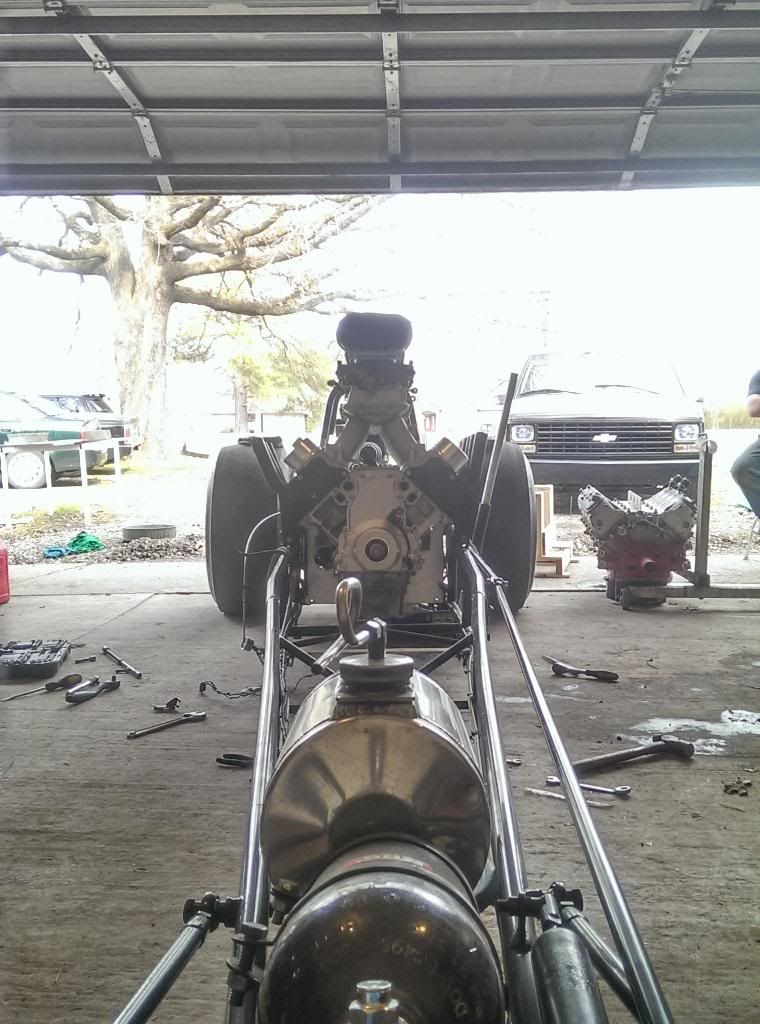 [/IMG]
[IMG]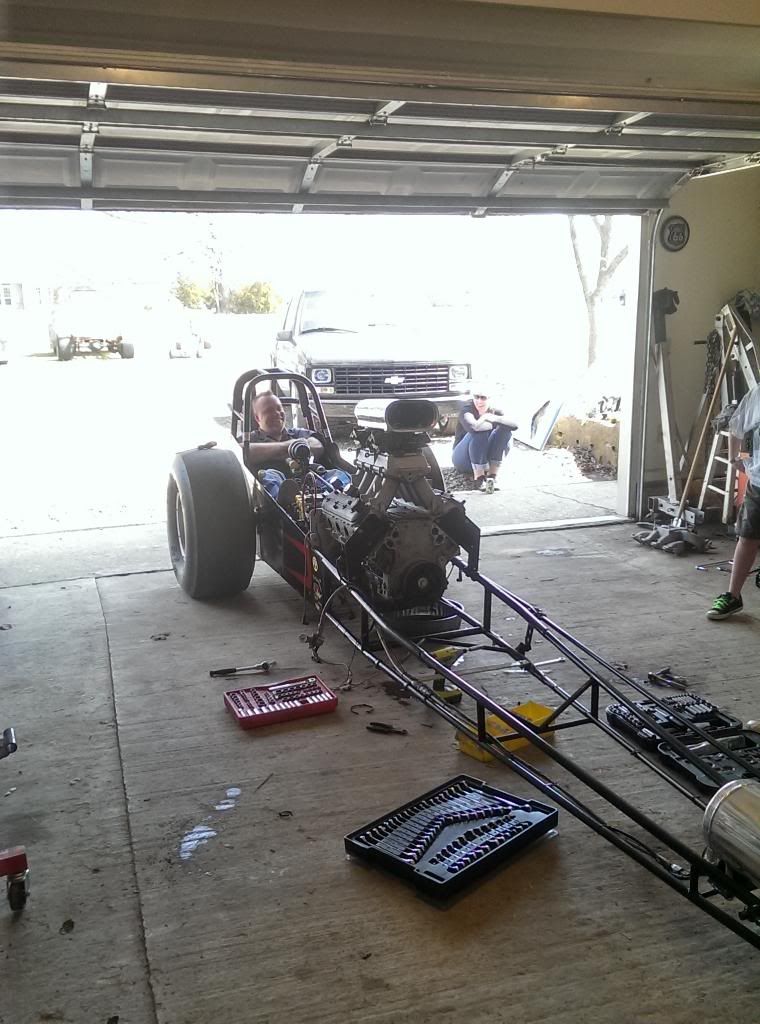 [/IMG]
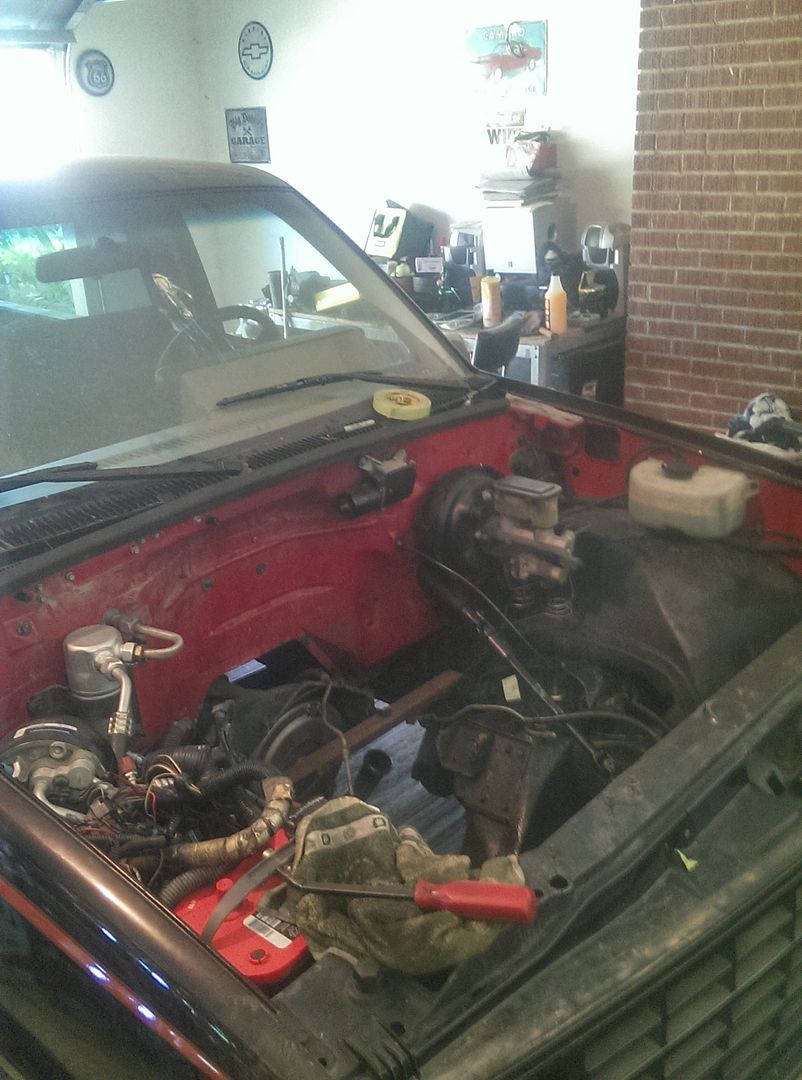
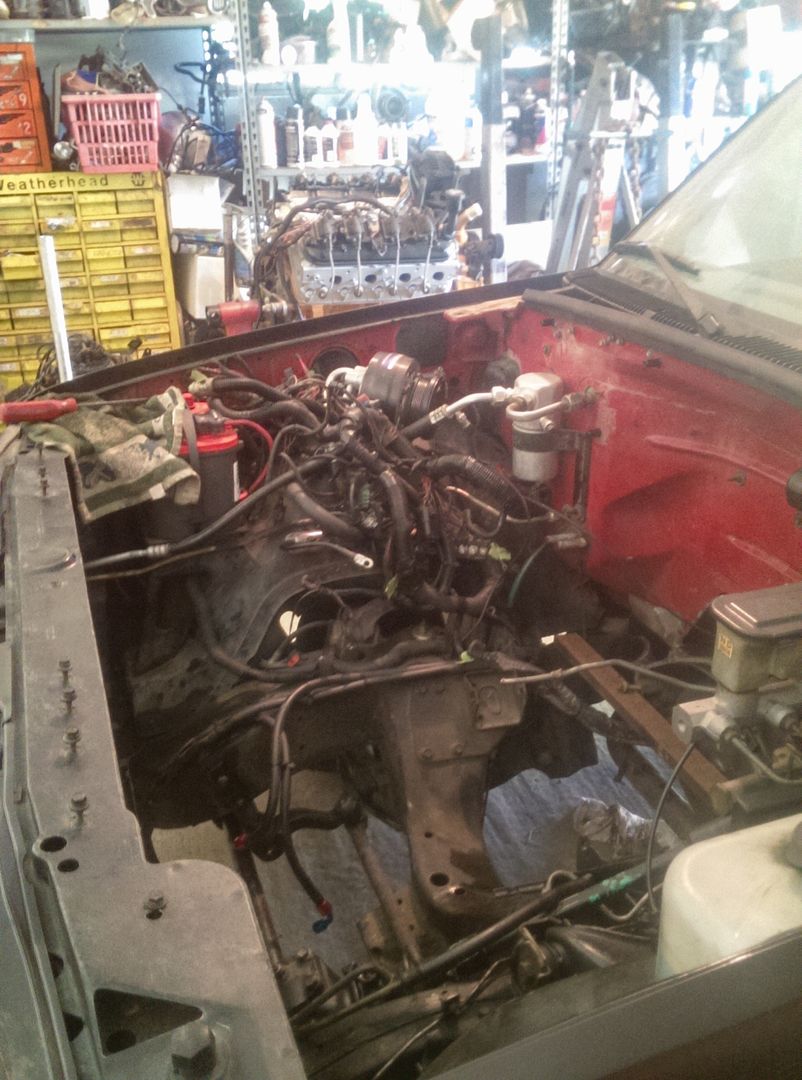
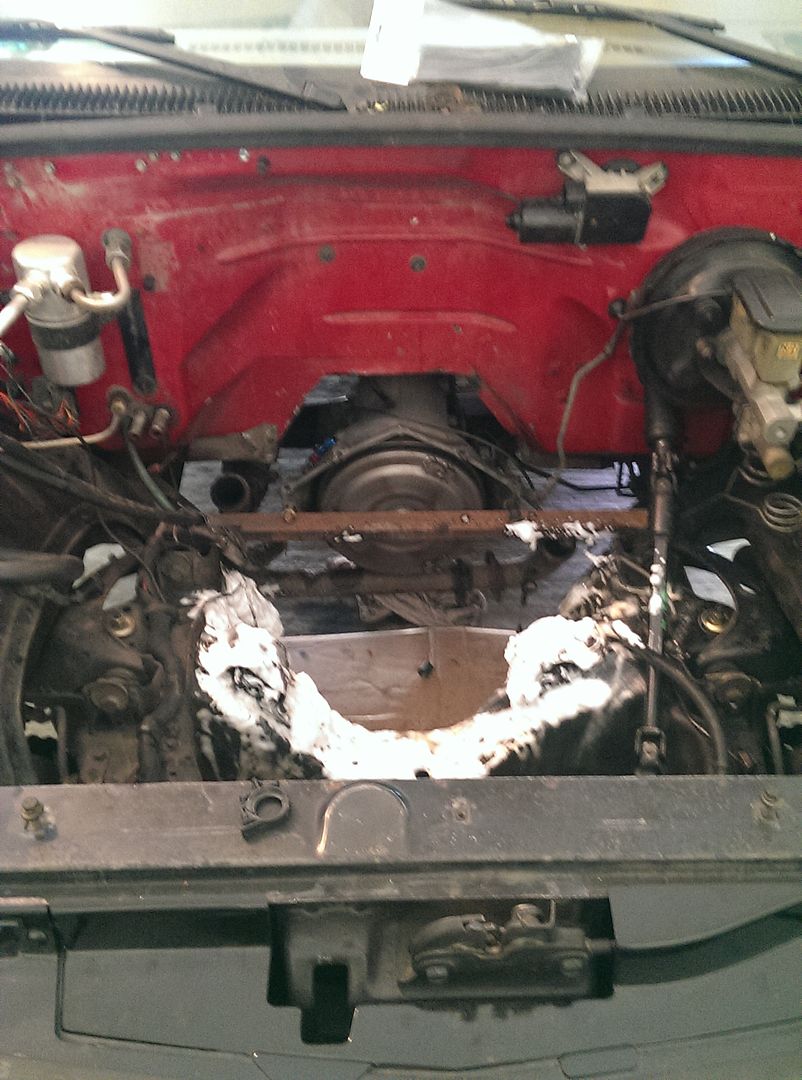
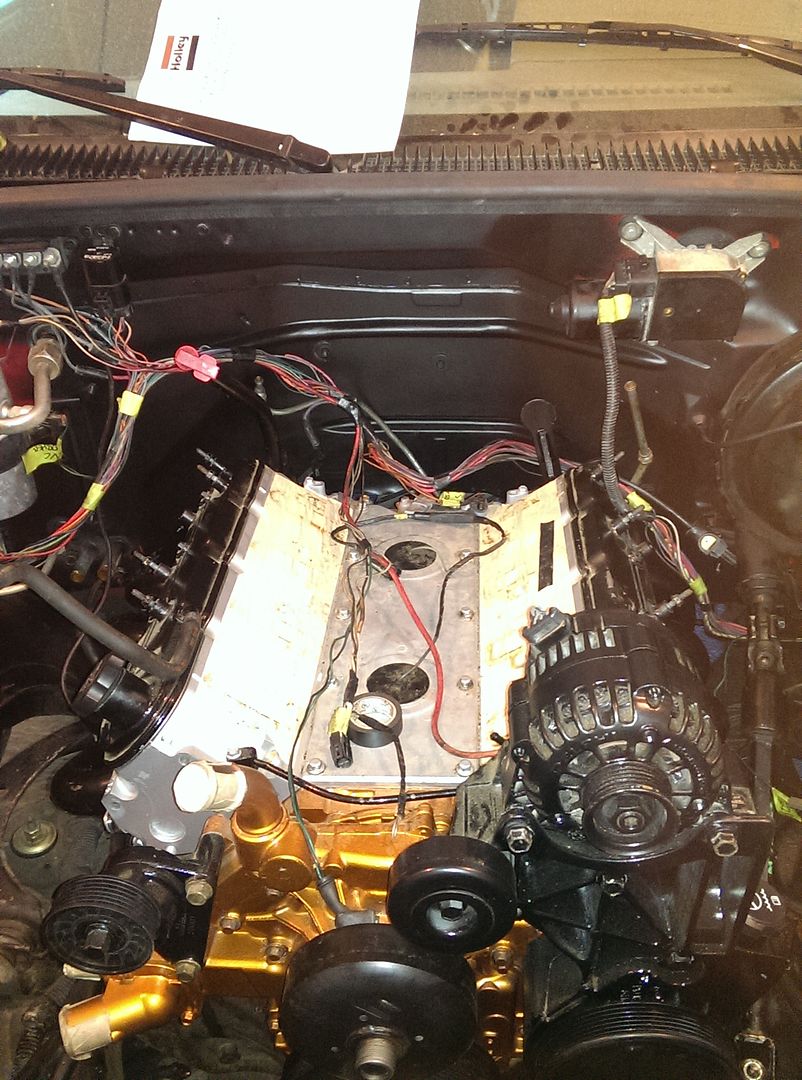
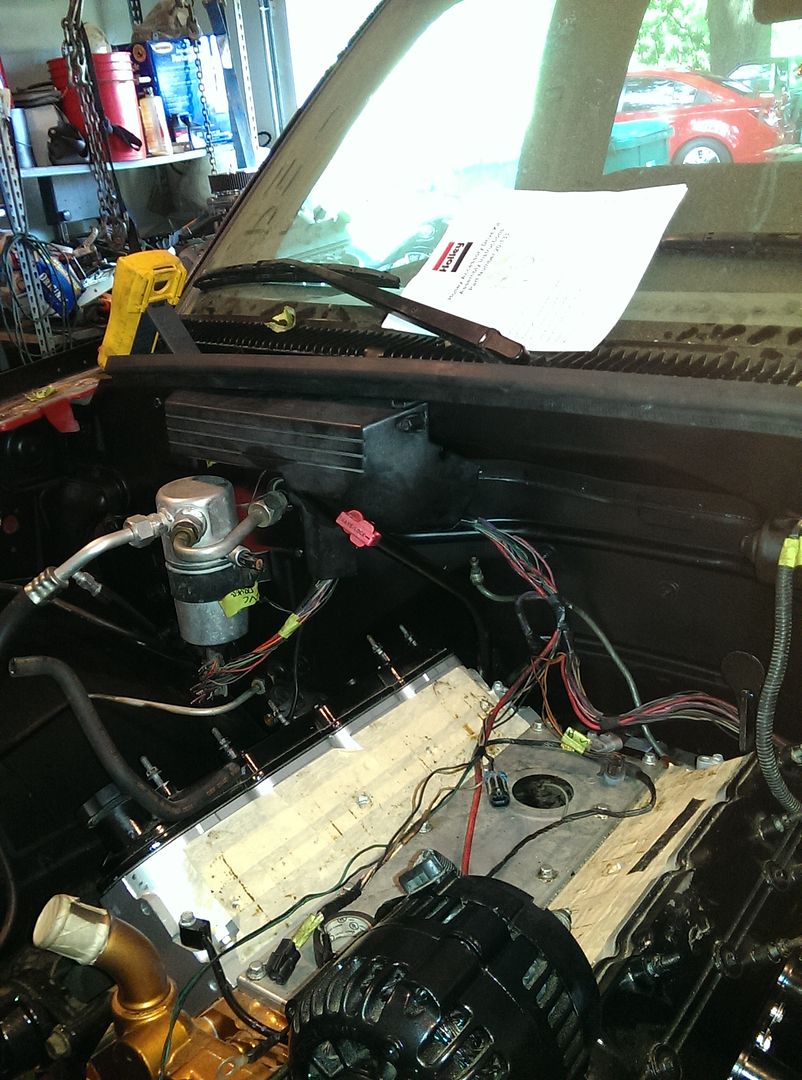
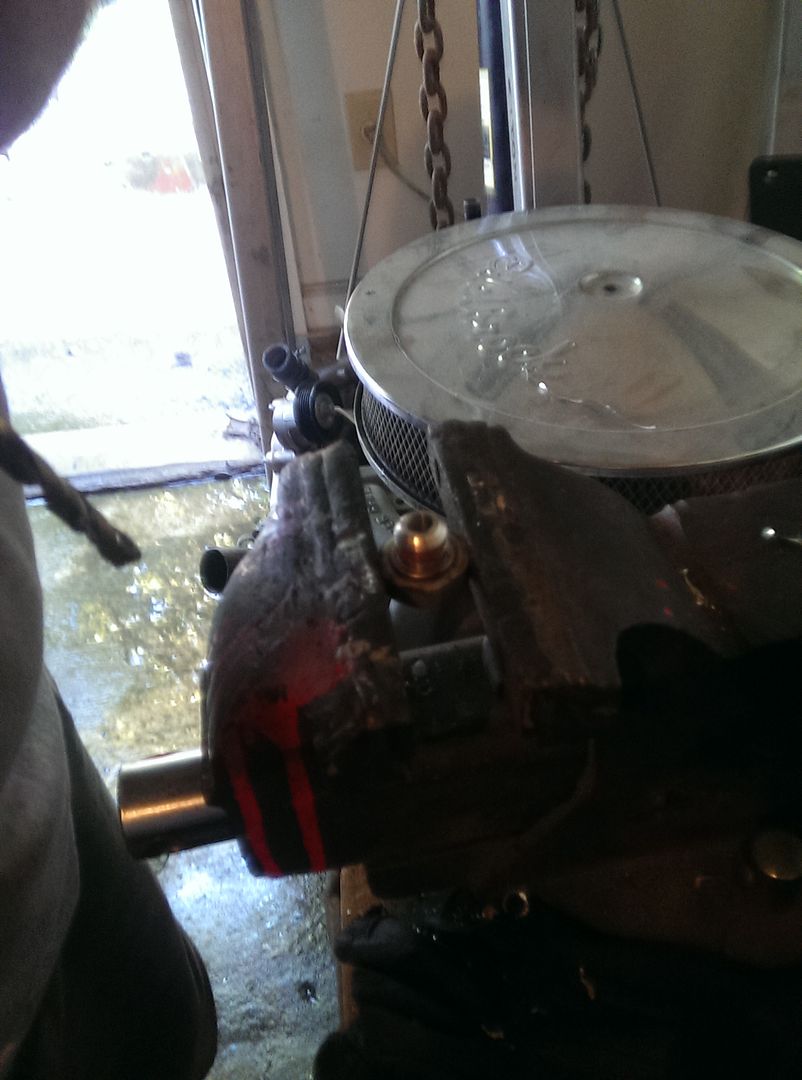
Because I was given a BIG radiator, I have to move my overflow tank and tranny cooler that were posistioned based on my V6 radiator. Also, I traded my tranny cooler w/ fan for a bowtie overdrives TV cable and a 12"x12" plate style tranny cooler. Win-win in my book!!! Here's a couple pics of where I'll mount my 5.3 PCM and my overflow tank.
[IMG] [/IMG]
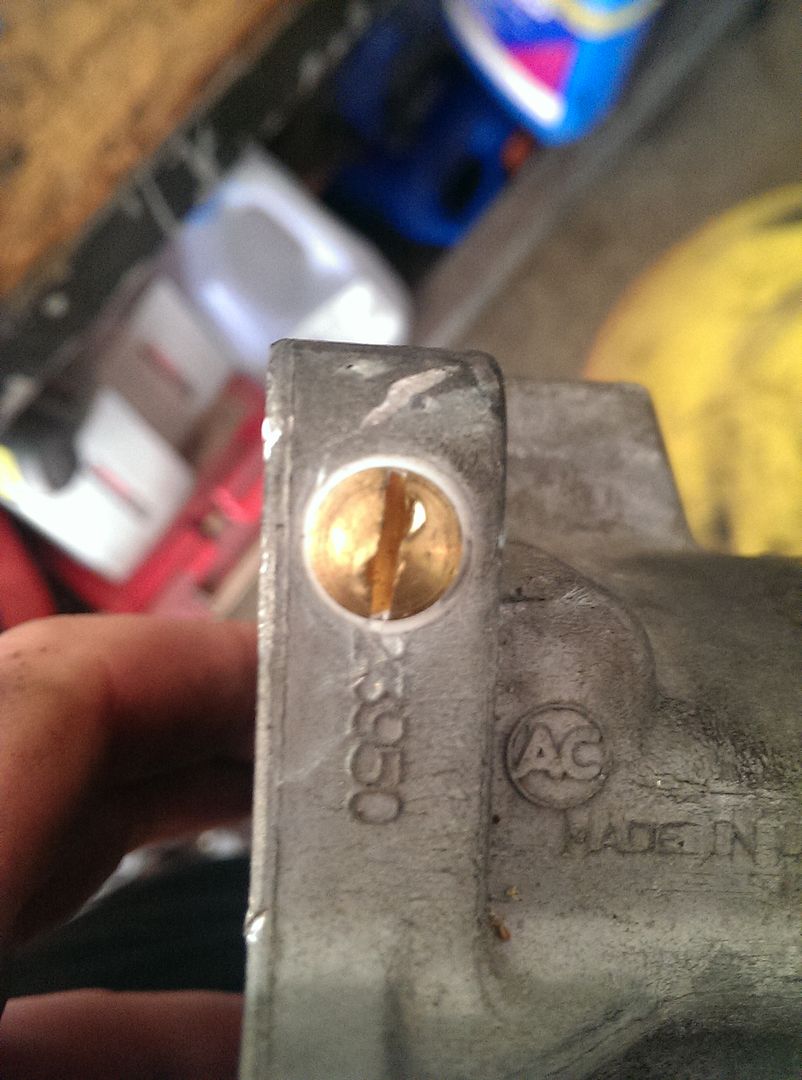
Going to make a bracket at work using the vapor canister mounts.
[IMG]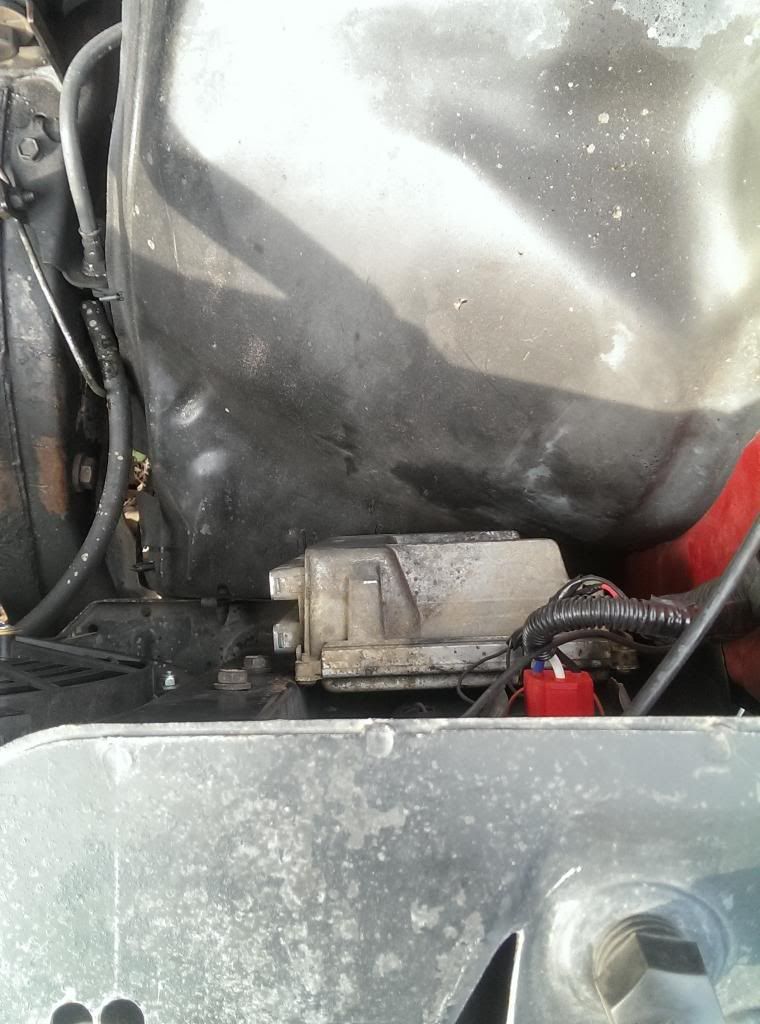 [/IMG]
-
It's been a minute since I've been on here to update on what's going on with my swap....Long story short, I outta have my swap basically finished up by this weekend. Things I've done since updating you guys last time;
-Pull the V6 boat anchor out
-Swap to new Poly V8 Mounts
-Cleaned engine bay up and shot first coat of paint
-Installed cammed 5.3 and mated to 700R4
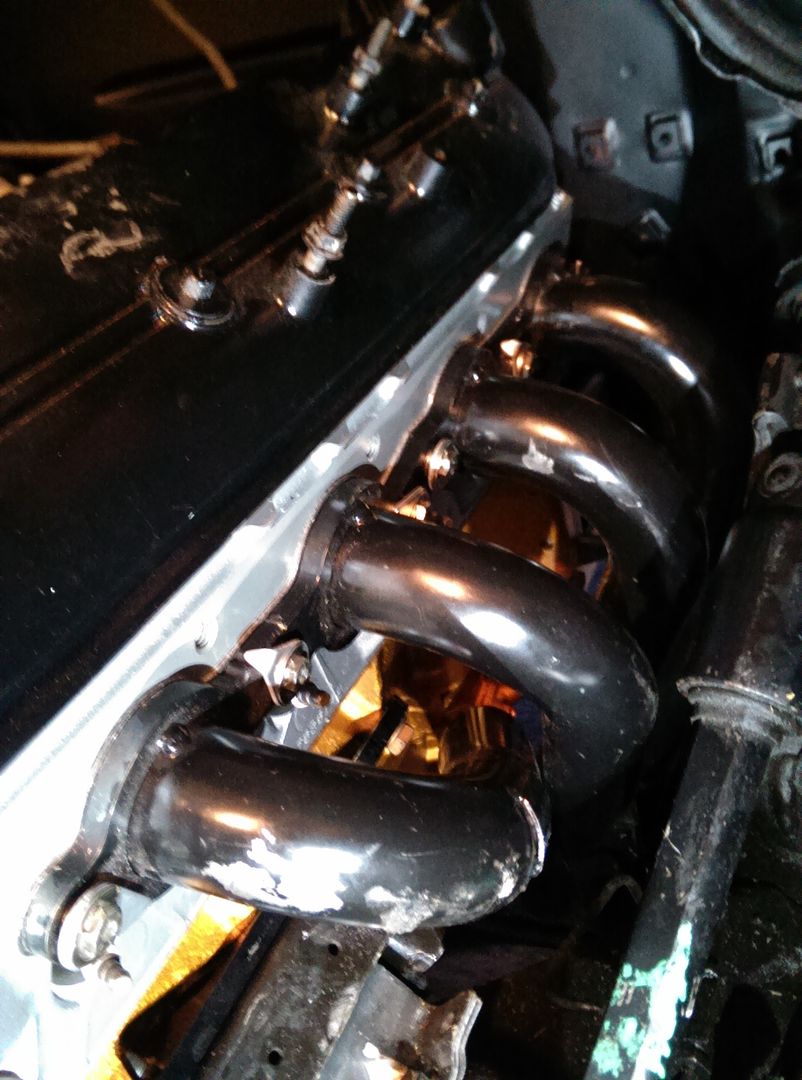
-Installed 1302LS1 Schoenfeld headers, fastened by Stage 8 bolts
-Routed all hoses
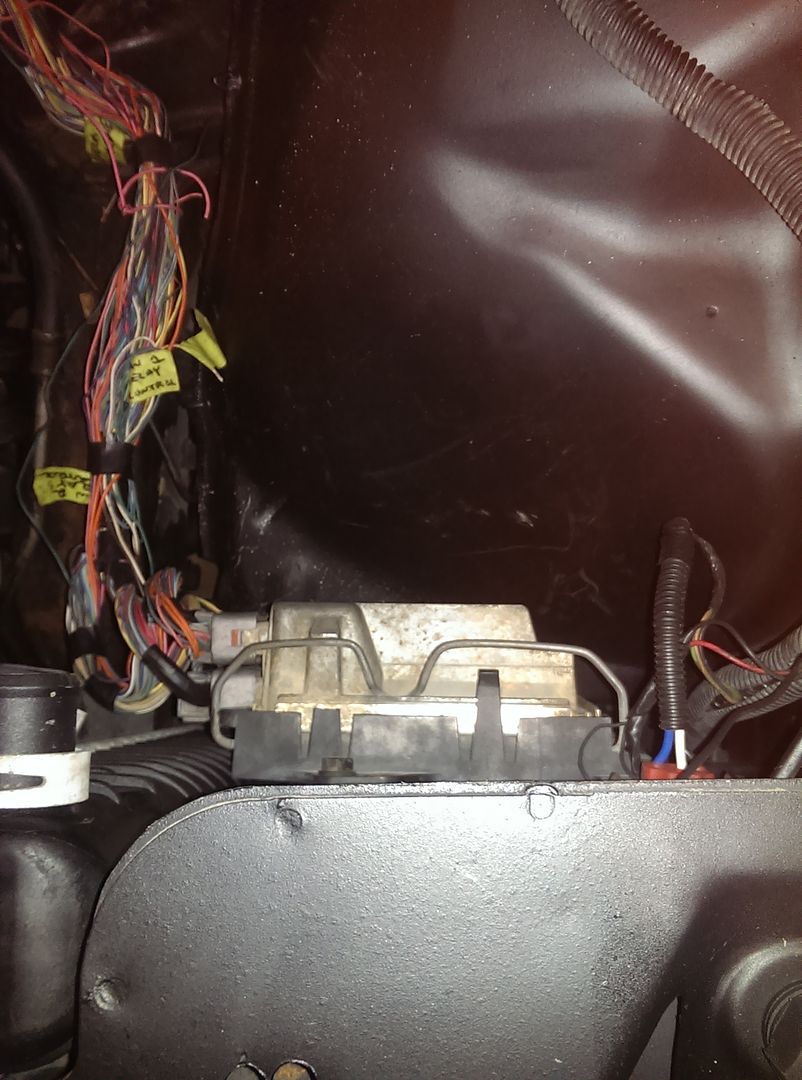
-Mounted PCM
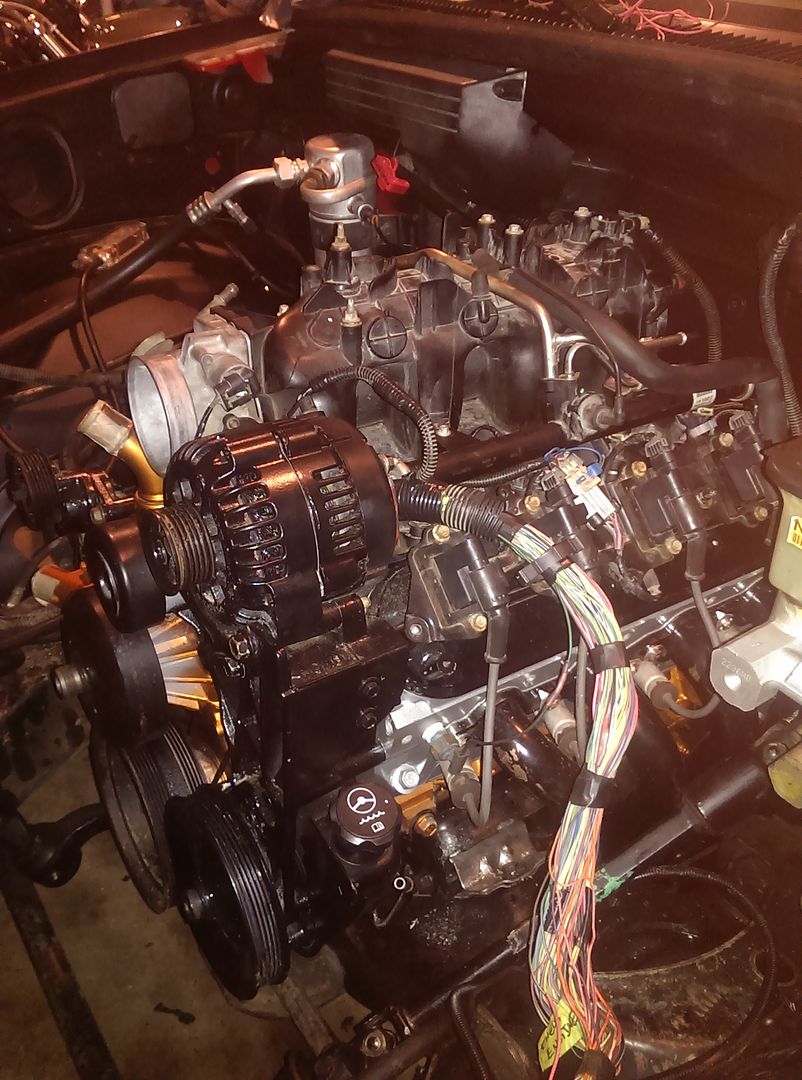
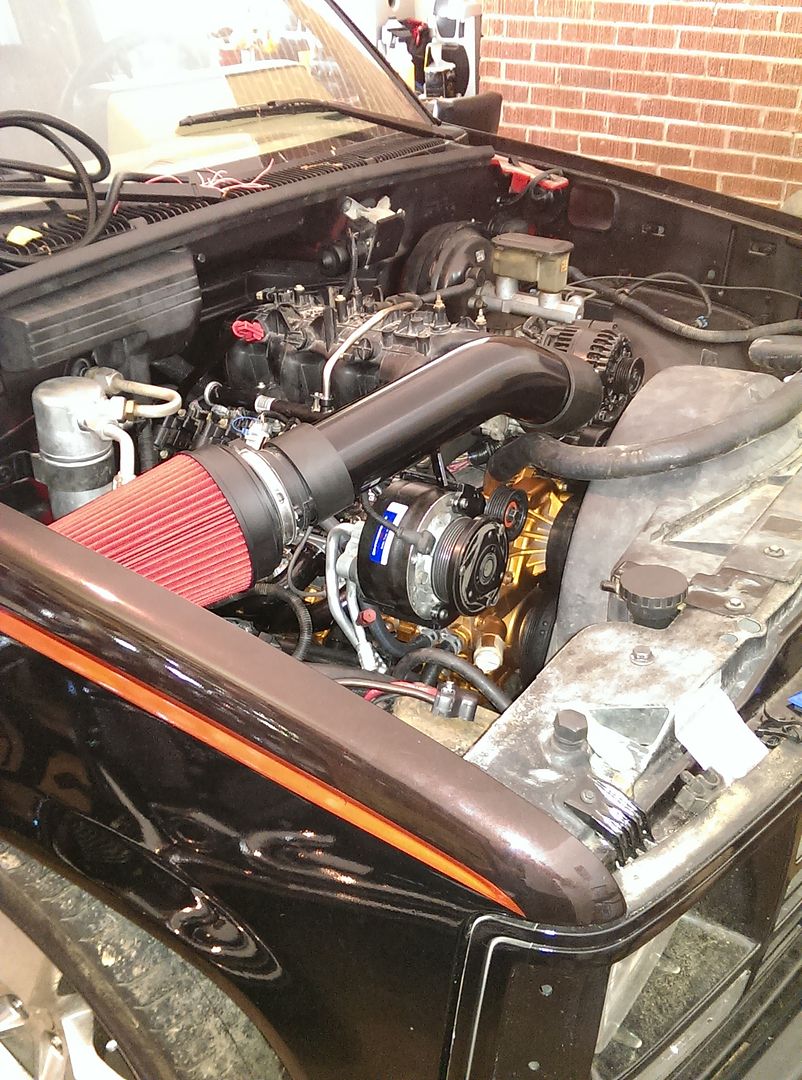
-Installed Holley's AC Bracket with old R4 Compressor and lines
-Installed big radiator and shrouding
-New PS lines
-Installed plate style tranny cooler
-Got all the wiring done
These are the things I have left to call the swap "done"
-Attach fule lines to fuel rails
-Swap the fuel pump
-Install belt
- " CAI and make shrouding for it, which will happen later on down the road
- " oil filter
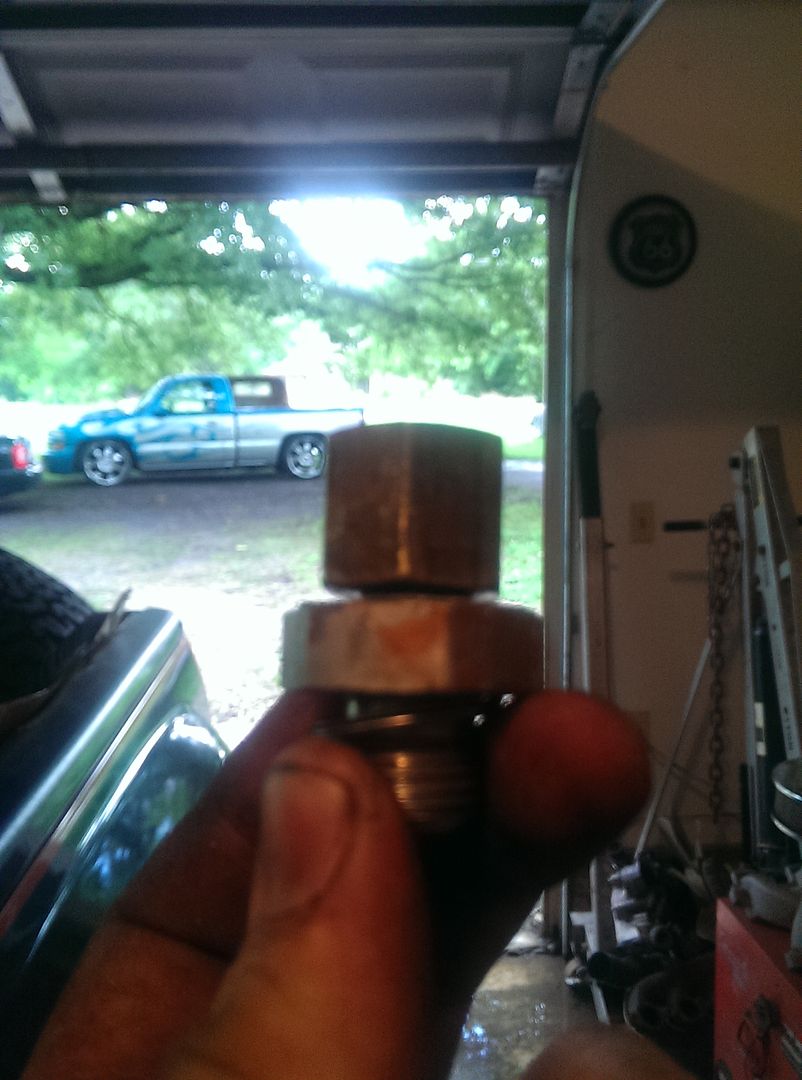
- " 1/8" pipe fitting in water pump for steam tube
- " TV cable
-Mount overflow tank
-My Dad is coming up this weekend to weld up my exhaust while I finish up on these last little details of my swap
-Touch up paint in engine bay
-Top off all fluids
Then smokey burnouts....
-
Here are the pics, it's going to be a lot....
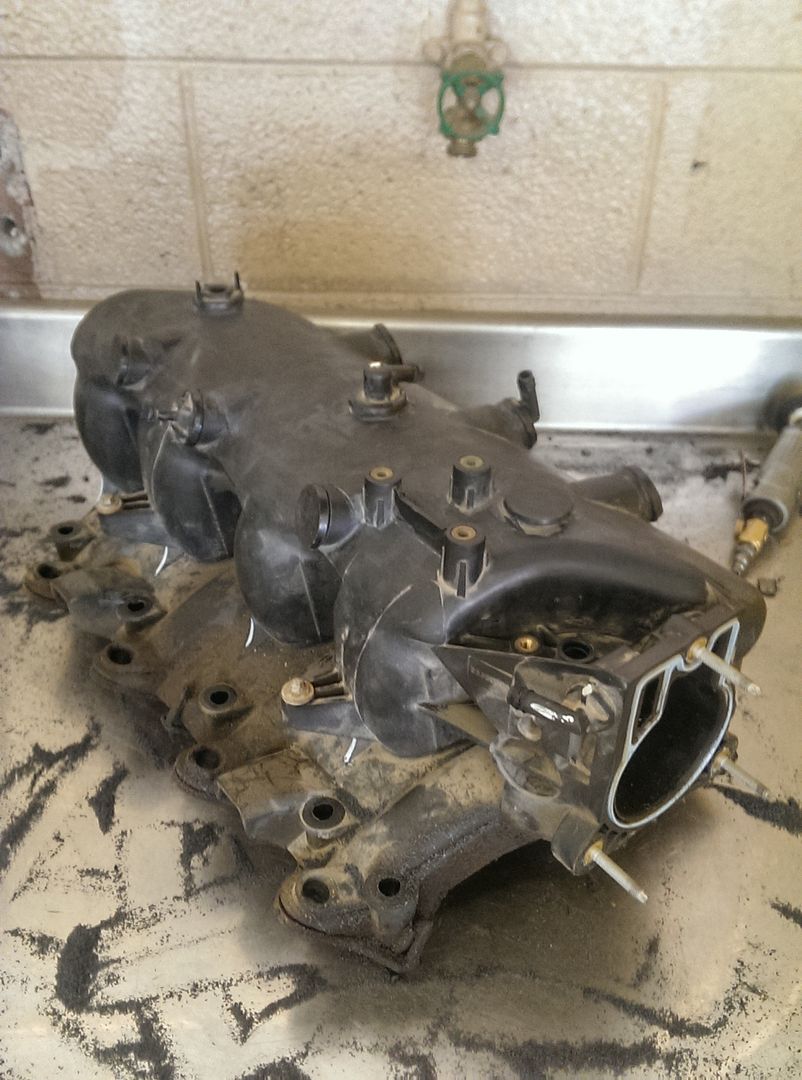
This is my spare intake that I'm in the process of "shaving" down. I studied the intake and marked everything with a white paint pen that I didn't want on it any more.
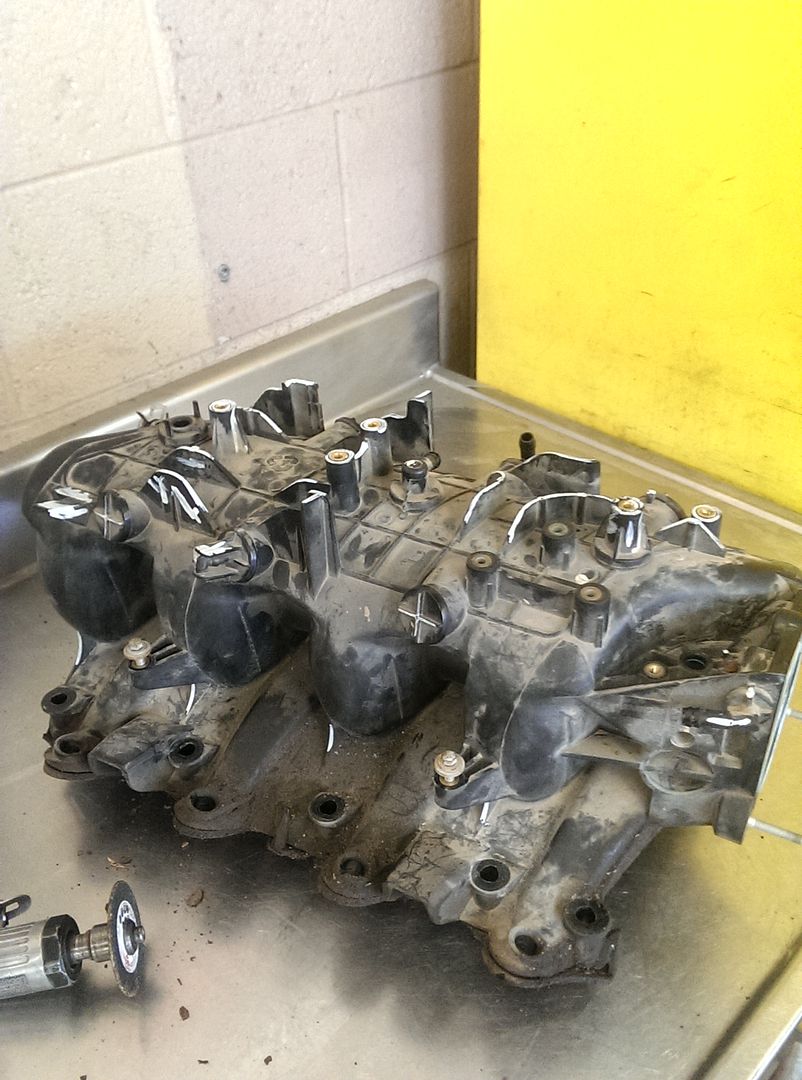
This is midway through the rough cutting
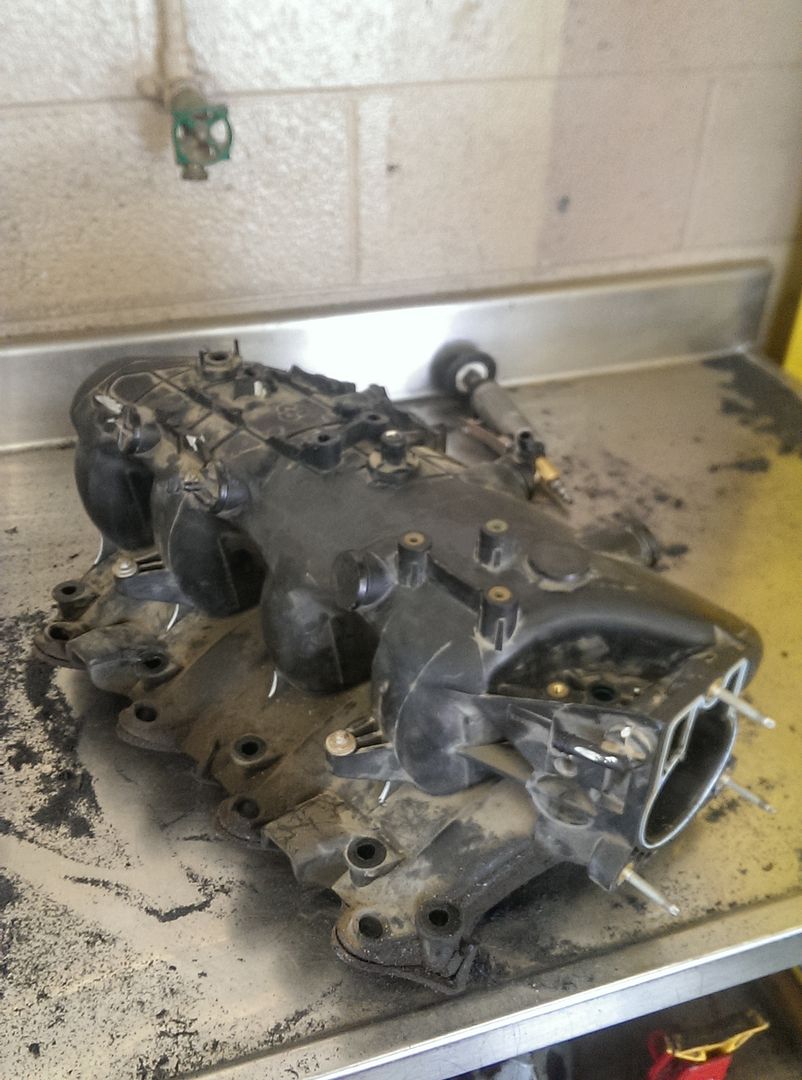
Finished with the intial rough cutting, decided to open it up and port it and also move the vaccuum and sensor ports around for a cleaner look after this pic.
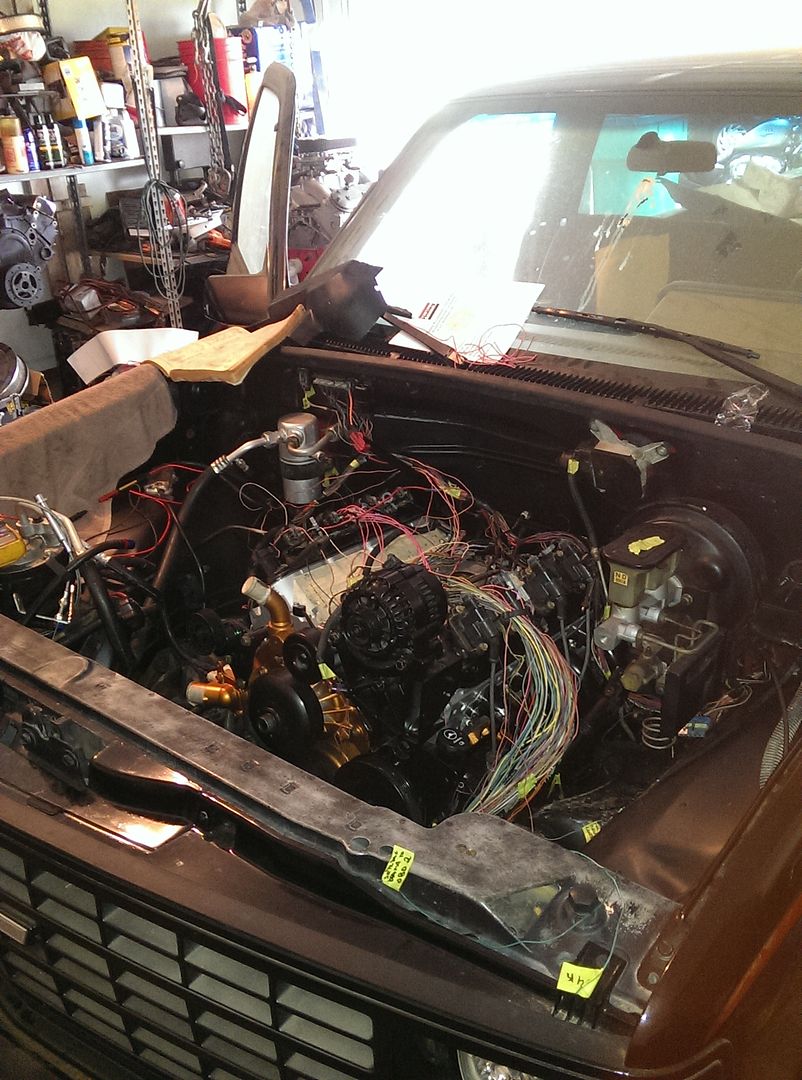
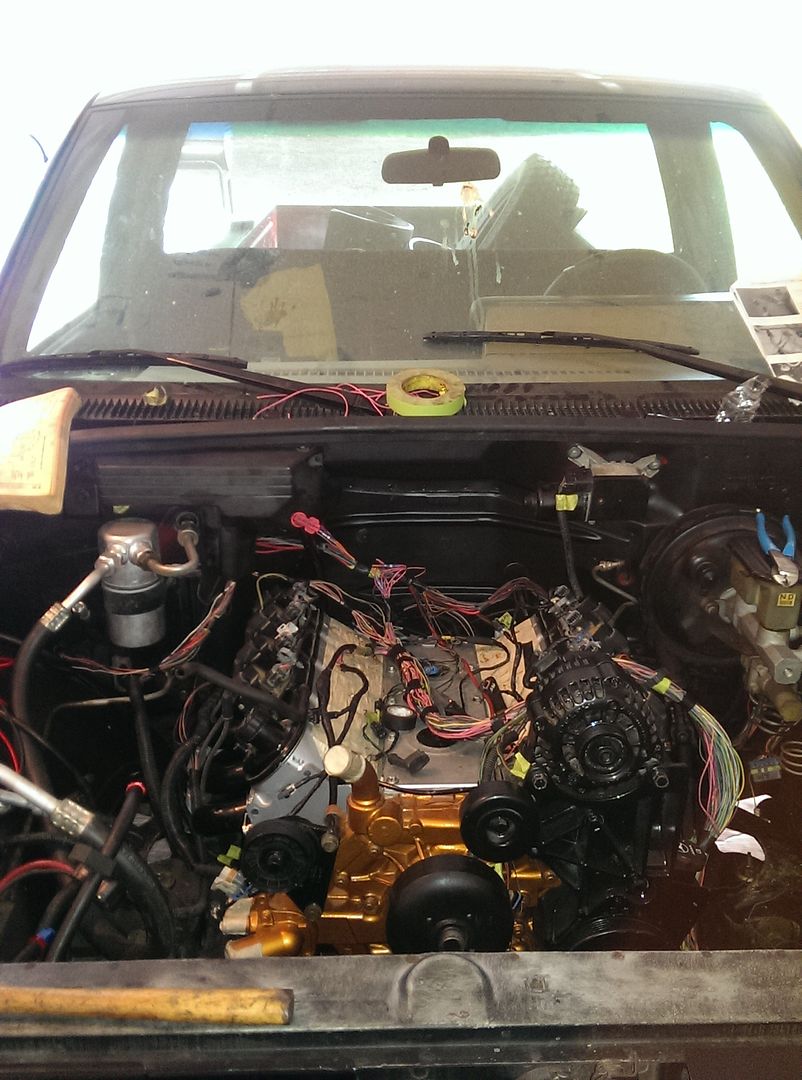
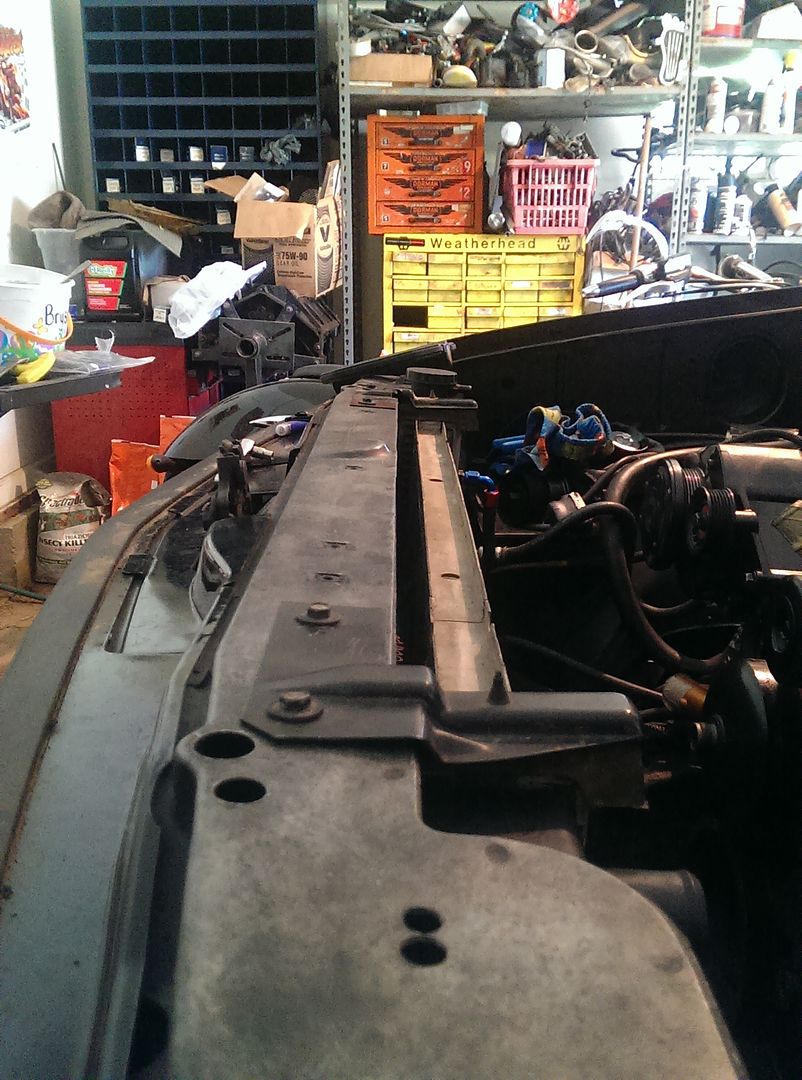
Before pics of engine bay
Getting the V6 mounts out SUX!!! There are 6 or 7 bolts per mount/pedastool. Some are really easy though....
This is the combination of extensions and such that I used to get to the nuts, I ended up wrapping the u-joint in painters tape to keep it from moving on me too much.
Soaked it all in engine cleaner
Masked off in wax paper b/c $.63 a roll lol
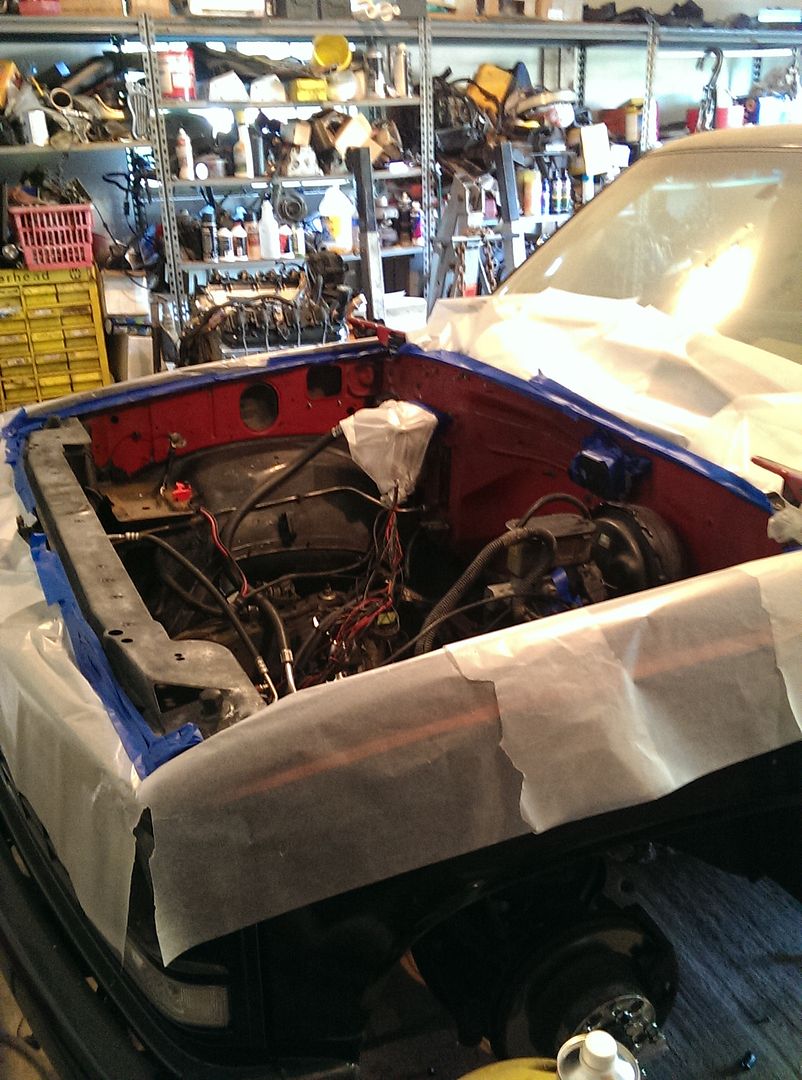
This is that ceramic underhood Eastwood paint that has propellant in it. Must say that the paint shot and covered very well
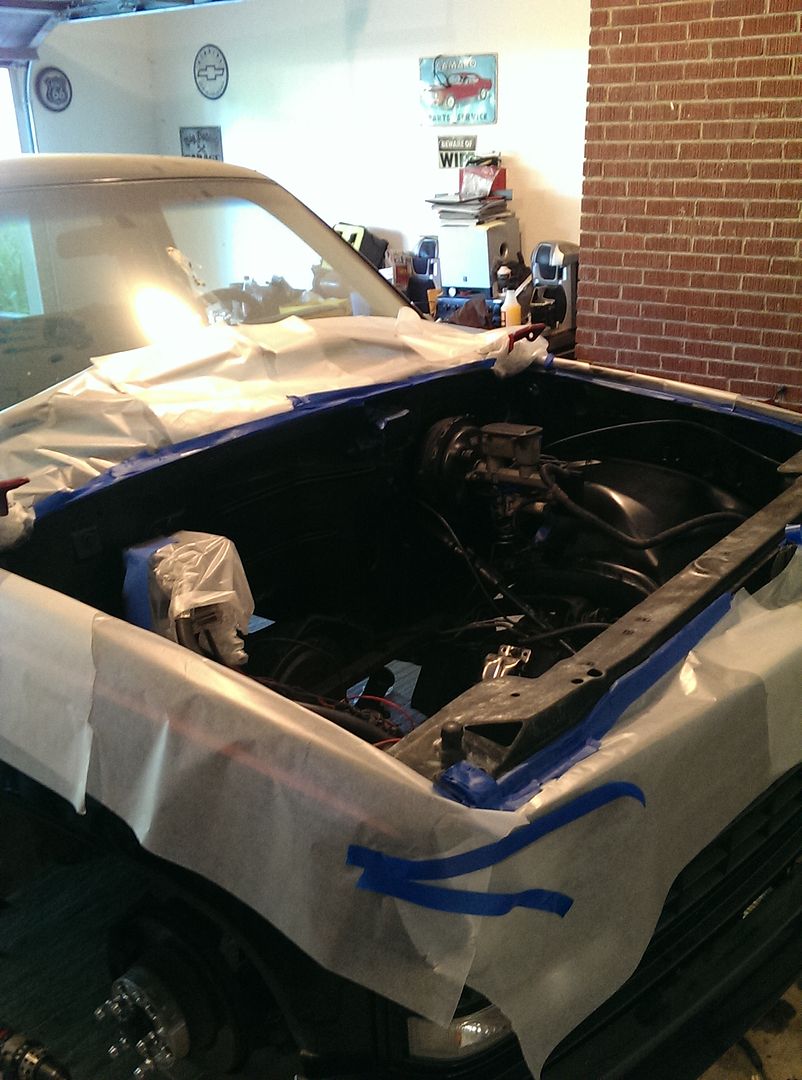
You have to elongate the hole on the 5.3 flexplate to make it mate to the 700R4 converter. I didn't have access to air that day, so I used a rat tail file to make it work.
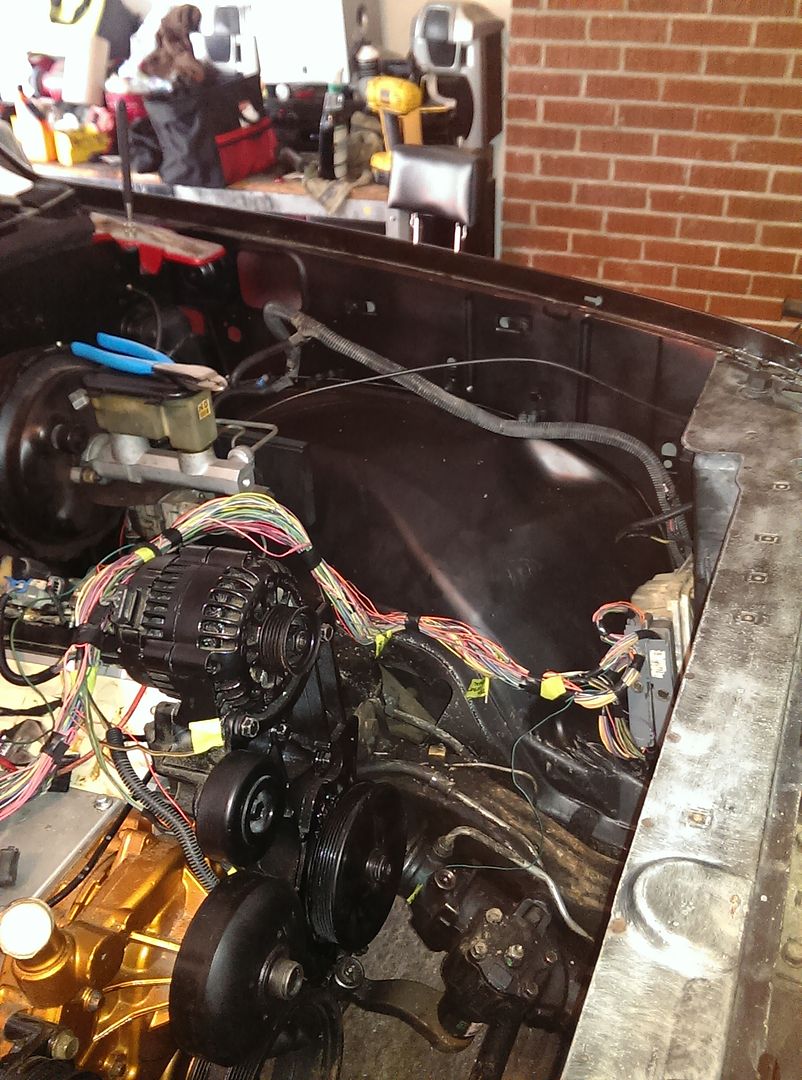
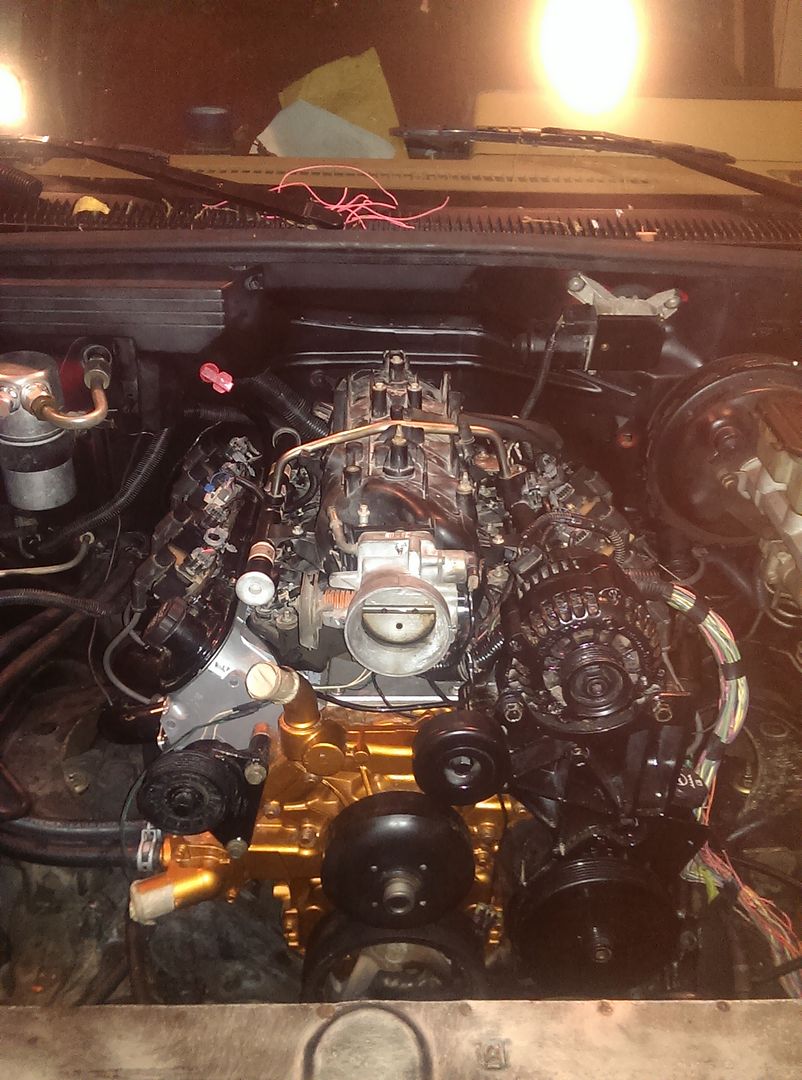
All cozy in there!
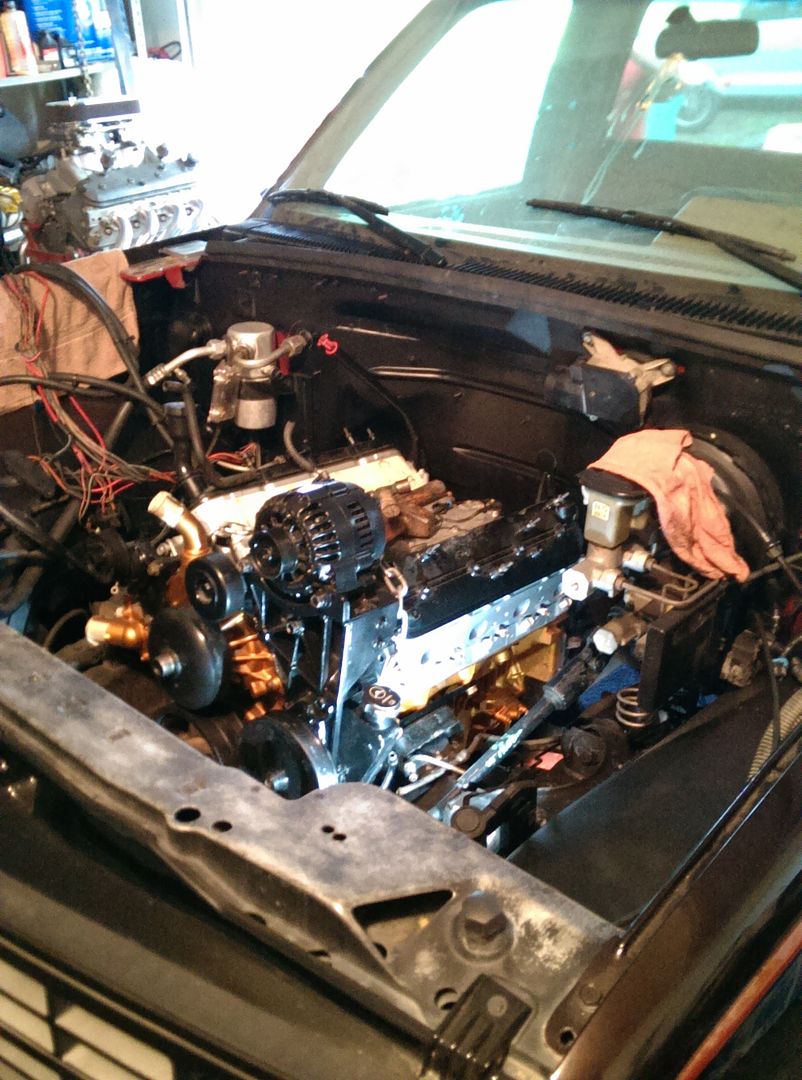
The headers are right at home! I just used the cheap Ebay swap mounts so I did end up having to malletize the passenger floorboard a bit as wel as trim some excess off the ear of my transmission.
The trimming
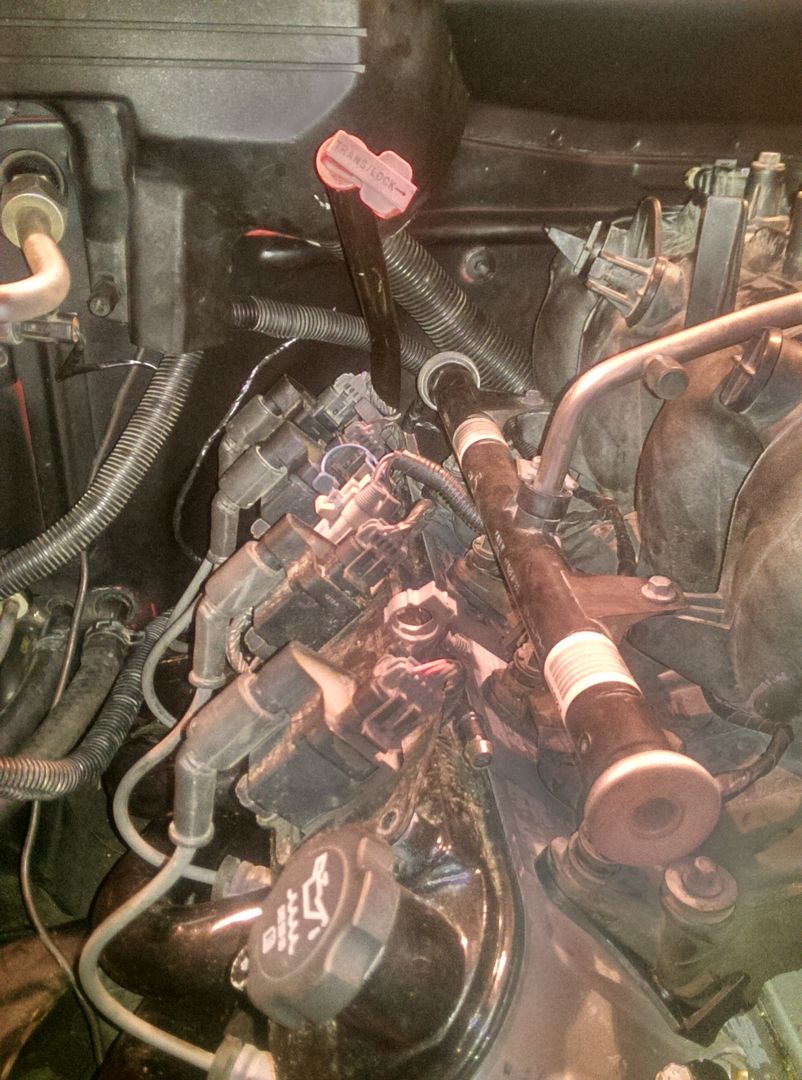
The original TBI Harness routed
Starting out on the 5.3 harness
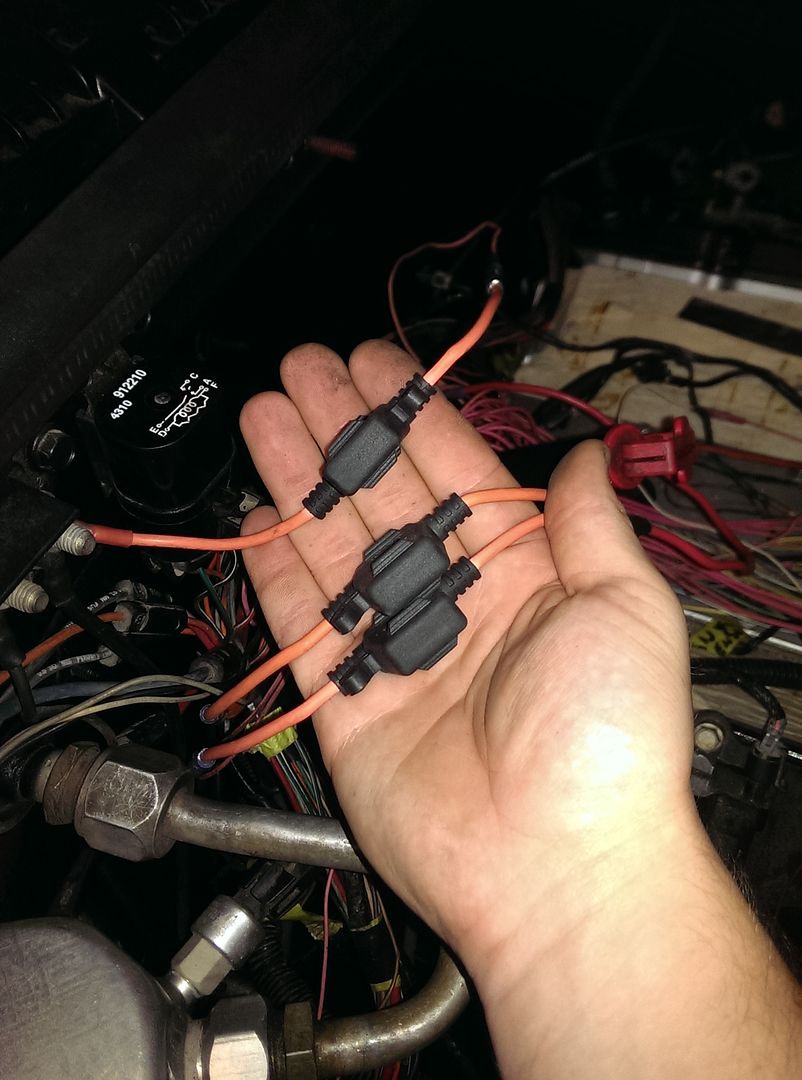
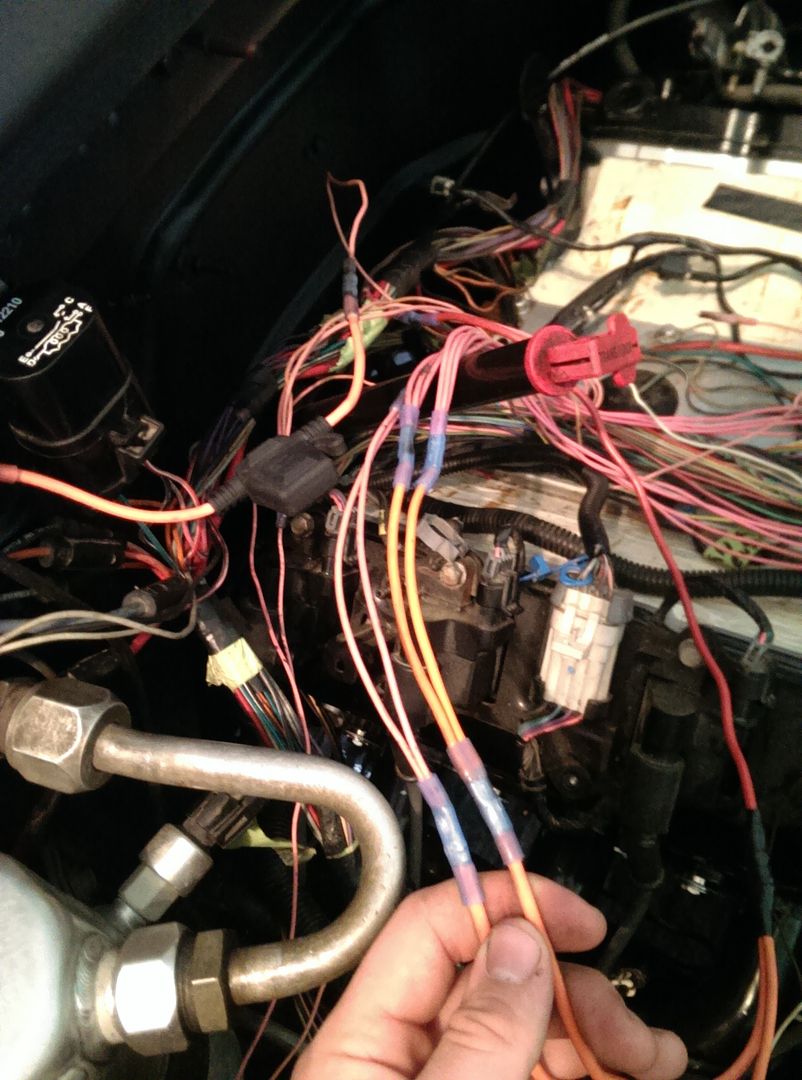
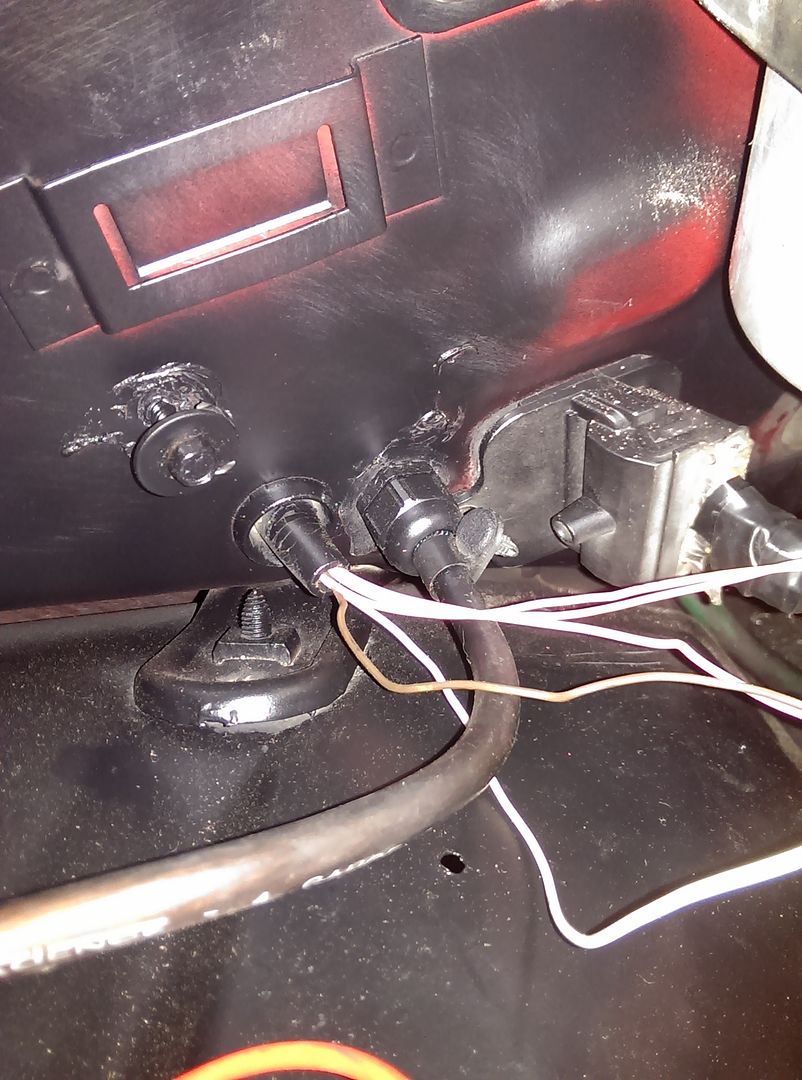
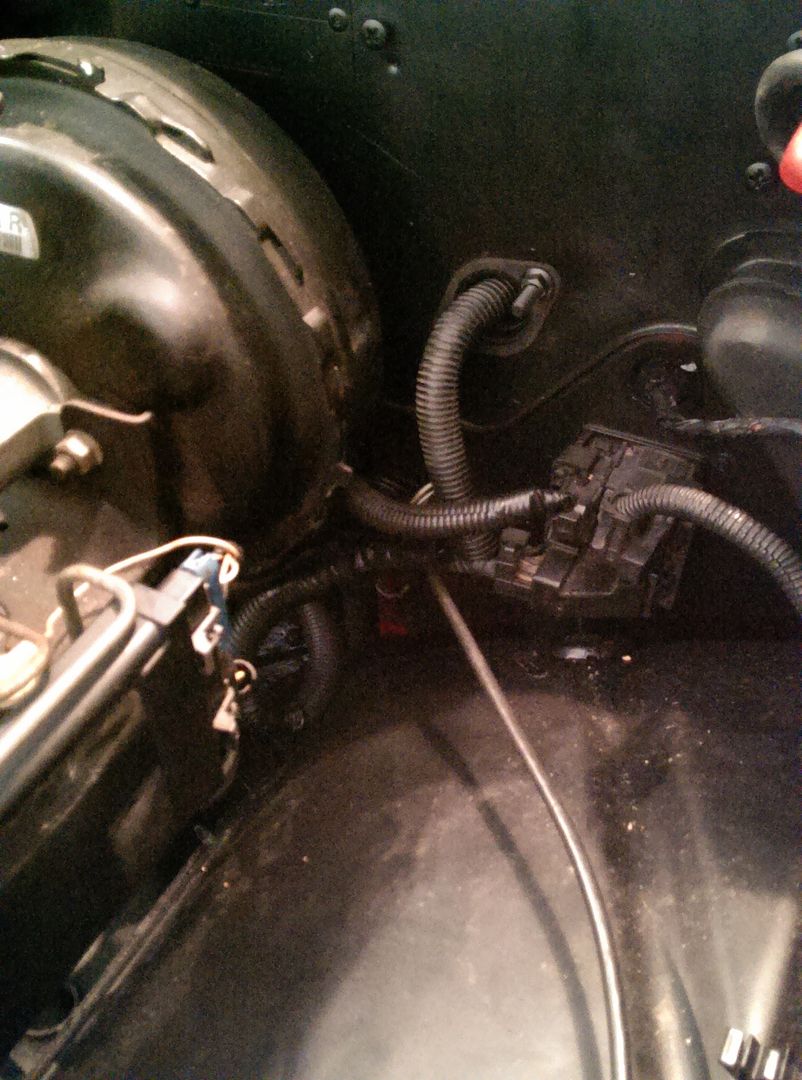
These are the 3 fuses that I'm adding for the; coils, injectors, and PCM itself. These wires brached off the pink wire from the ingition switch. These will be shrouded by that black plastic piece on the firewall.
I don't have a soldering iron so I just crimped each connector and did a "pull test" for each one, as well as heat shrinking each one. This process was used throughout the whole swap.
I used this existing firewall grommet to splice the wires from the computer to the white connector behind the glovebox to utilize the original fuse panel in the dash.
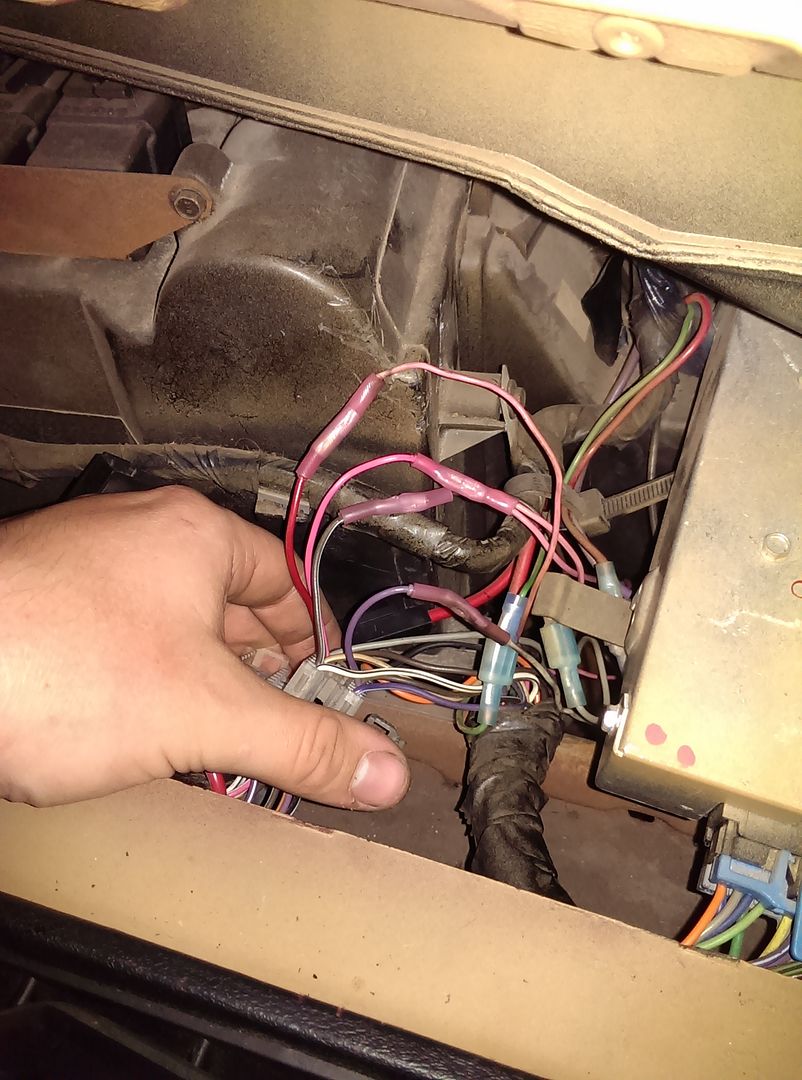
This is when the wiring was all complete minus the OBD2 connector.
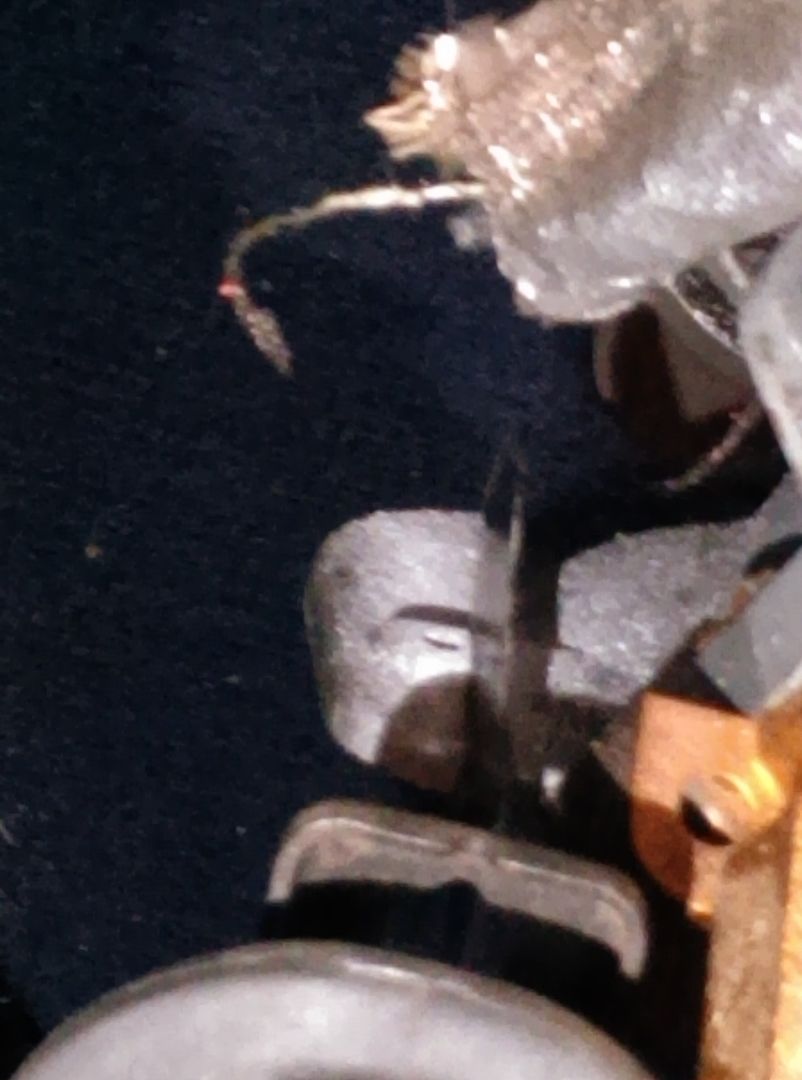
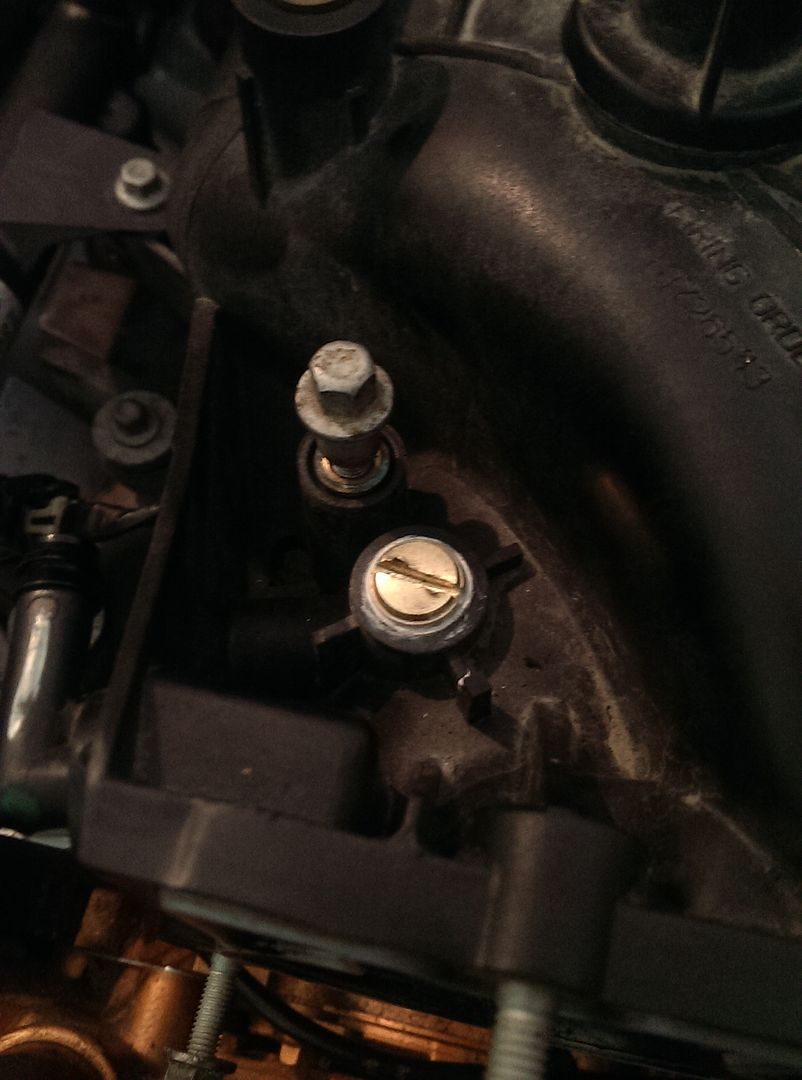
Took the 5.3 Oil Pressure SU and busted the platic portion off and drilled and tapped it for the 1990 Oil Pressure SU. Basically using the 5.3 one as an adaptor.
-
Heater hoses all routed, used spring clamps throughout to make it look as factory as possible.

Just cleaned upeverything in general.
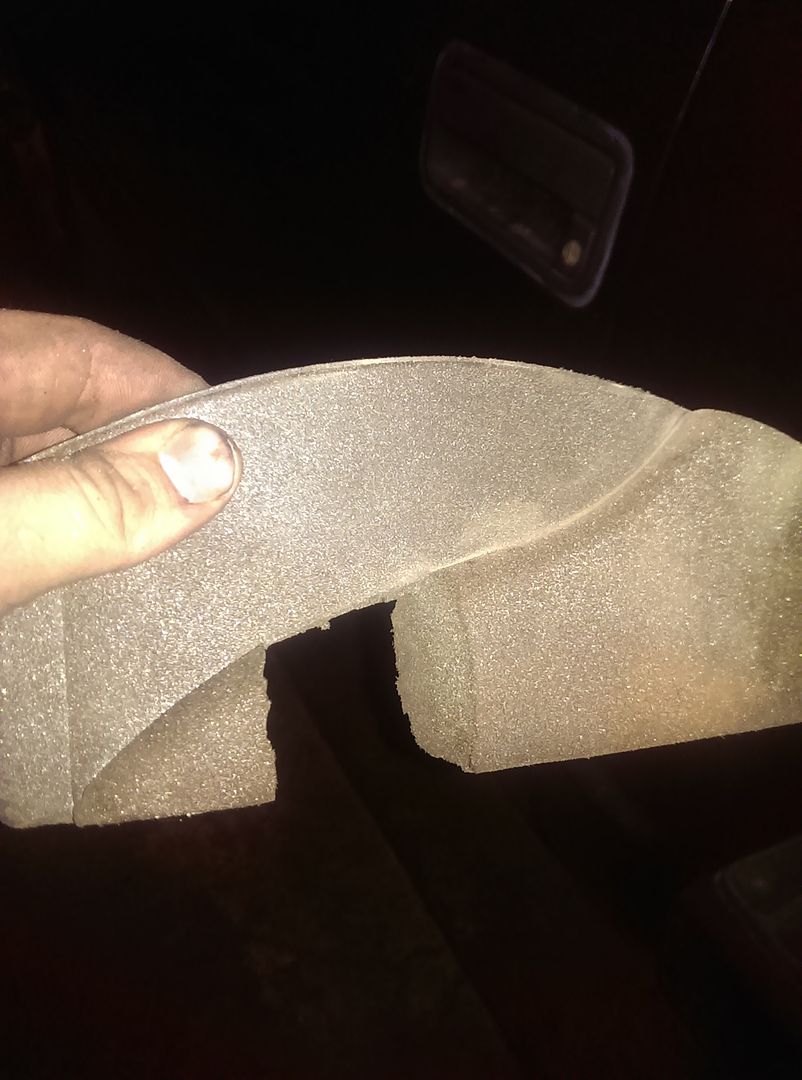
Cut a hole in the foam that goes underneath the intake to let the wiring go through and to keep it sealed up as well.
This whole area is a lot cleaner to me than what the factory had done.
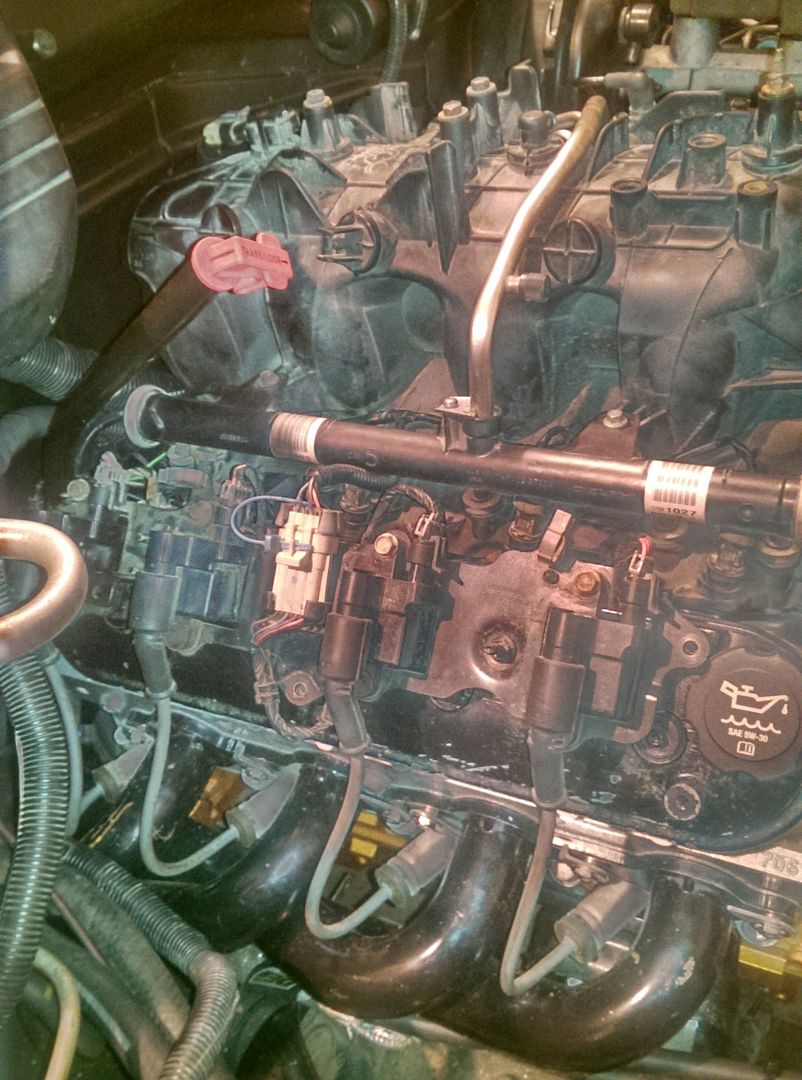
Looks pretty good to me!
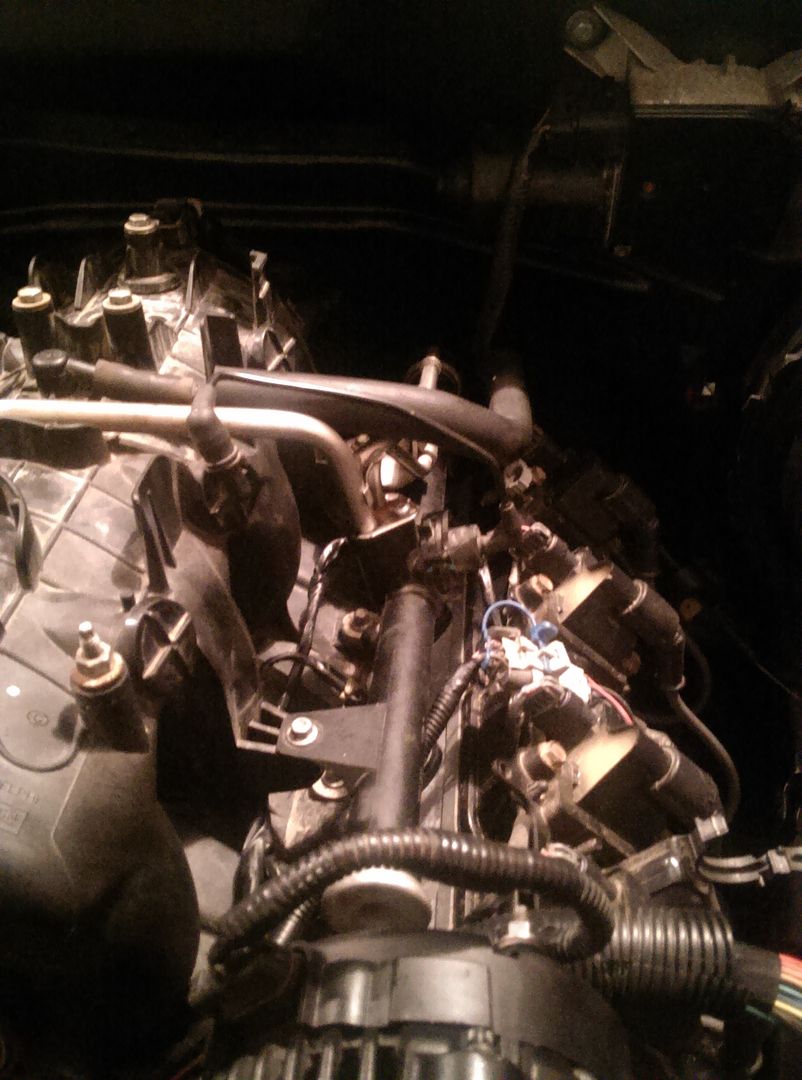
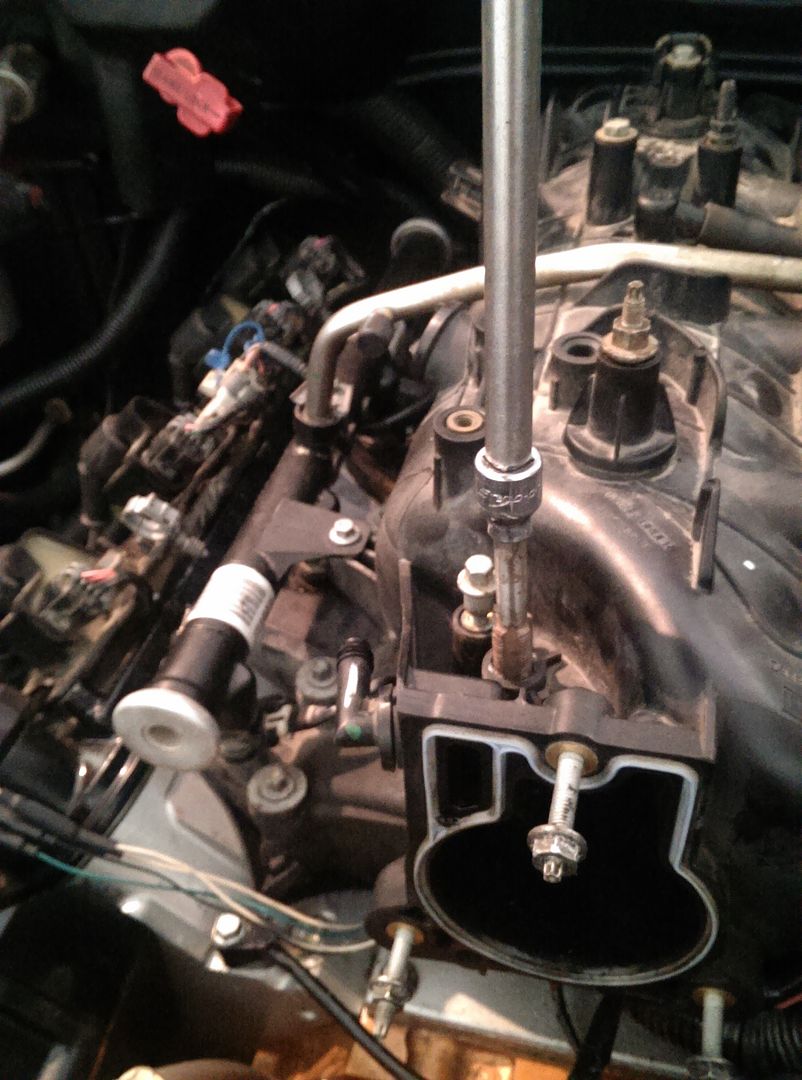
Both of my intakes have that bung for the hose that gose to the passenger valve cover, so I took that tube out of my TB and put this plug in it.
Tapped the hole for the EVAP solenoid to put a plug in it as well.
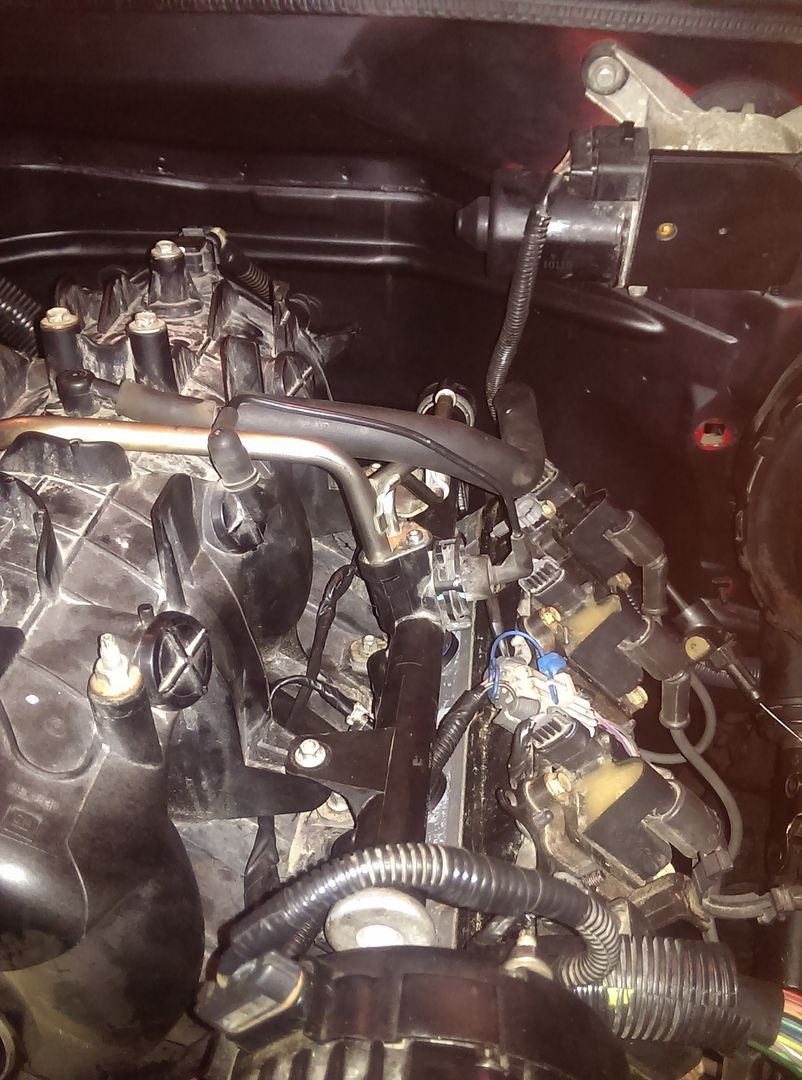
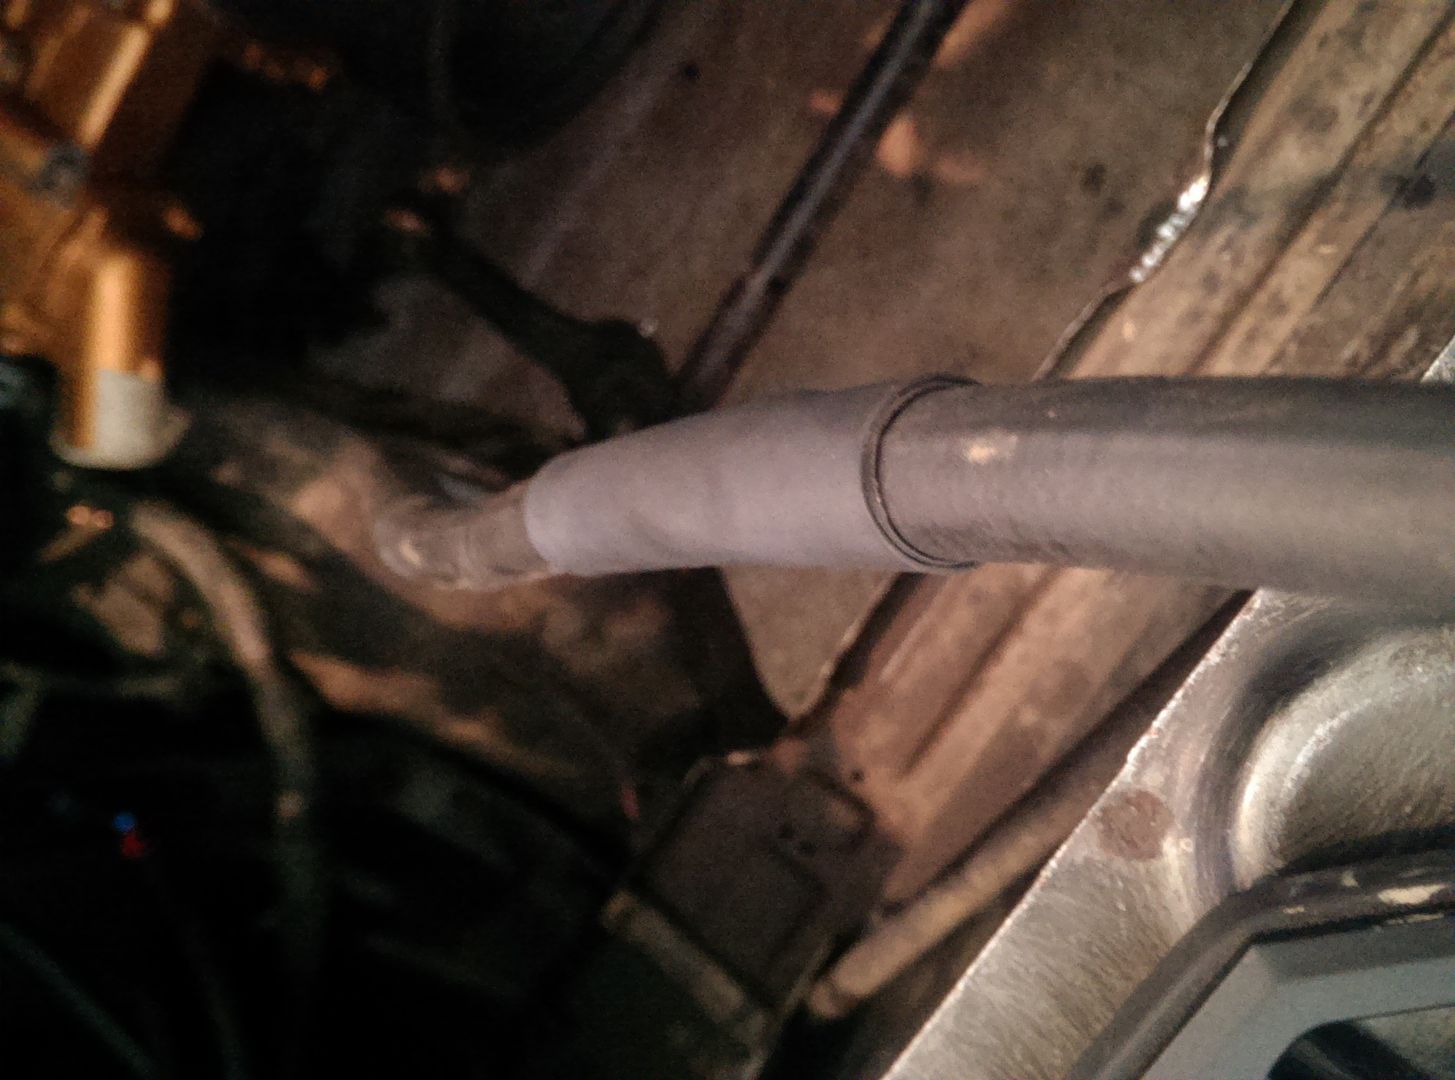
I flattend the core support where I roued my tranny cooler lines for the cooler in front of the radiator, then double heatshrinked the hoses so they wouldn't rub through.
Junkyard radiator mounts. I like these b/c if and when I go electric fans, I'll still have these clean OE looking mounts.
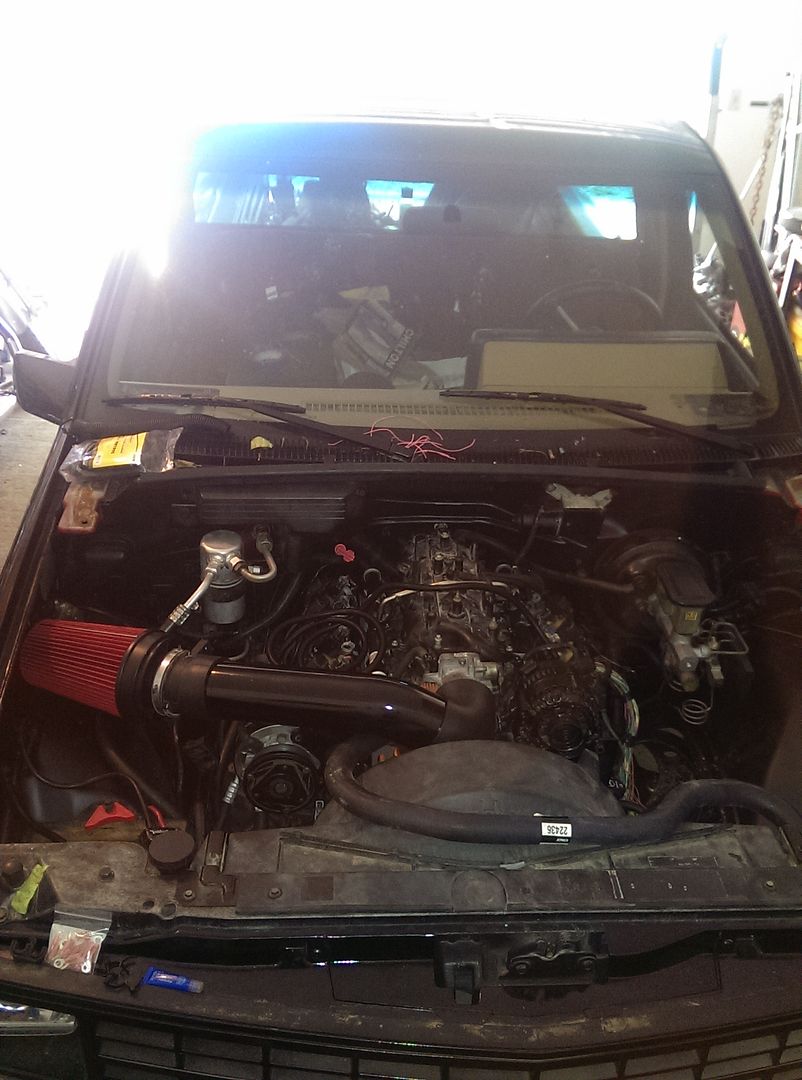
This is what it'll look like all put together!!!!

For a mount I took a factory mount off an OBD2 S10 to keep up with my OE theme under the hood.
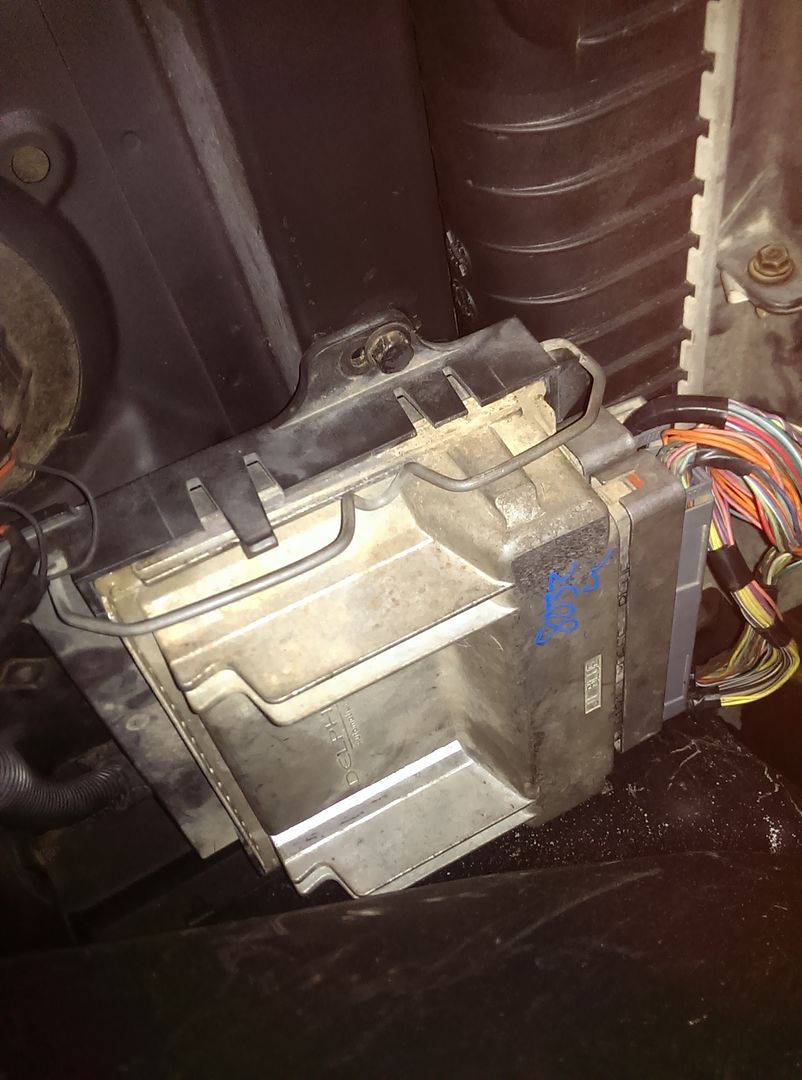
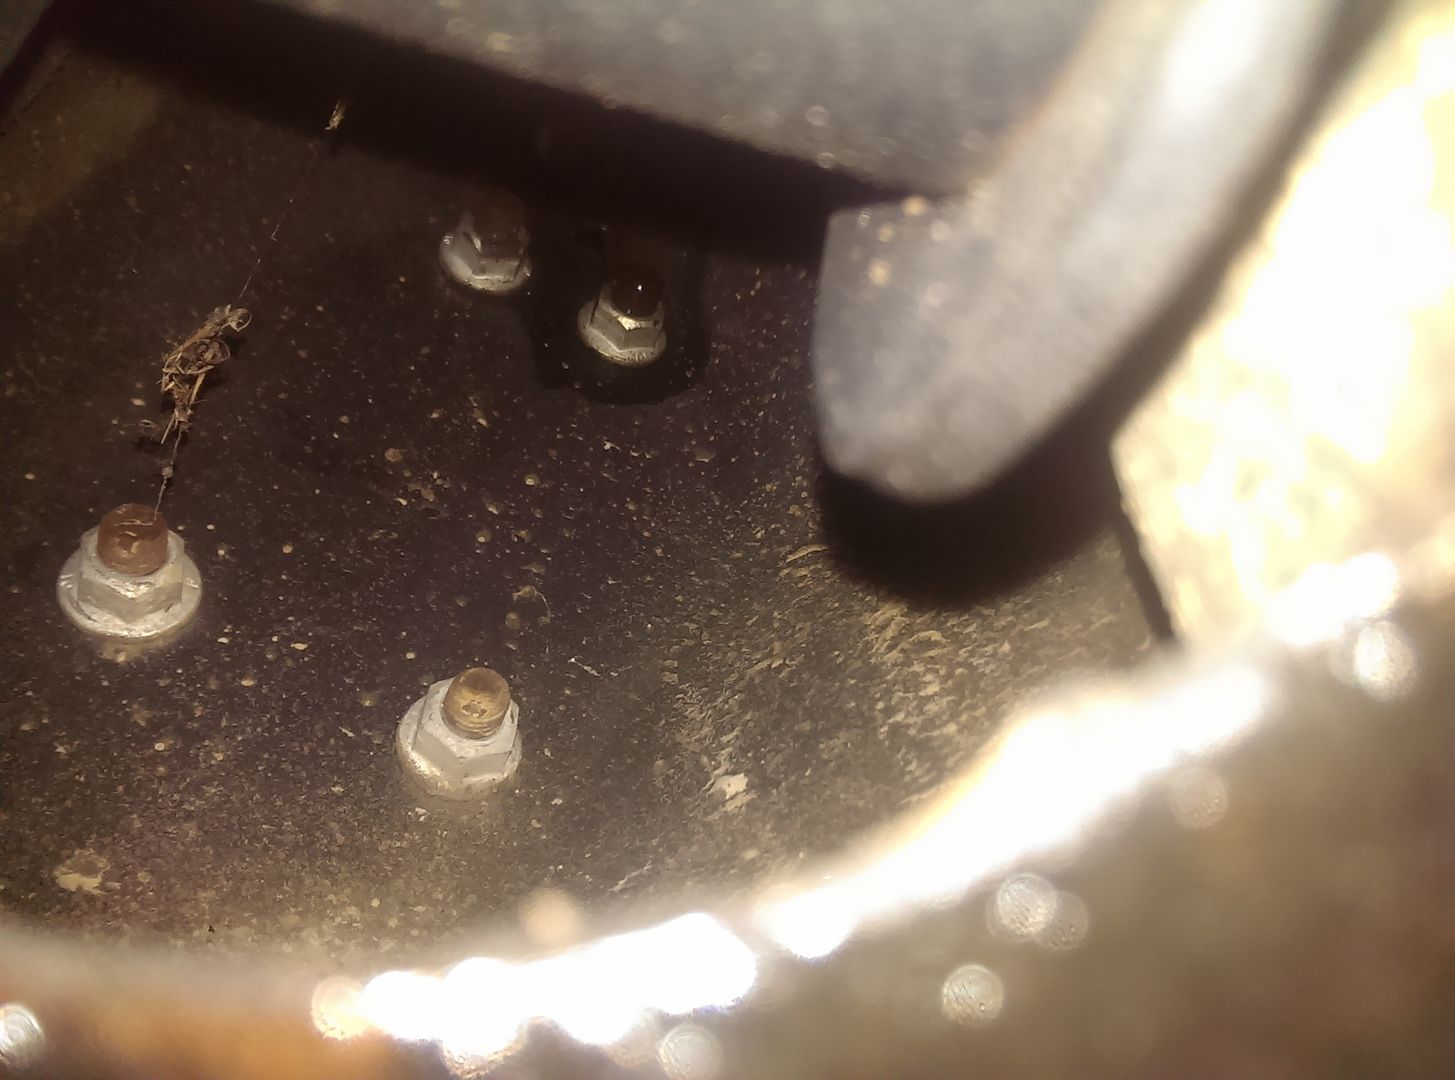
This is the PCM bracket bolted to the old fuel vapor canister mounting holes in the core support.
Hopefully this helps some people out there! If there are any questions just feel free to PM me.
-
It's looking great so far! Thanks for posting the details I'll have to think about cleaning up wiring like you did that looks great!
What did you use for the CAI? That also looks pretty good!
Tags for this Thread
 Posting Permissions
- You may not post new threads
- You may not post replies
- You may not post attachments
- You may not edit your posts
Forum Rules


 Reply With Quote


