


READ THE WHOLE ARTICLE BEFORE STARTING. THERE ARE SOME TIPS THAT MAKE THE DIS-ASSEMBLY EASIER.
Items needed:
Small flat bit screwdriver
7mm socket and 1/4" drive screwdriver
Soldering iron
8 LEDs of your choice and proper resistors
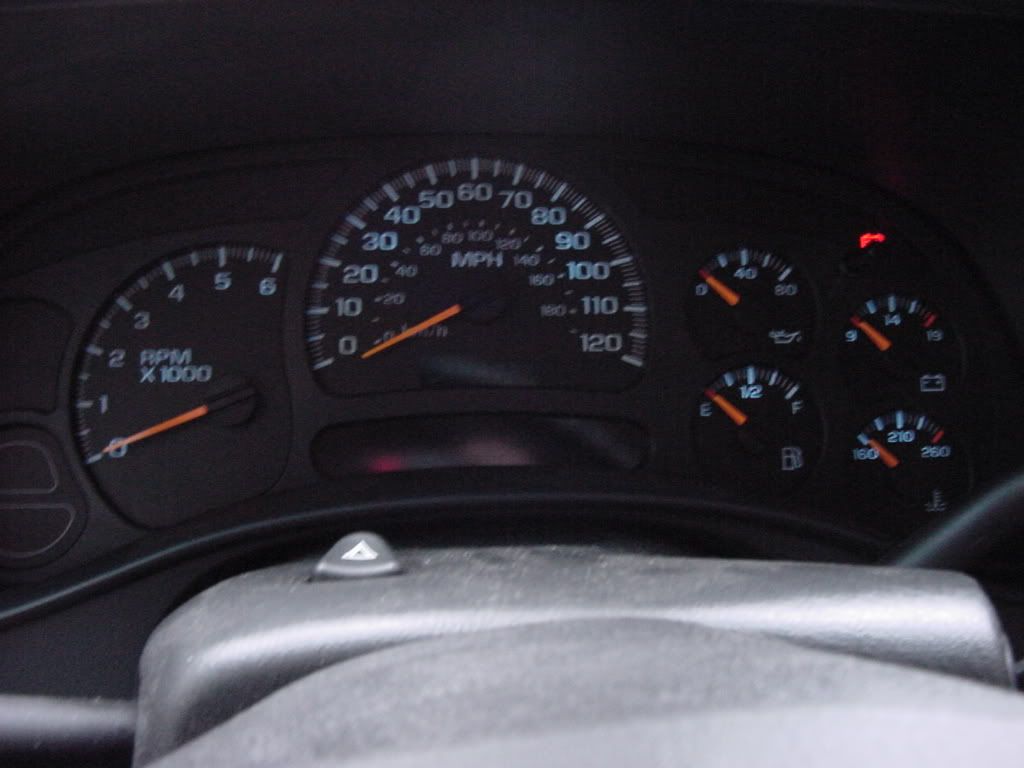
Set the parking brake and turn the key to accessory. With your foot firmly on the brake move the gear selector down to 1. Pull the dash bezel from around the gauge cluster, radio, and A/C controls. Once the bezel is off remove the four 7mm screws from around the cluster. Pull the bottom of the cluster towards you until the connector is easily accessible. Unplug the connector from the back of the gauge cluster and remove. Put the truck back in park, remove your keys from the ignition and head inside. Once you get the cluster out of the truck pull the front piece off, not the rear(you'll see why). To pull the front, there are four clips at the top that need to be released first, then pull the top out and the two bottom clips should release(if not use the small screwdriver to release the clips). Be careful of the button that sticks through the front so you don't hurt anything. Once the front is off twist all the needles gently to the left until they won't turn easily. Use a pencil and mark where each needle points, this will help tremendously when you reassemble the cluster. If you don't do this you will have to do extra work to make sure the needles are pointing in the right direction. I forgot to mark the needles and had to plug the cluster in with the front cover off and adjust the needles by hand. It would have helped to have a scan gauge or HPTuners so I could get the gauges spot on, but I didn't. The next step is to remove the needles. I gently pulled straight out and they came off fairly easy. Remove the gauge overlay and info button. There is a clear piece of plastic sitting inside of a white housing. You don't have to remove the clear piece, but don't forget to reinstall it when reassembling. Next un-clip the white housing from the black cover on the back. Its best to let the cluster sit on the black cover while removing the white housing.
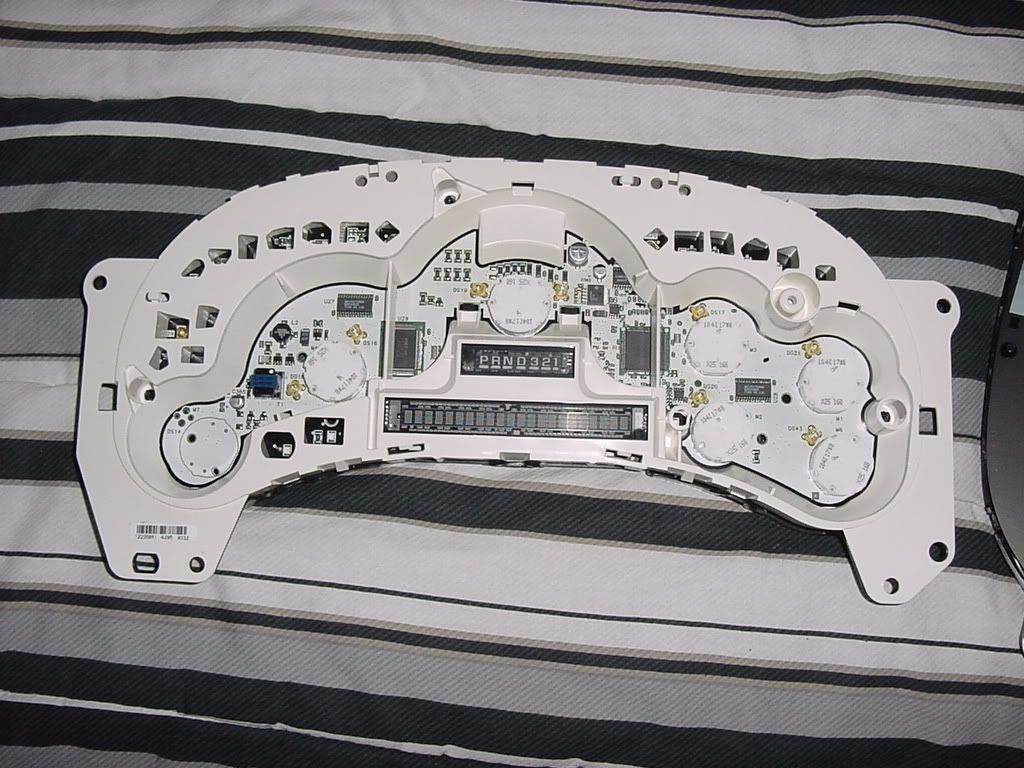
After you remove the white housing it will look like this.
Here are all the parts you should have. From left to right, top to bottom: white housing, clear plastic piece, gauge panel sitting on the rear cover, needles, gauge overlay, and front cover.
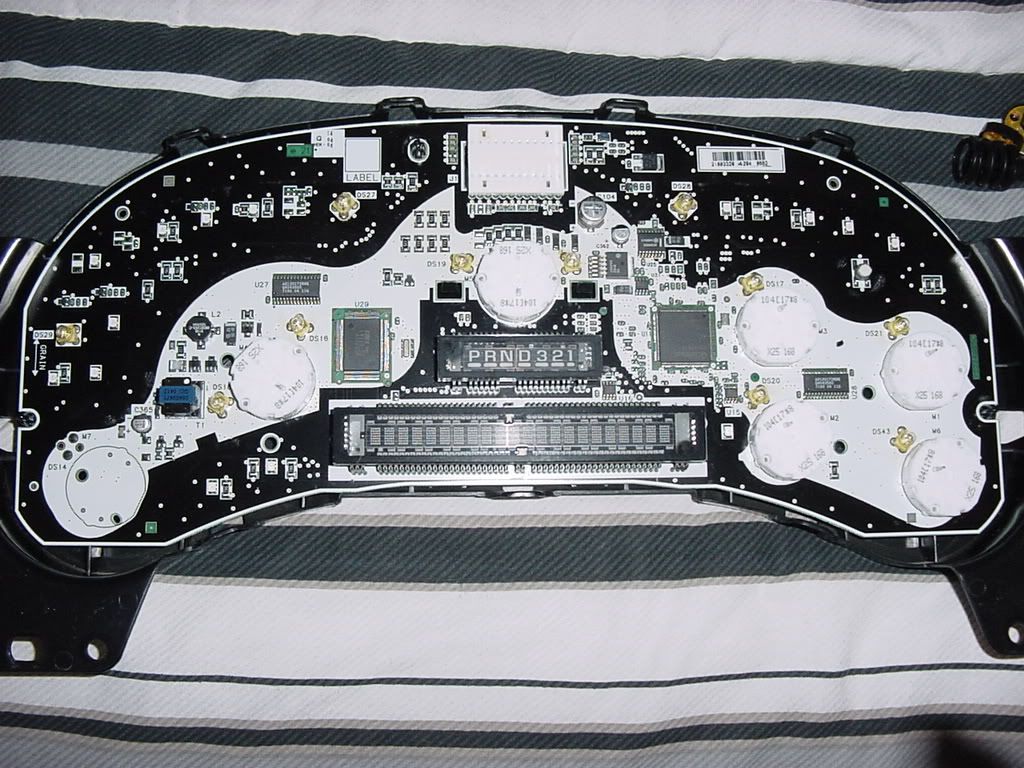
Here is the gauge panel.
All you have to do is de-solder the factory lights and solder in the LEDs. I am still waiting on parts from superbrightLEDs.com so I will update when I have my parts. After you finish soldering the lights you may want to test the cluster before you install it in the truck. Just assemble the white housing to the back cover so you don't drop the cluster when plugging it in. Plug it into the truck to make sure it works. If it does go reassemble the rest of the cluster making sure the gauge motors are turned to the left still. Lay the gauge overlay on the clear plastic(don't forget the info button!) and make sure its locked onto the little keepers. Line the needles up with the pencil marks and erase them. Snap the front cover on and reinstall in the truck.
If anyone sees any mistakes let me know so I can fix them.
Here is a calculator for resistors. You can buy resistors at Radio Shack.
LED calculator for single LEDs


 Reply With Quote


 haha good work
 Barks better than it bites......
