-
TRPLXL2's GARAGE
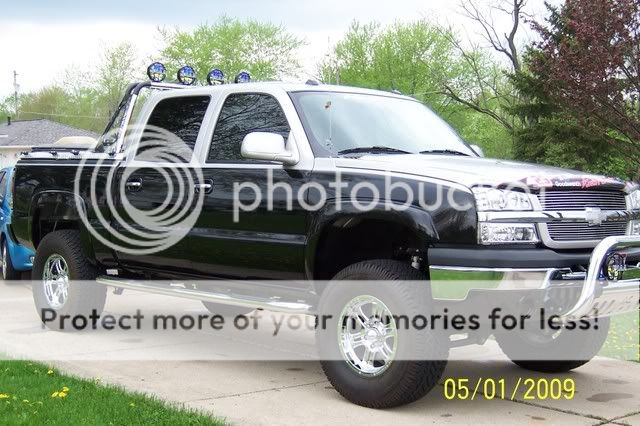
2005 REGENCY BADLANDER
Bought new from GM with the 6" Pro Comp suspension lift, and 35x12.50x17" Pro Comp All terrain tires. Weld Racing Velocity 6 wheels, dual exhaust w/ Regency tips. Katzkin two-tone leather interior, carbon fiber dash and steering wheel accents. Two tone "Copia" style paint, silver metallic top color and black onyx bottom color.
MODIFICATIONS I HAVE DONE SO FAR:
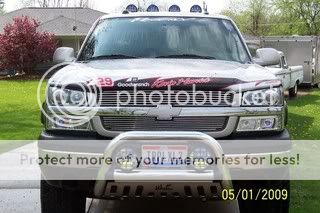
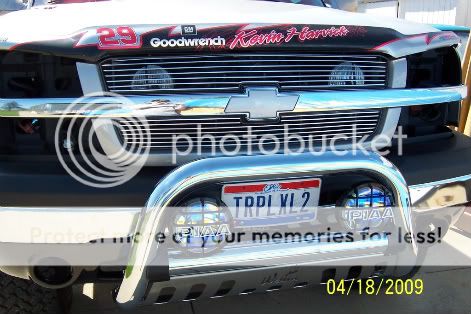
Westin 3" Bull Bar
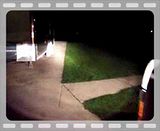
6-PIAA 520 series yellow ion driving lights (85 watt)
Billet grille insert, w/ painted bow tie
Matrix marker lights & Matrix headlights ( I just finished the rebuild on them, long long long story behind that!)
EGR Kevin Harvick bug shield (Bought because it matched my truck)
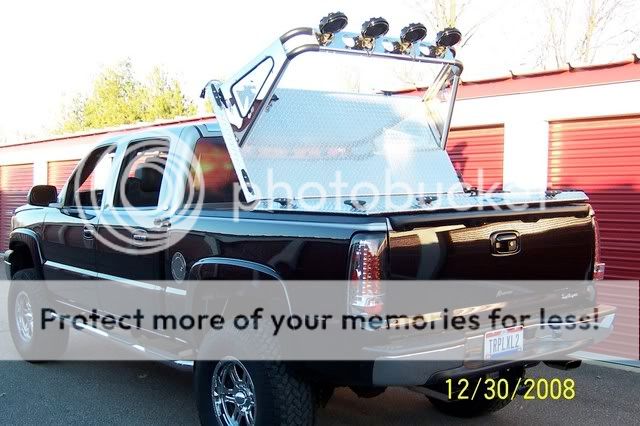
Go Rhino bed bar w/iron cross inserts
Diamondback bed cover (My favorite part of the truck)
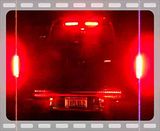
LED Tail lights
48" line of fire (60" kept burning out!)
IN PROGRESS:
Running all the wires to my new halo's in the headlights, AND the one off halo's I made for my two off-road lights behind the front grille. I am also making a switch panel for the overhead console in my truck, which will have matching carbon fiber switch covers. I have a ton of pictures of the tear down and install of my headlights, and the interior if anyone wants to see them I can post them in the how-to section.


-
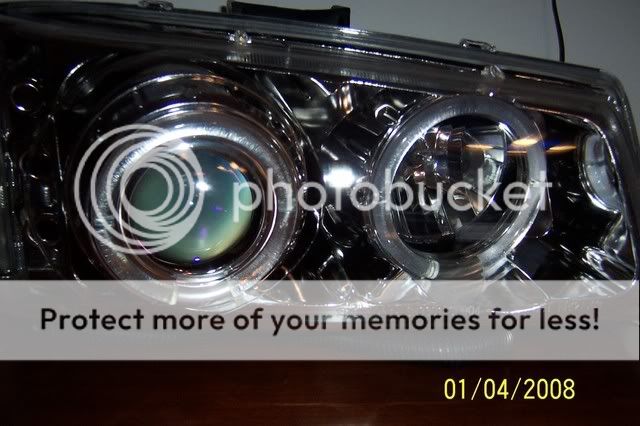
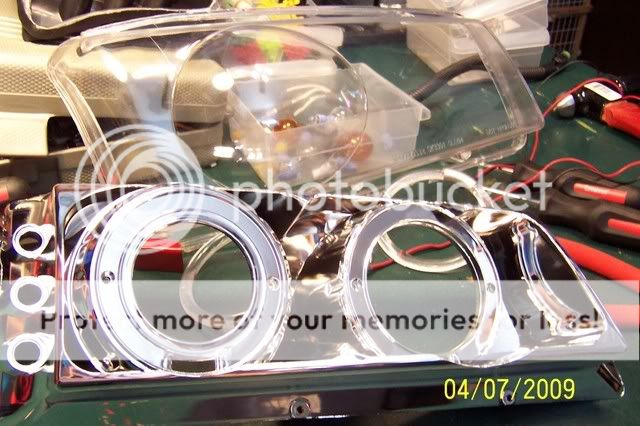
In December of 2006 I bought a set of Matrix projector headlights, and by the time I got around to hooking them up I found out that everything other than the high/low beam was dead on arrival. No halo's, no led's no nothing, so I couldn't return them so I threw them in the closet for two years. Finally got tired of them sitting around, so I decided to tear them down to see what was wrong with them. Here is a picture of what they looked like before I tore into them:
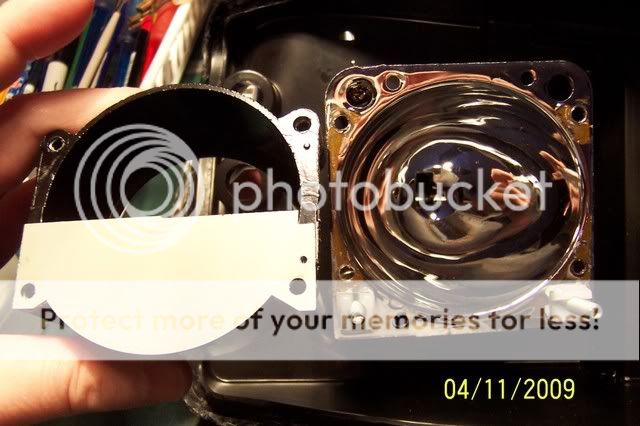
I used a hair dryer to get the headlight apart, it only took about 10 minutes per headlight no oven for this girl! This is a picture of the chrome and clear plastic cover of the headlight, the black and red wires coming out are for the halo's.
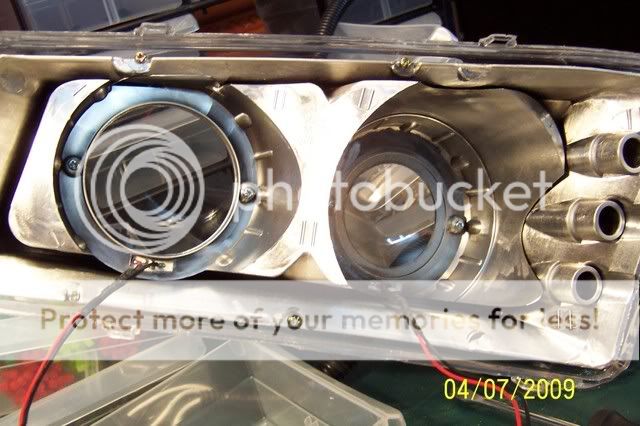
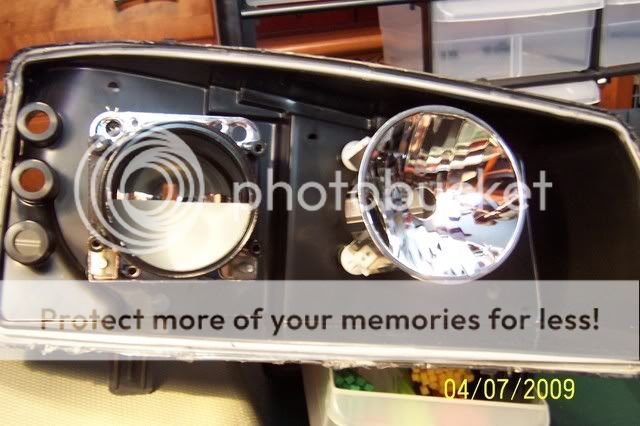
Here's what the inside of the headlights look like, not much there really other than the projector and the high beam reflector.
This is a picture of the dual H1 bulbs that the headlight uses, they were horrible light output so I decided to take them out and replace them with something better.
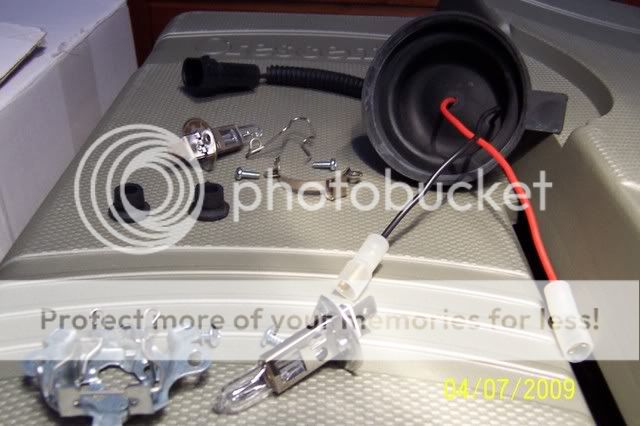
This is a picture of the low beam wiring which came with the headlights, the end of the wire including the boot was fried which had caused the passenger side bulb to intermittently cut out from time to time. Keep in mind these were the stock bulbs too, no fancy upgrades here any where!
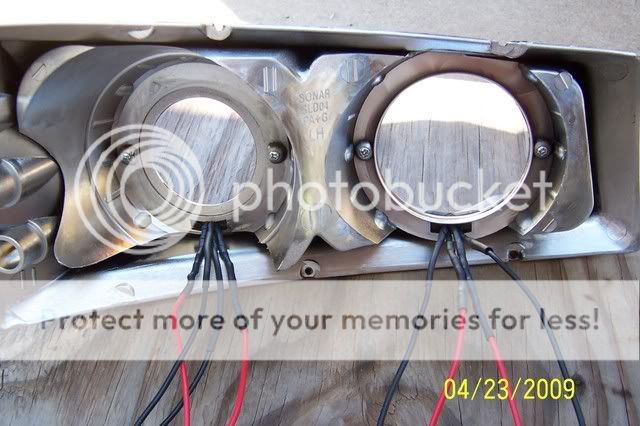
Here is the chrome show piece removed from the clear cover, it was held in by 6 tiny screws.
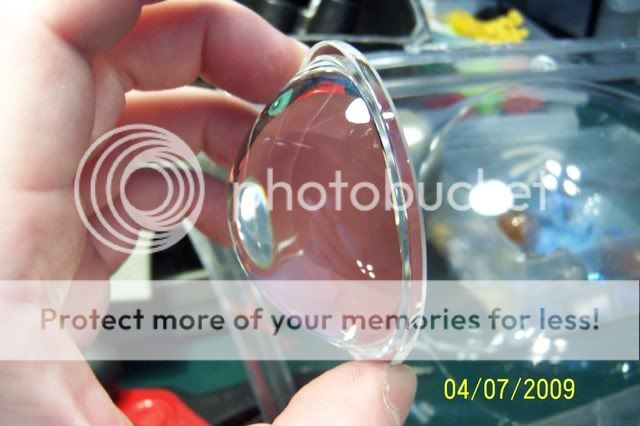
This is a picture of the actual projector lense, I did try flipping this upside down to see what would happen. It made the headlight look like a flashlight beam, s I ended up putting it back in like I found it.
This is the headlight without all of it's parts, you can now see the reflector plate inside the low beam housing.
Here are the halo's, I had to remove 2 screws per halo to get them out.
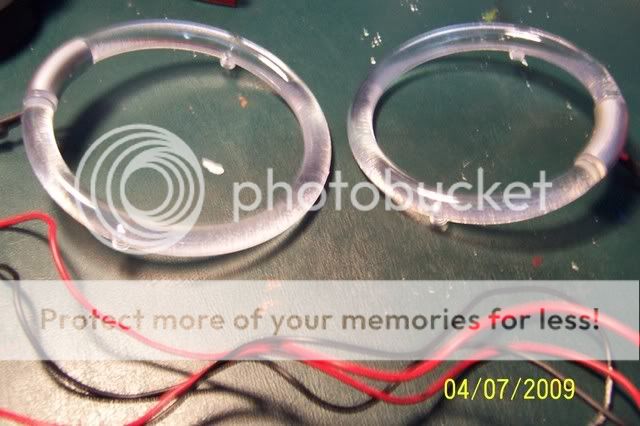
They had two 1mm white LED's in originally, hooked to a 4007 diode and a 220ohms resistor and they were dull as hell!
-
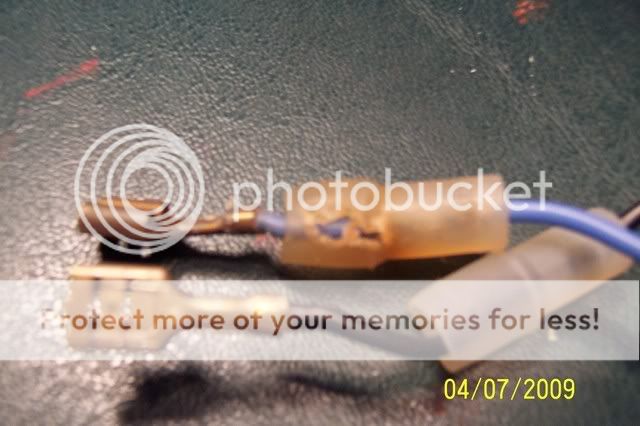
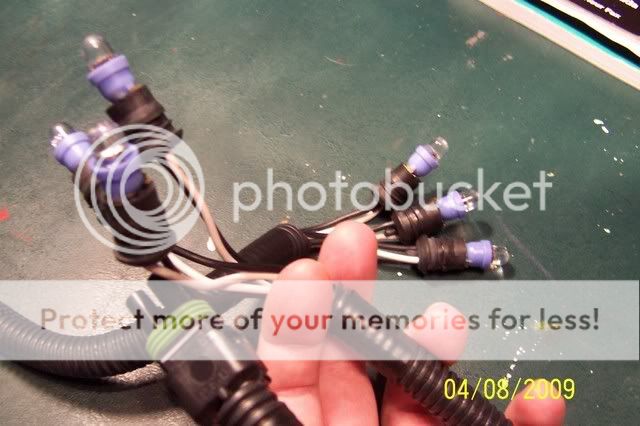
On the side of both the headlight and the marker light, are 5 LED running lights/turning lights. I made up this harness for them to be all linked together, but I ended up taking them back out when I got a ticket for having the color-changing one's in there.
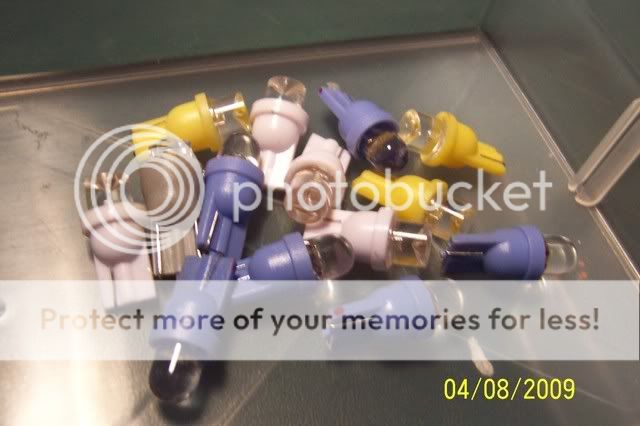
These are the LED bulbs that go in the turn signals, they are the 194 base and are a perfect fit. The blue base are color-changing, and the yellow base are the amber color and the white base is the white LED's which really look like a cool blue.
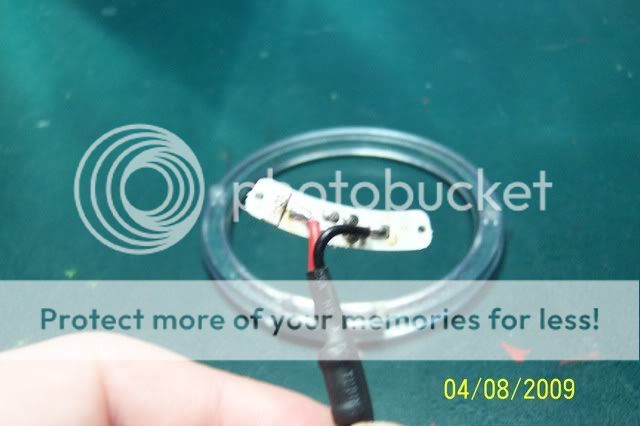
This is a cut down of one of the old halo light setups, which included two 1mm white led's and a 220 0hms resistor and a 4007 diode.
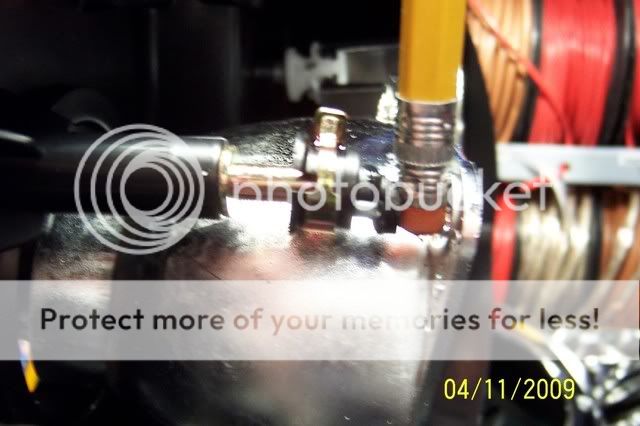
This is a picture of the low beam adjuster, in my case both headlights had this piece broken. My truck has a 6" lift on it and I suspect these headlight's weren't made for that kind of adjustment, before I took them out the actual light would bounce around and not stay still. All the adjuster amounts to is a plastic knob held on by a metal clamp, and then it's actually glued into the projector housing!
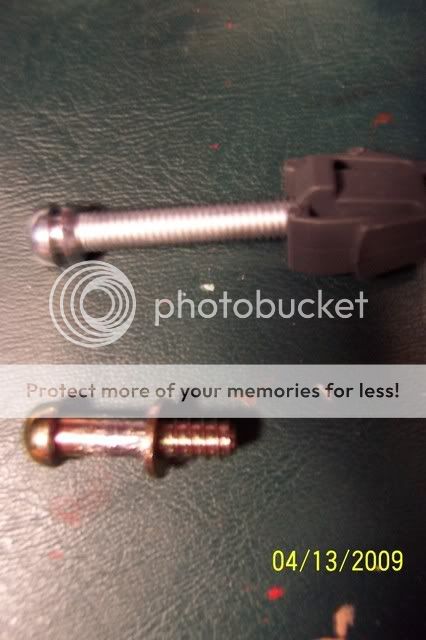
The bottom adjuster in this picture is the one that was in the headlight, the one above I bought a set of four of them from Auto Zone for $1.99. Notice the extra length of the one I bought, that gives me enough play now to adjust them down properly.
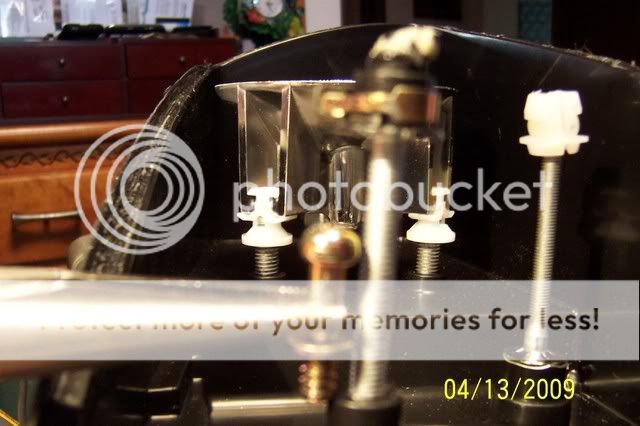
Here is the new adjuster screwed in place of the old one, which is on the left hand side as you can see it is way shorter than the new one. I replaced everything with all metal parts, no more plastic crap to break off in there now.
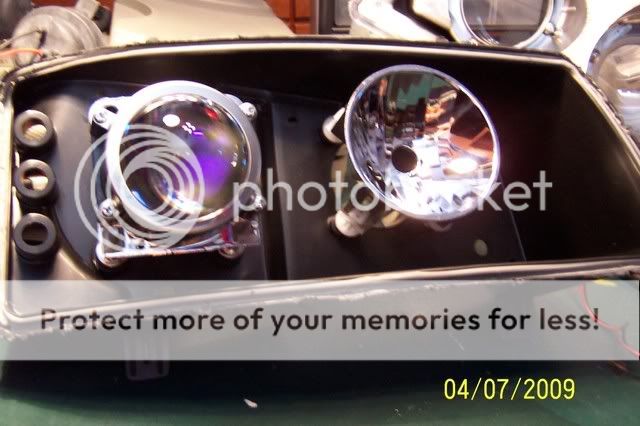
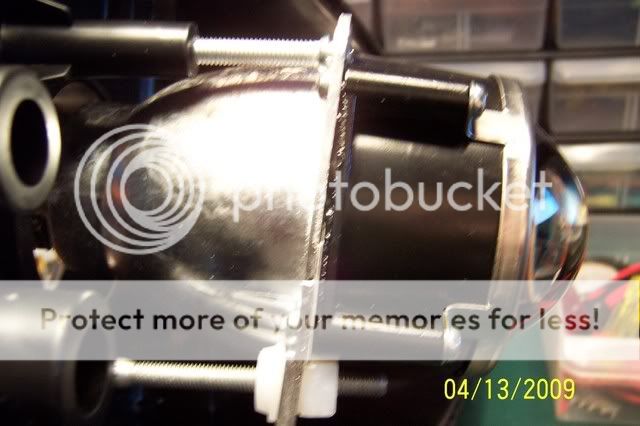
This is a completed projector rebuild side shot, notice the increased downward angle with the new adjuster. My old one wouldn't even give a 5 degree slope, so this enabled me to compensate for the lift kit.
I did experiment with the reflector plate in the projector, I had put them back together without the block off plate and all it did was scatter the light all over the place. I had to put it back how it was unfortunately, I didn't want to cut or modify it just in case I messed it up.
-
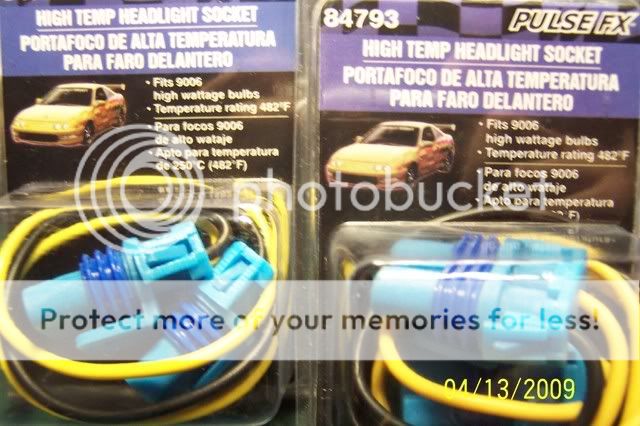
I put some high temperature headlight sockets in place of the stock one's, I didn't want to skimp on $30 worth of parts and end up frying my wiring.
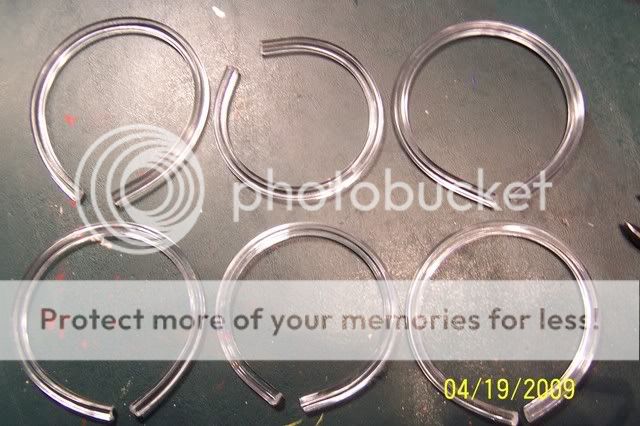
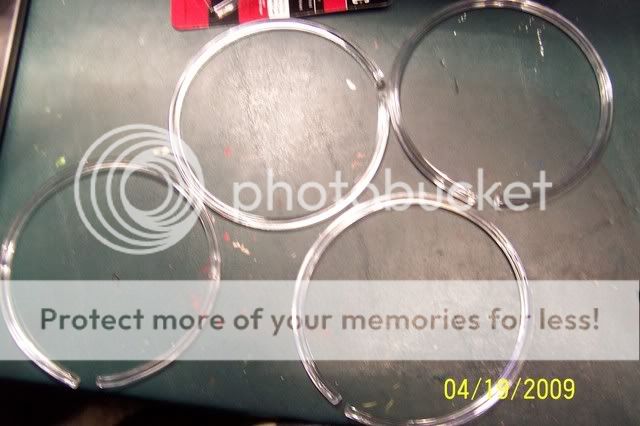
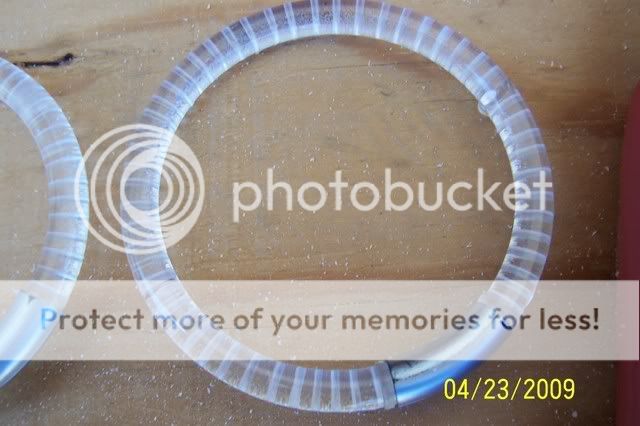
I made my own halo's out of a clear acrylic blind adjustment rod from Home Depot, they turned out pretty good for my first time doing them.
These are some halo's which I made to fit my 6" off-road lights, and they came out absolutely perfect the first time.
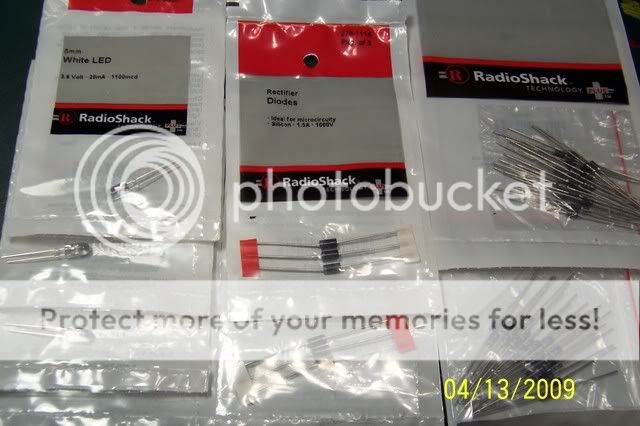
I went to Radio Shack and bought a bunch of 5mm LED's to try out, and then I got the 4007 diodes and 330 ohms resistors to do the trick.
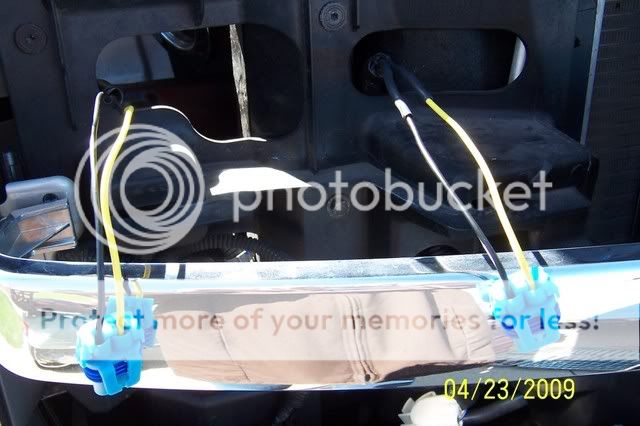
The lights you see behind my grille, are the 6" lights that I put my halo's on and they look awesome. I haven't got them permanently wired yet, but I will post some pictures once I'm done with them.
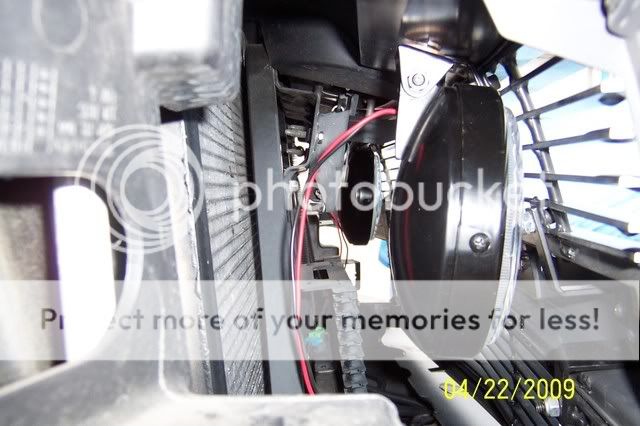
This is a back view of the lights behind the grille, there is plenty of room to spare. I used the existing holes in the grill shell, the billet insert adds support to the lights. They are light weight aluminum, so they are very sturdy in there present location.
I took a dremel and made cuts onto the back of the ring, it actually makes the halo's a lot brighter than stock. It refracts the light perfectly, although it took forever to make all those cuts.
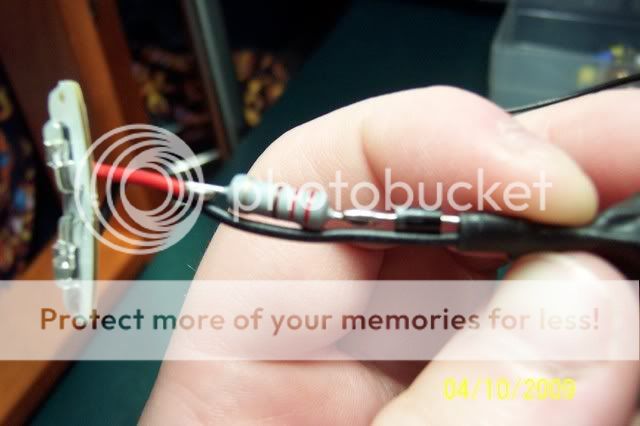
After I soldered the new halo's, I ran all the wiring back through the headlights and got them heat shrinked and put back in their place.
-
This is after I put one of the headlights back together with all of the new parts, as you can see there are quite a few wires hanging out the back for the halo's. I tryed to desolder the old board but it ended up cracking, so I had to run the wires off of each LED lead.
This is the completed back view of my headlight, I decided to use 18awg wire instead of the 22awg they had used. I also used rubber grommets in the holes for the halo's.

I put a layer of reflective tape down where the halo's sit at, this helps keep the light from refracting all through the housing.

These are the high temperature headlight sockets after I spliced them into the factory wiring, they also gave me some extra slack to move around with were the stock harness is very short.
This is the first fitment with them in the truck, I had rubber bands holding them together while I made some adjustments.
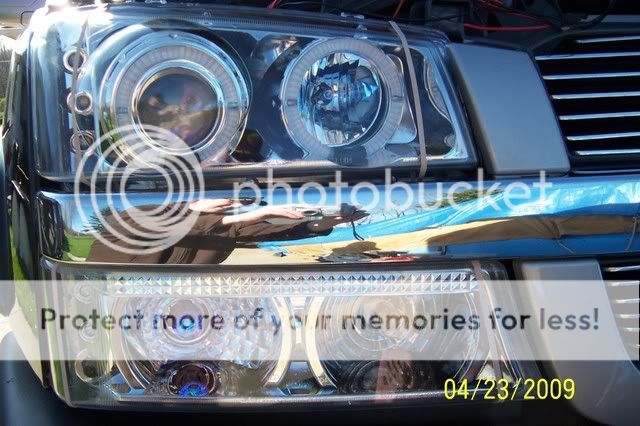
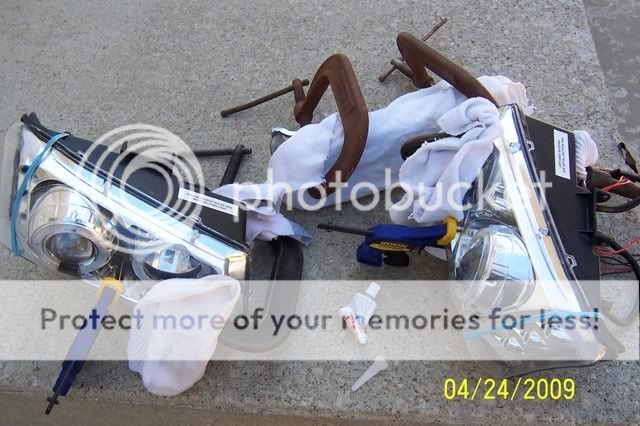
I put a thick bead of RTV silicone all around the channel for the headlights, and then I held them together with a variety of clamps, vises, and rubber bands wound REALLY tight. It was hard to get the clamps to stay, because the whole housing is curved so it was a challenge to say the least.
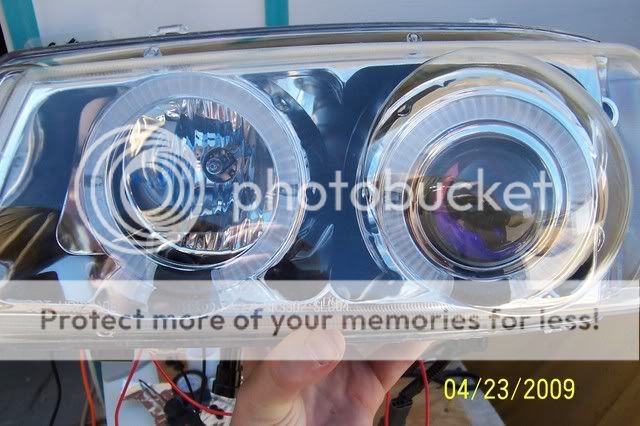
In this picture i only had the low beams and running lights on, but you can still see the halo's because of that reflective tape which is kind of cool.

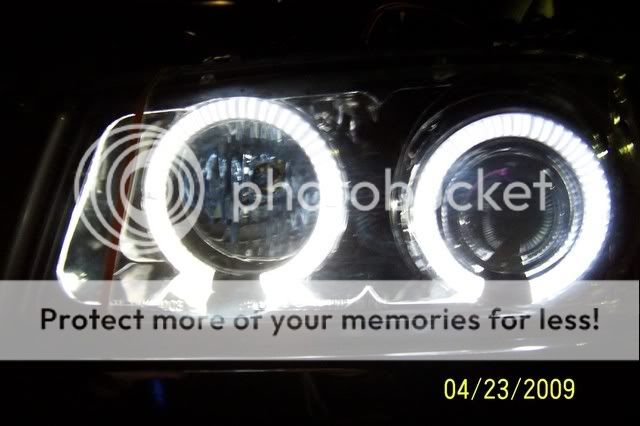
Here are the halo's and running lights lit up, I was very happy with the results considering this is the first time in 4 years that I have seen them lit up!

Here are just the halo's lit up, which is how I am going to wire them once I finish up my switch panel.
Here's a couple video's if you want to check them out.
-
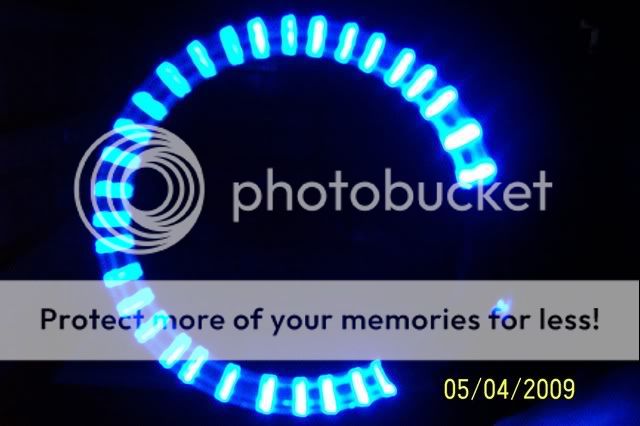
Here are some other colors I experimented with, but I had to go with the white halo's because of legal issues here in Ohio. Here is a halo with two 5mm blue LED's.
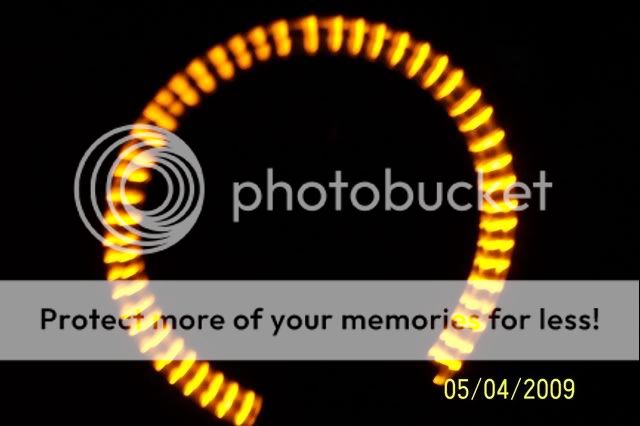
Halo with two 5mm yellow LED's, although it actually looks orange.
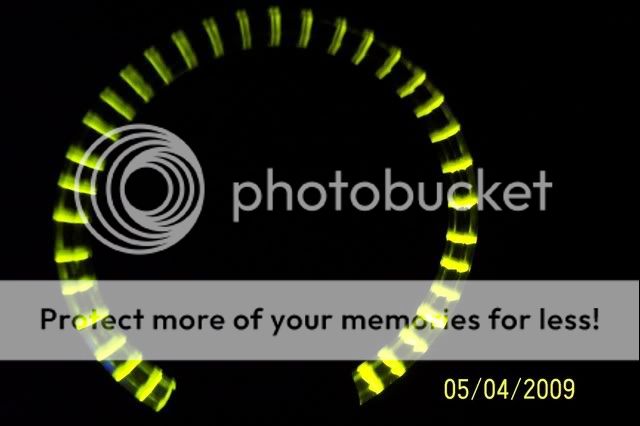
Halo with two 5mm green LED's.
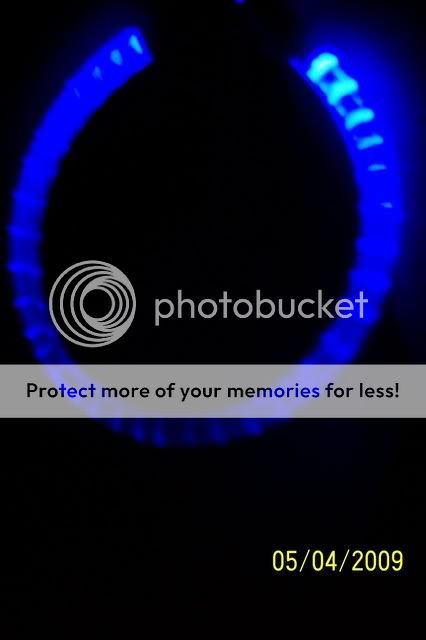
Halo with two 5mm ultraviolet LED's, they are actually just like a black light.
Halo with two 5mm pink LED's, of course the crowd favorite!
That's all for now, until I get my switches done................
 Posting Permissions
- You may not post new threads
- You may not post replies
- You may not post attachments
- You may not edit your posts
Forum Rules


 Reply With Quote