Today, Vista 4.8 helped me remove the blocks and install 2WD u-bolts to lower my truck. We went into the whole procedure blind because we couldn't find any good articles out there, so I though that I'd help out whoever decides to do this in the future. This is at least a two person job.
Vista 4.8s Truck:
Tools needed:
22mm deep socket
Ratchet
Pneumatic impact gun
Air compressor
Jack
4 Jack stands
Someone to help
Parts needed:
Four (4) 2WD u-bolts: GM Part # 15002781
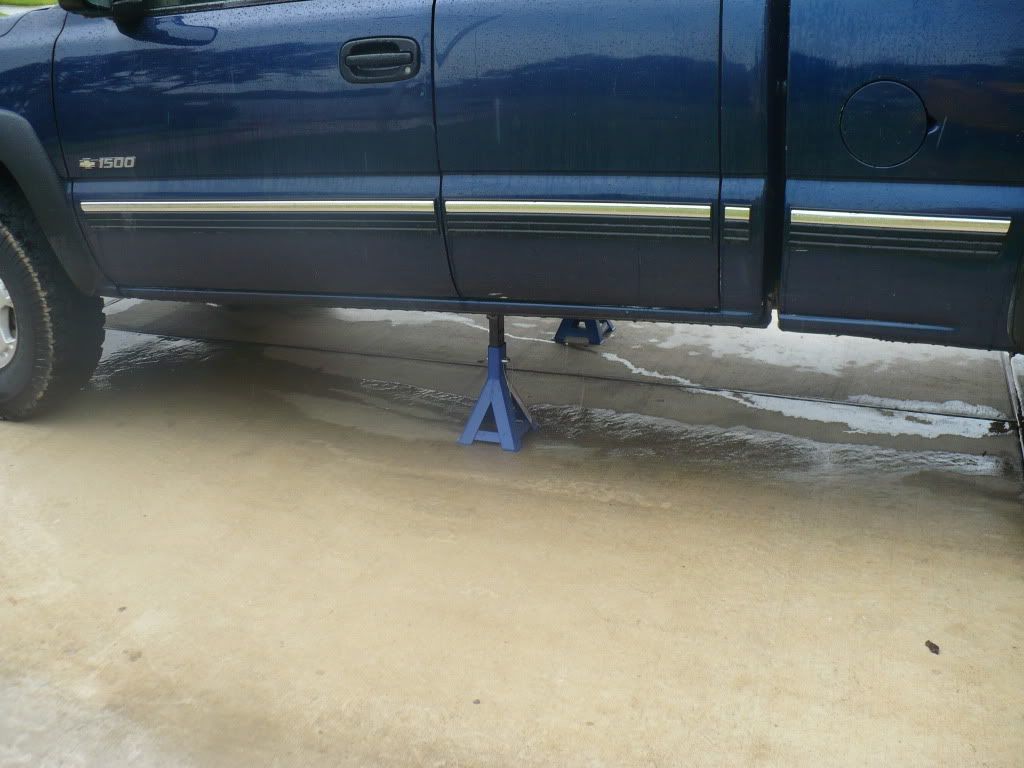
MAKE SURE THAT YOU DO THIS ON A LEVEL SURFACE. OK, the first thing that you'll need to do is to raise the truck up by the frame. This is to remove the tension from the leaf springs and stock u-bolts. We accomplished this by placing a block of wood on the jack and positioning it on directly on the frame. You will want to place the jack stands more towards the rear of the frame. MAKE SURE THAT THE SECTION OF FRAME YOU PUT THE STANDS ON IS STRAIGHT AND NOT CURVED!!!
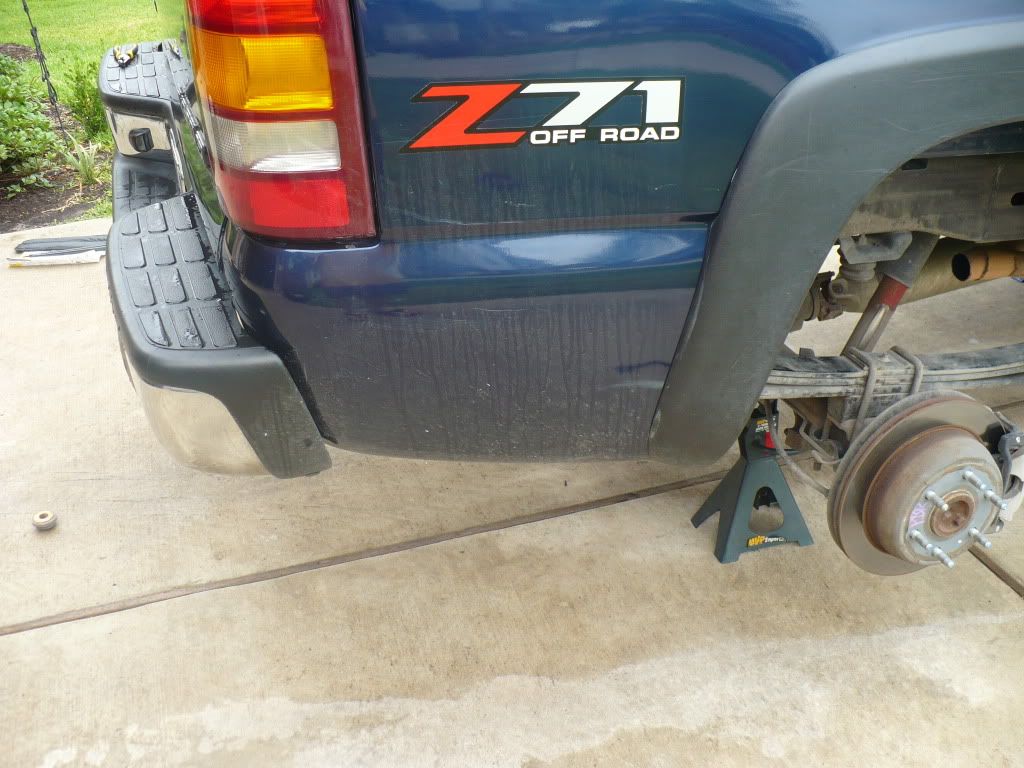
This picture doesn't show exactly where the jack stands were placed but it can kinda' give you an idea of where to put them.
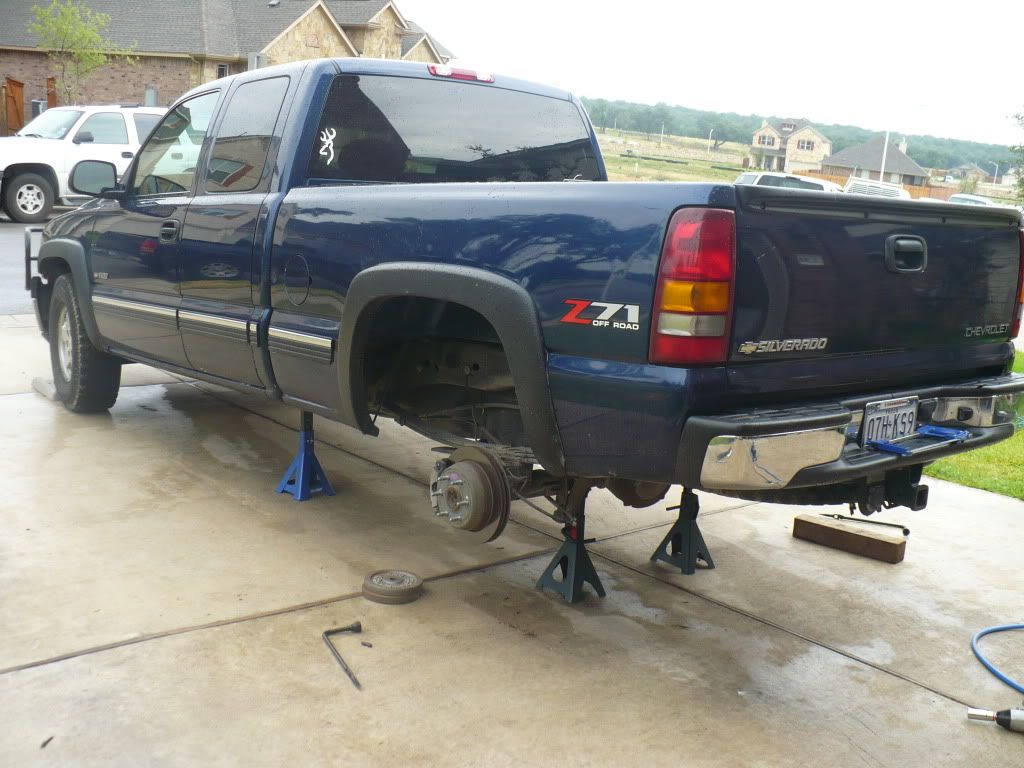
Next, you will need to take off your two back tires. To do this, place the jack underneath the rear differential and lift the truck. Then, place the other two jack stands underneath the axle at an equidistance apart. Then proceed to remove the tires/wheels.
After you have removed the two rear tires, you will want to take the majority of the tension off the axle. Do this by keeping the axle jacked up, but just barely jacked up. Make sure you have your jack stands in the same spot underneath the axle.
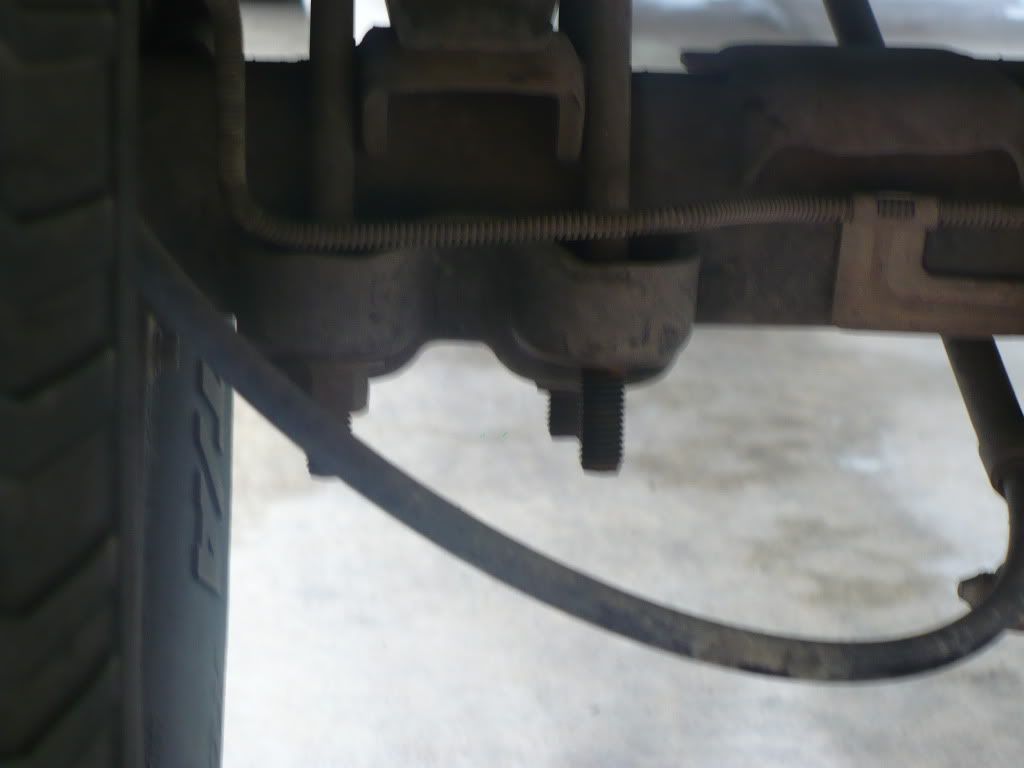
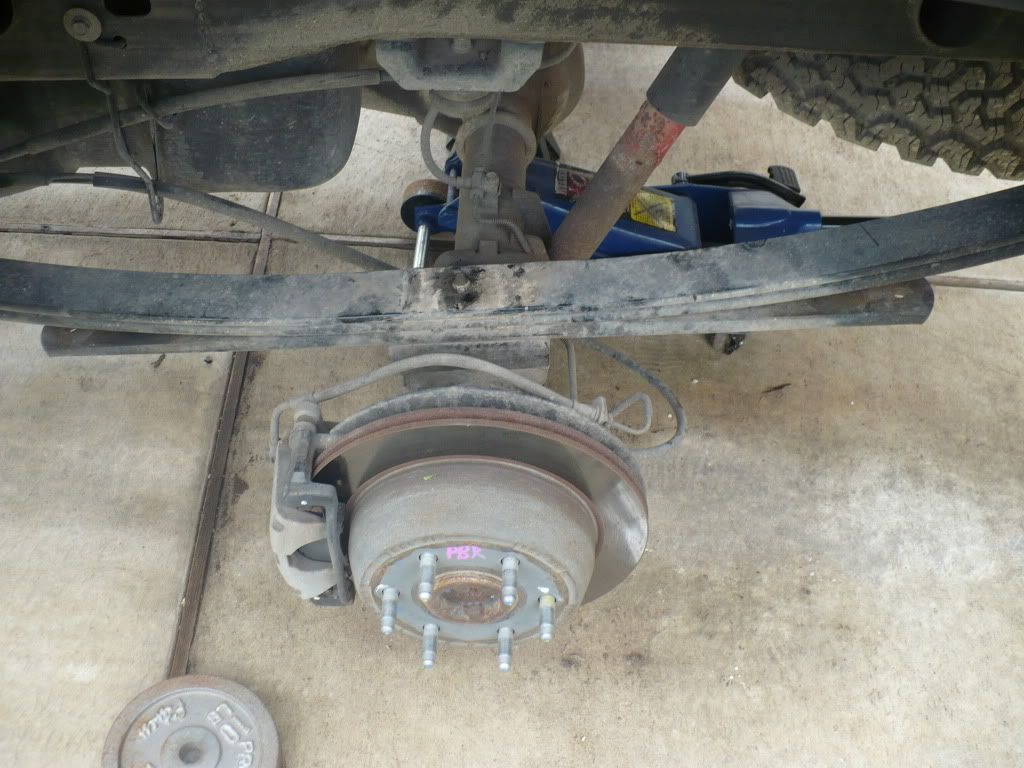
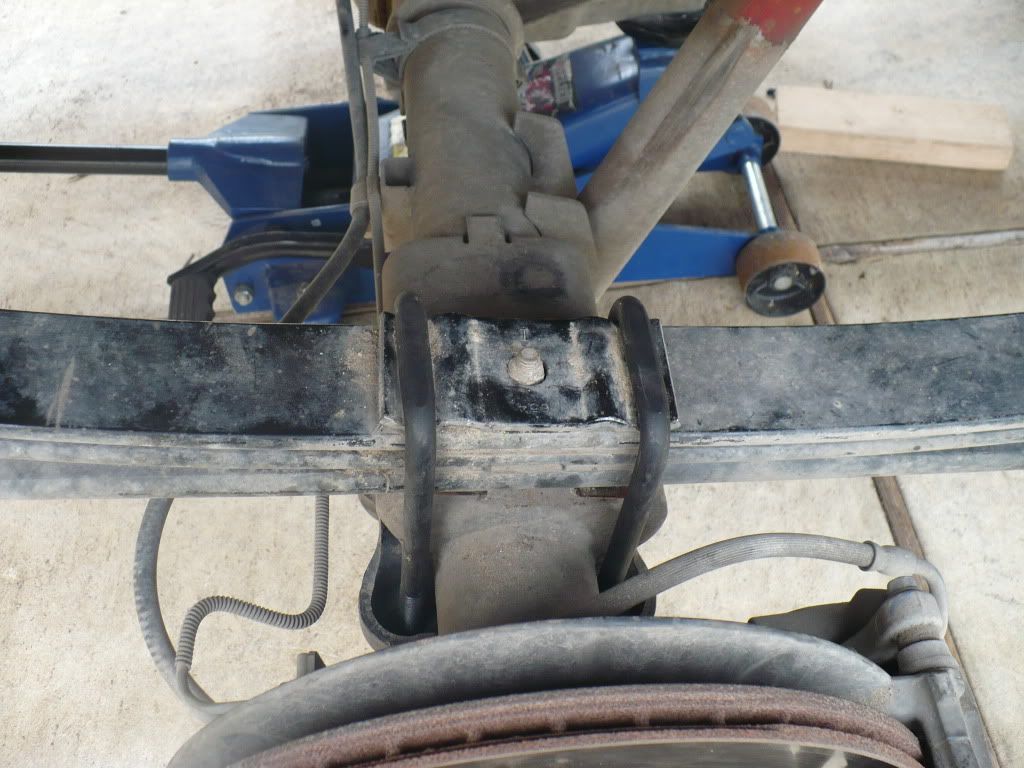
Now you can begin to remove the stock u-bolts. This is where you'll need the 22mm deep socket and the pneumatic gun. Here are the stock u-bolts and nuts.
If you look, you can see that the closest nut on the right has already been removed. Do one side of the truck at a time and remove the four nuts that hold the u-bolts. Once the nuts have been removed, you can pull the old u-bolts off. Make sure that you set the bolts and support plates that were removed somewhere that you won't lose them. Once you've finished one side, continue to do the same on the other.
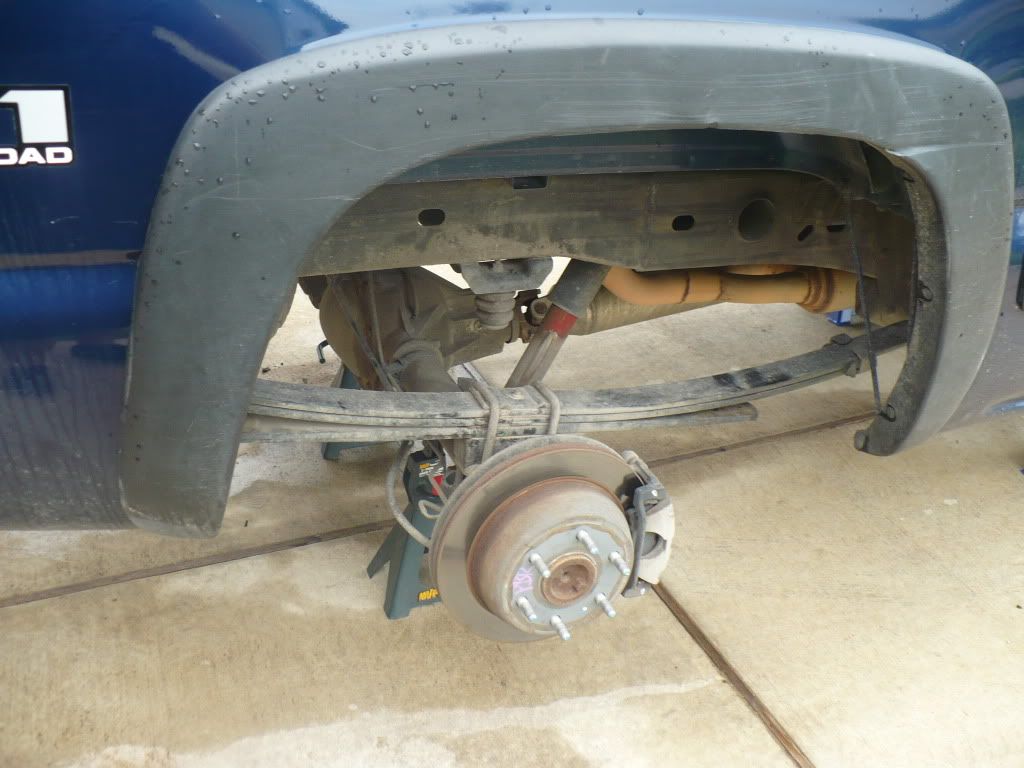
Here is what it looks like with the u-bolts removed.
Now you will need to remove the lifting blocks. To do this, either you or your buddy will need to push down on the axle. Once there is enough clearance you should be able to pull the blocks right out.
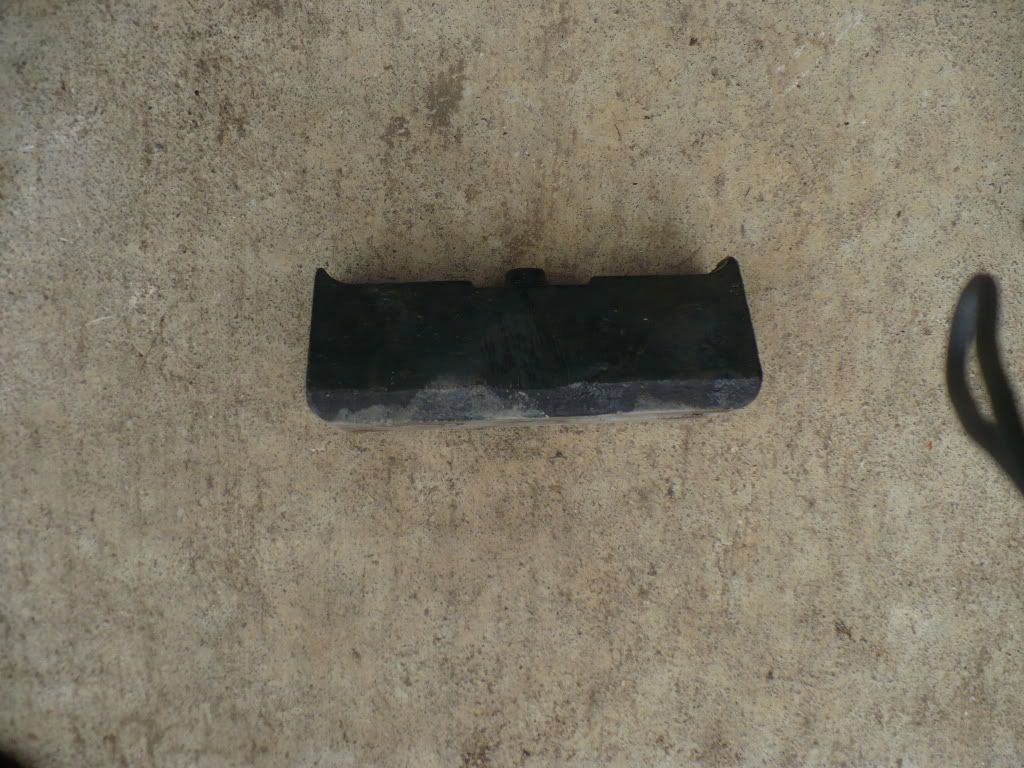
Here is the block. Notice the little nub towards the top of the block. This nub fits into a hole on the axle. You need to push the axle down just enough to get the nub out of the hole.
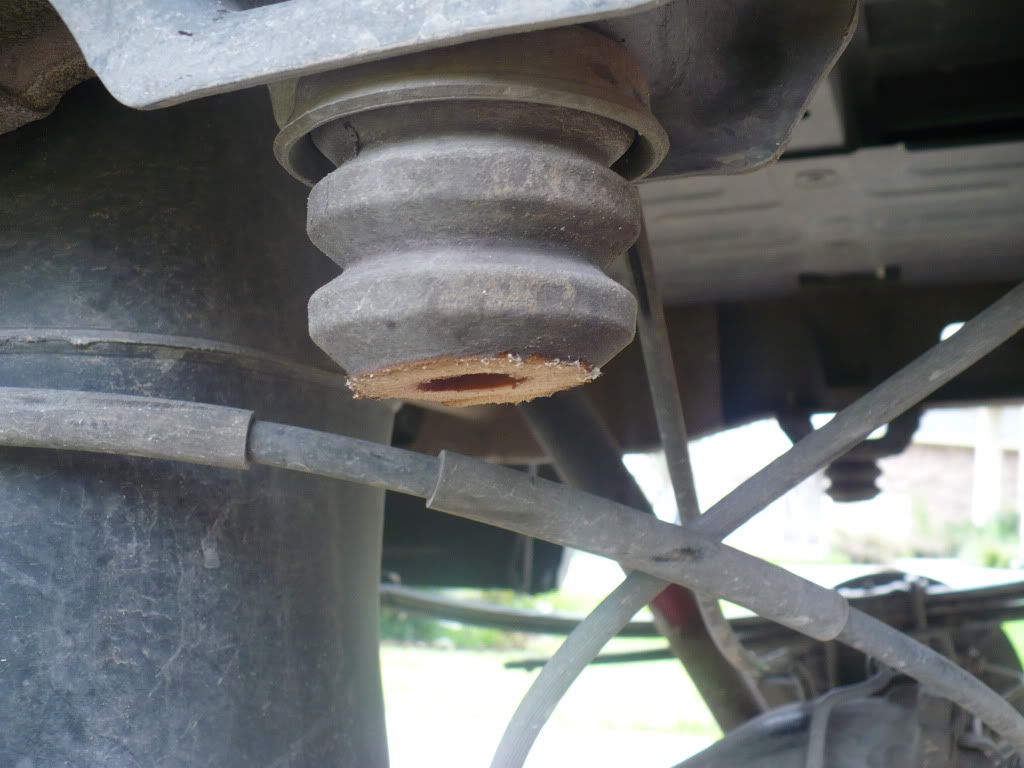
OK, you're half-way there!!! Now you'll need to put the shorter 2WD u-bolts on. But before you do that, now would be a good time to trim your bump-stops. I cut mine off after the first notch from the bottom. They are made of rubber, so they aren't too hard to cut through.
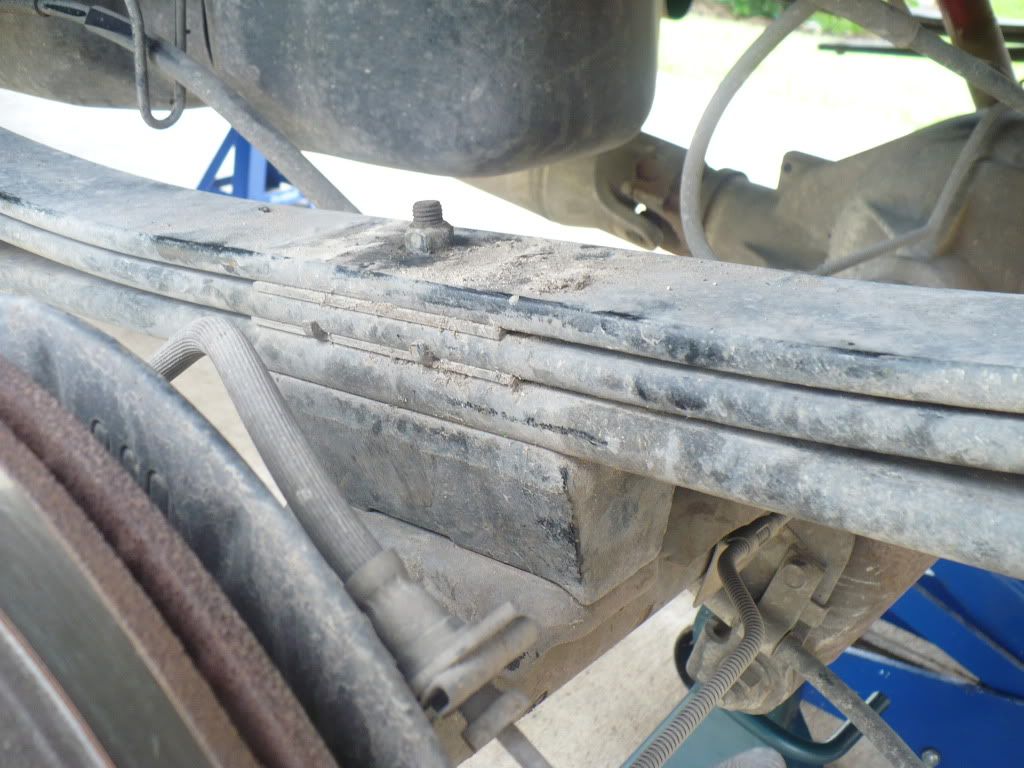
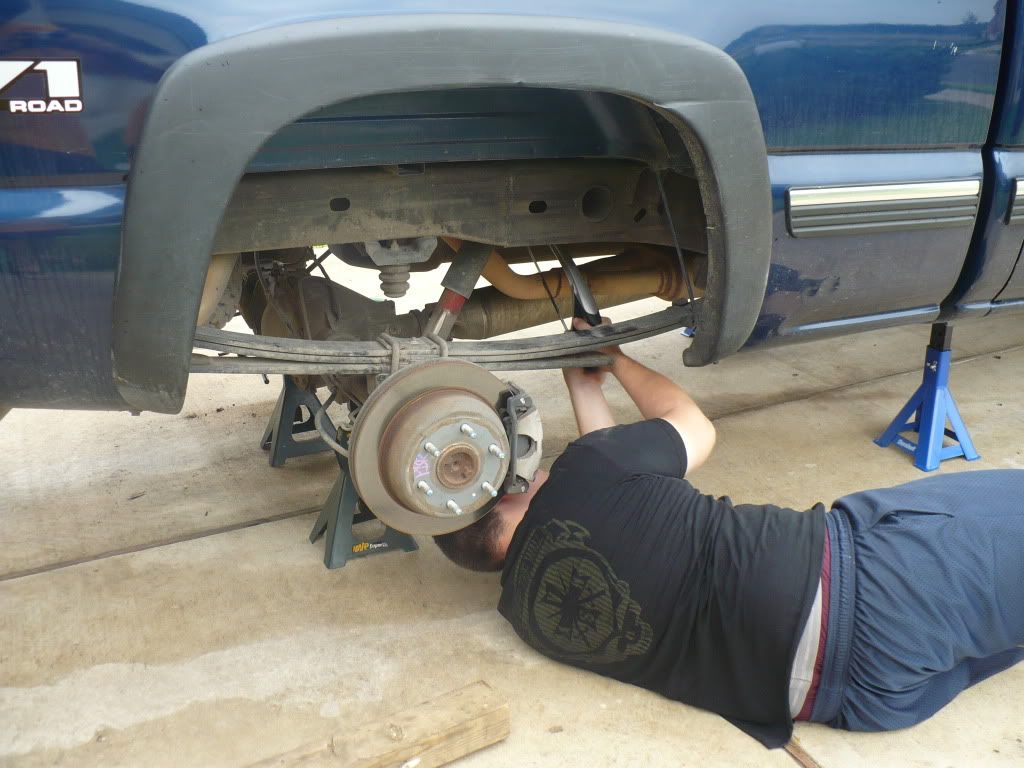
With either you or your buddy lifting the axle up so that is flush with the leaf spring, the other person will need to put the support plate back in place, put the new u-bolts on, and tighten the u-bolts down with the old nuts. Make sure that the new u-bolts sit in the grooves on the support place (see the picture below). Use the impact gun to get the bolts back on. Make sure that you tighten them in a diagonal pattern to insure even tightening. Once one side is done, proceed to do the same on the other side.
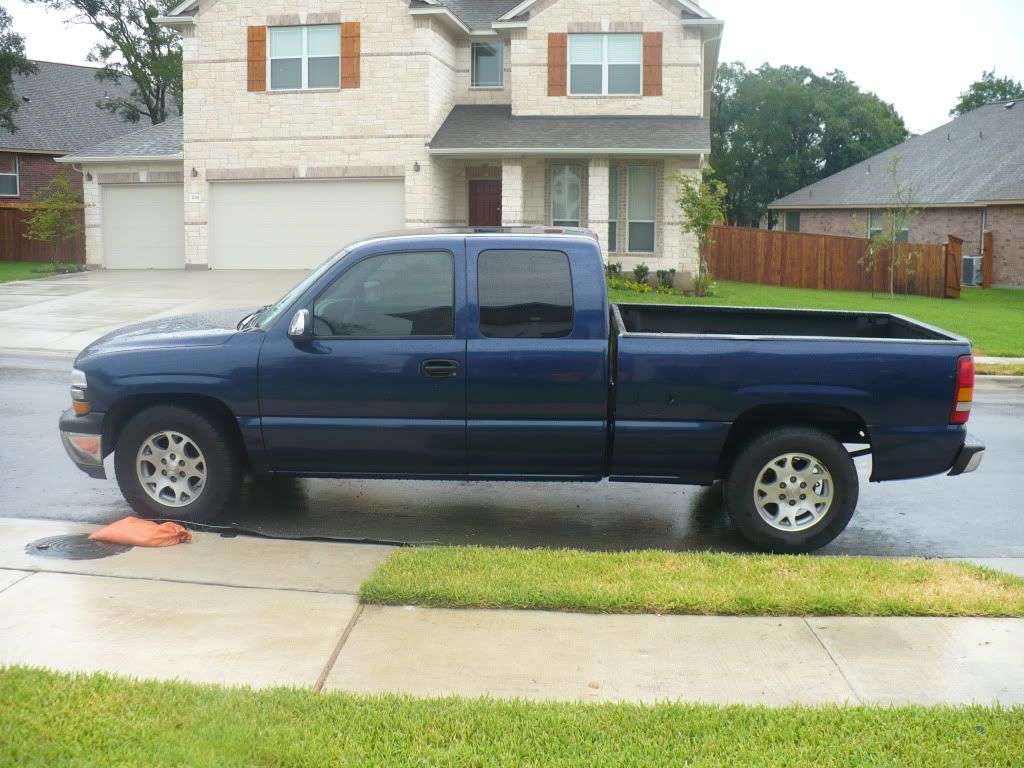
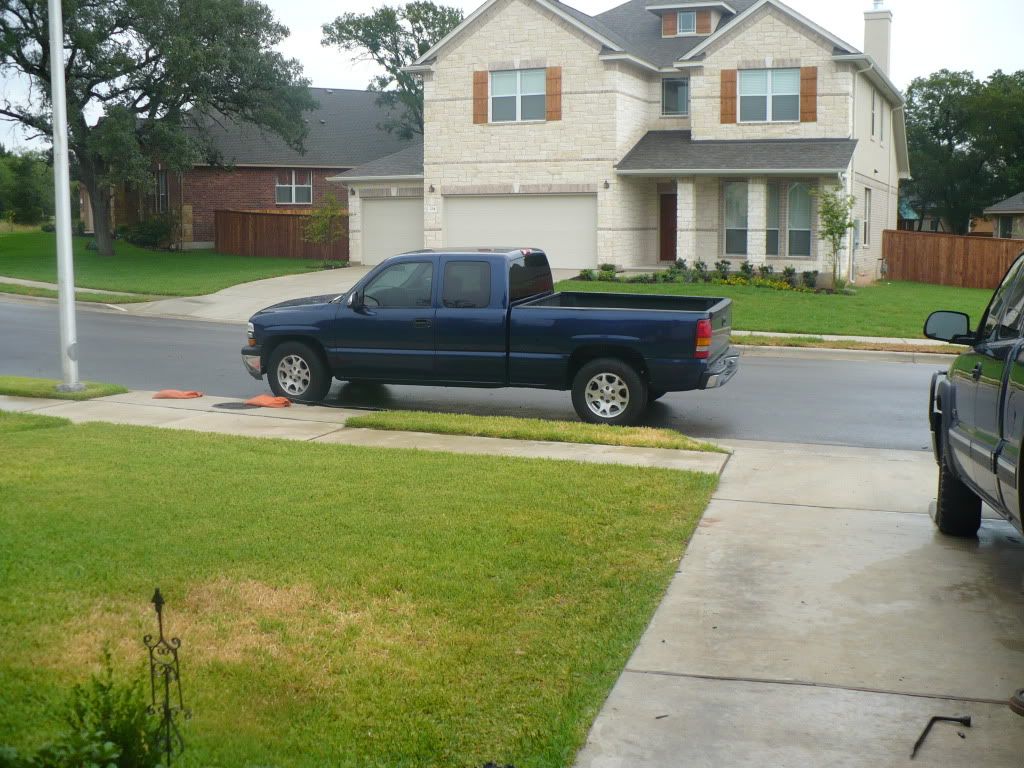
Once you have everything tightened up snugly, you can put your tires back on and then remove the jack stands and lower the axle back down. With the tires on and the back end lowered, you can now lower the body back down. Then, YOU'RE DONE.
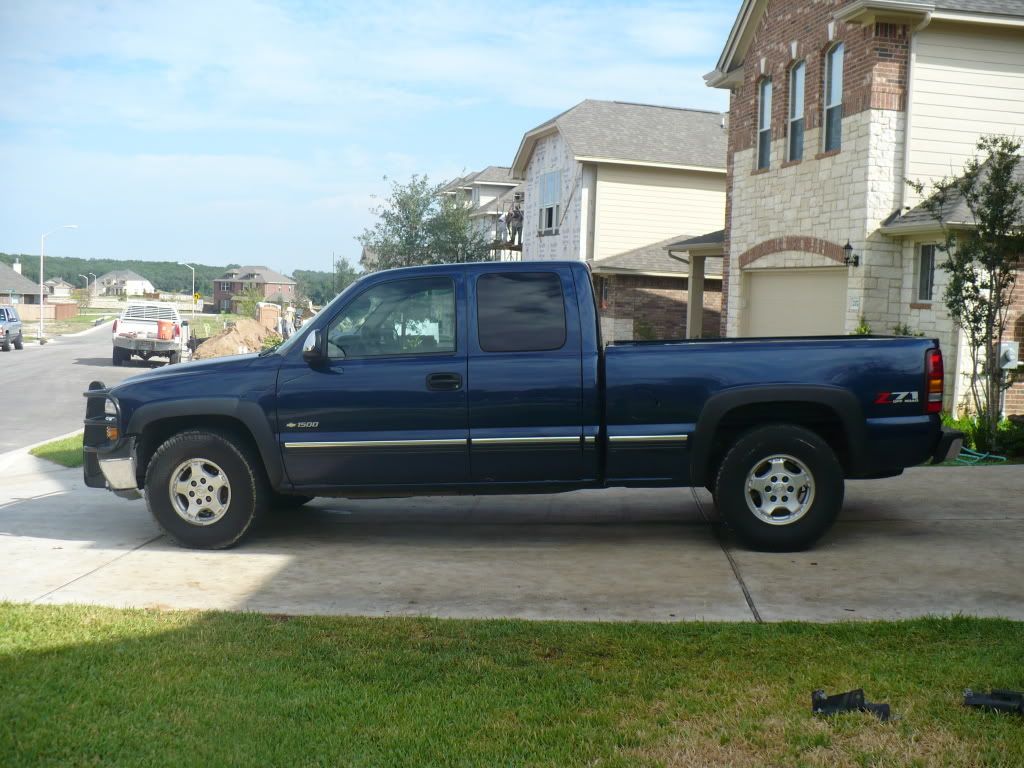
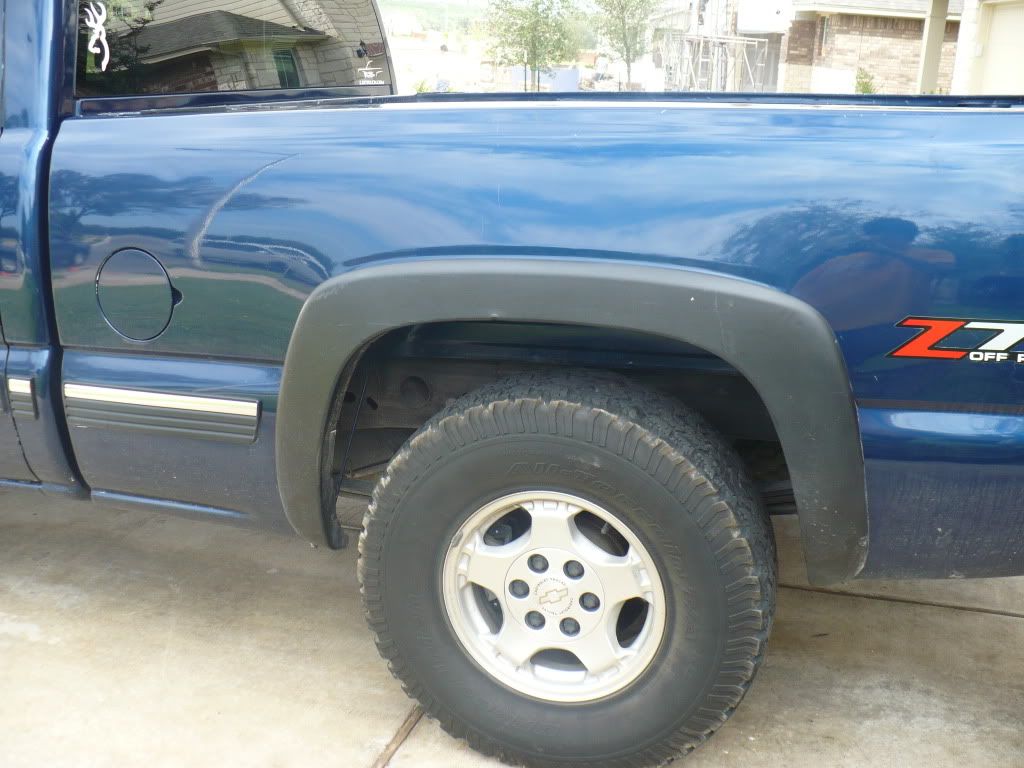
TA-DA!!! You have now lowered the rear end of your truck by about 2". And since you have a 4WD truck, you can lower the front end for free!!! To do this, take a 19mm socket, and turn the two torsion key bolts counter-clockwise. Don't go too far though, you don't want to take the bolts completely out.
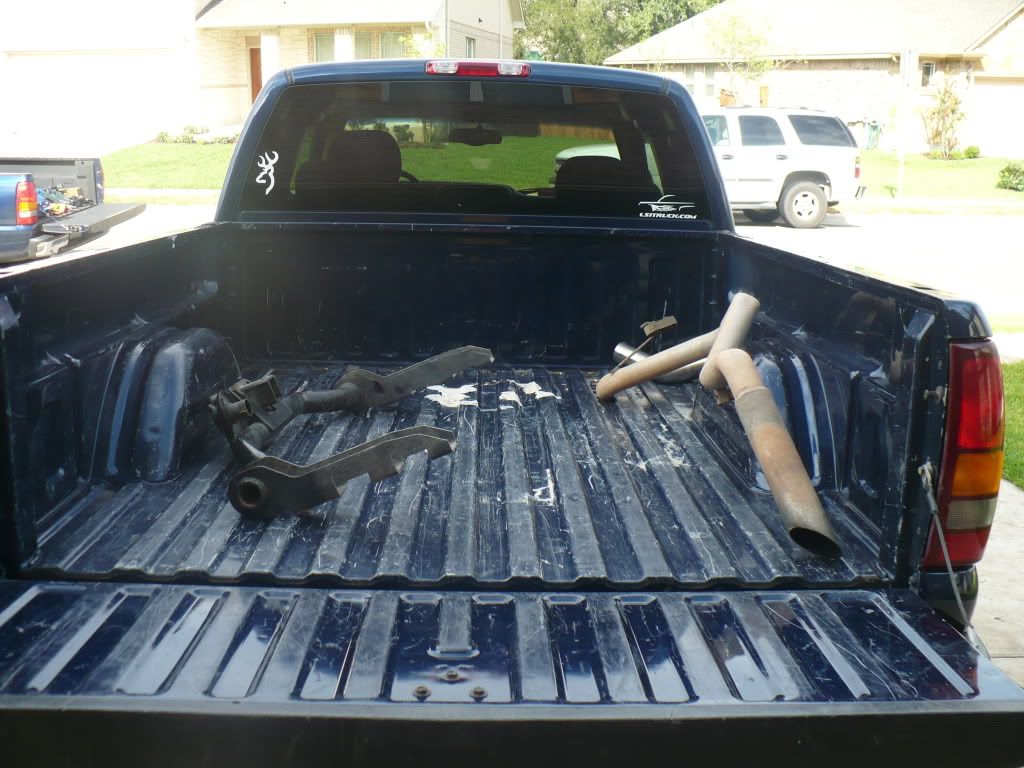
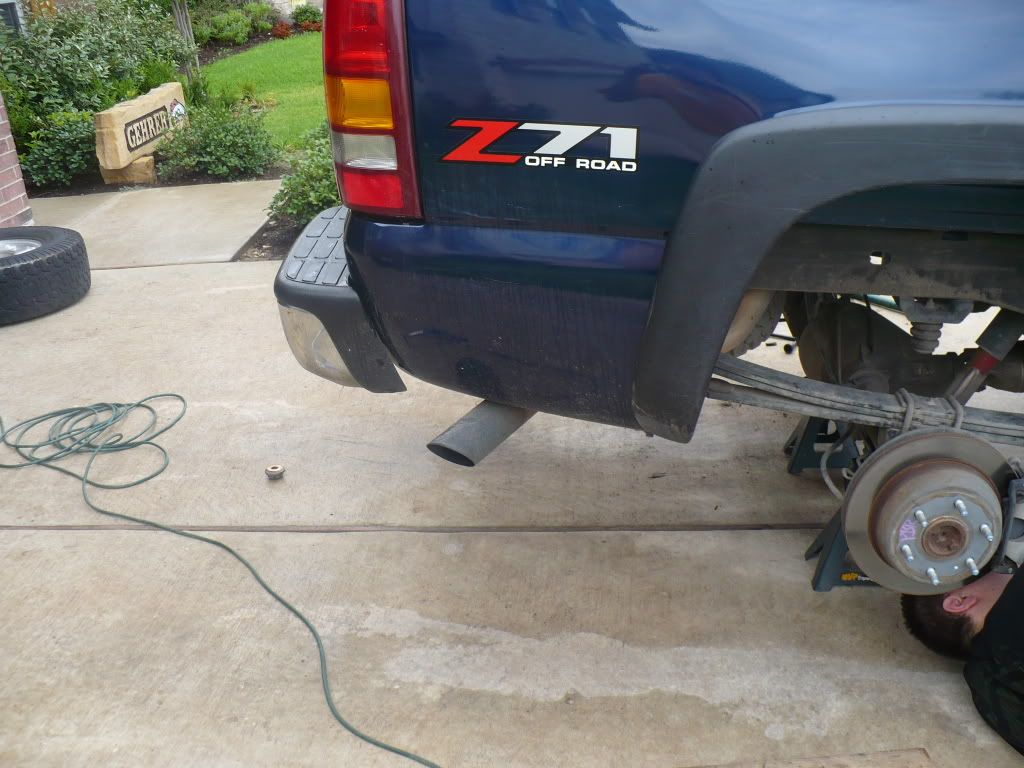
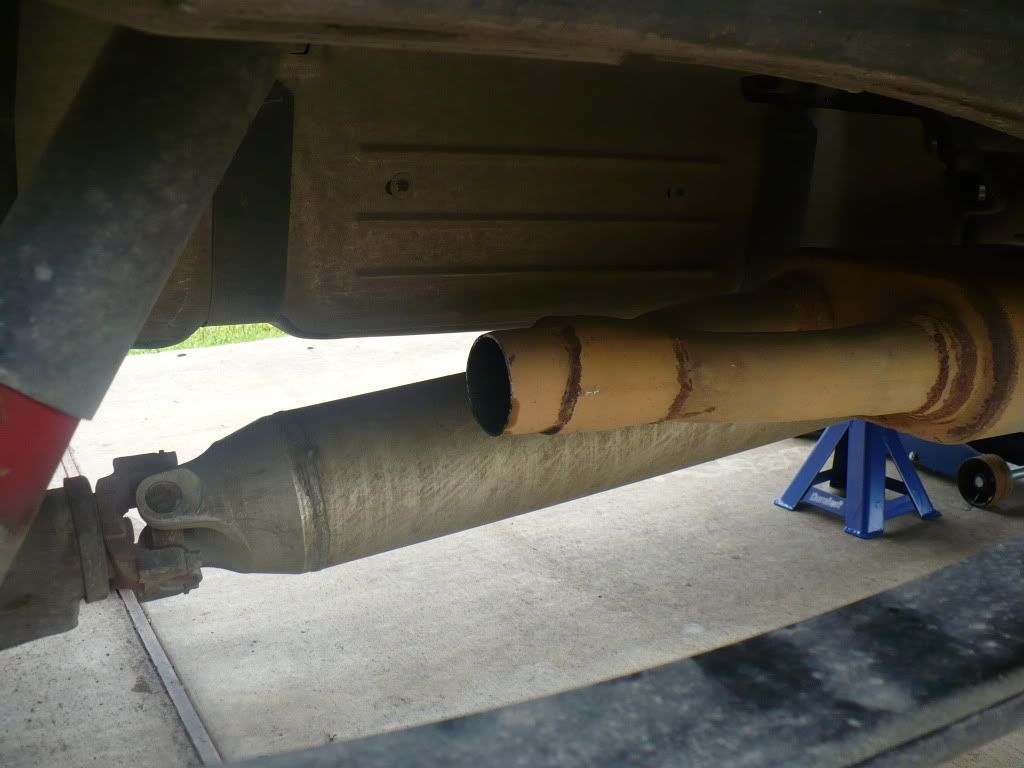
Other projects today included, cutting off the exhaust tip (I'm goin' with a turn-down):
and removing the tow package:

 Reply With Quote

 2001 ECSB 4x4, 5.3, Radix, 3.0 pulley, VHP Trucker cam, 216/224 .551/.551 115 lsa, 1.8 Crane roller rockers, 4L65E, Yank SC3000, 3.73, Cal-Tracs, HPTuners.