


Are any of your gauges sticking or not working at all?
Here is how to fix them.
Parts needed
solder gun
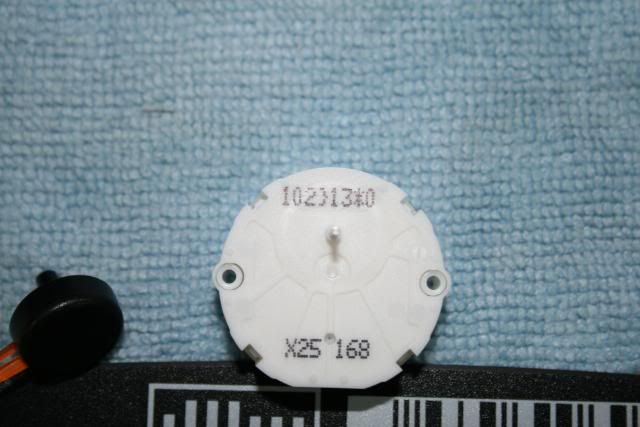
new stepper motor
1. make sure vehicle is completely warmed up, this is for when you mark the needle position.
2. Remove bezel.
3. Remove 4 bolts holding cluster, and then unplug cluster.
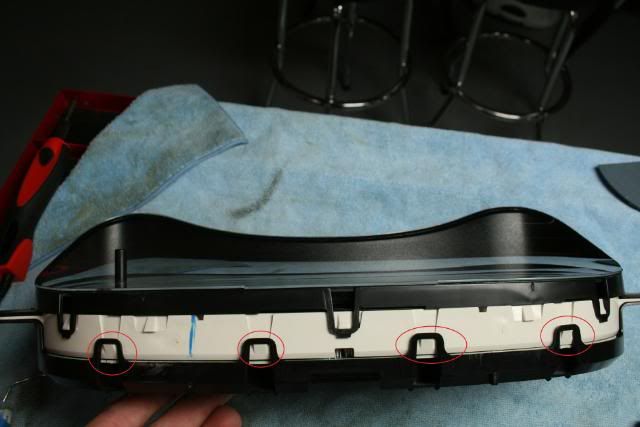
4. Remove front of cluster. 3 clips on top and 2 clips on bottom.
5. Put on blue tape to mark needle position.
6. Plug cluster back into vehicle. Start vehicle and mark needle positions. Turn vehicle off and mark needle position again.
7. Gently pull off needles.
8. Pull off gauge face.
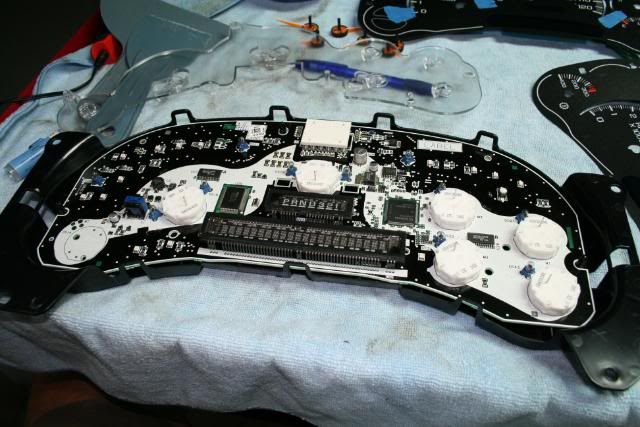
Here is what it looks like after needle and face removal.
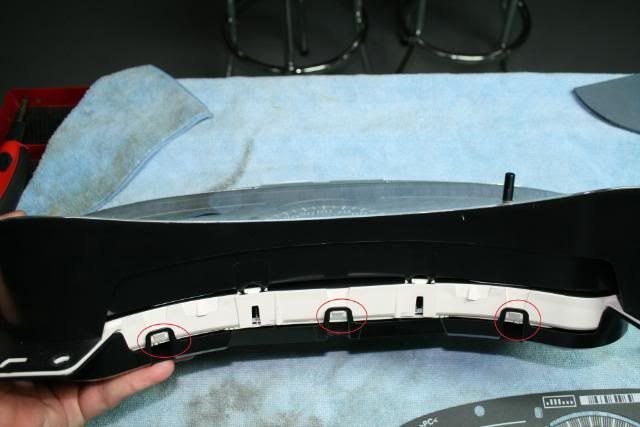
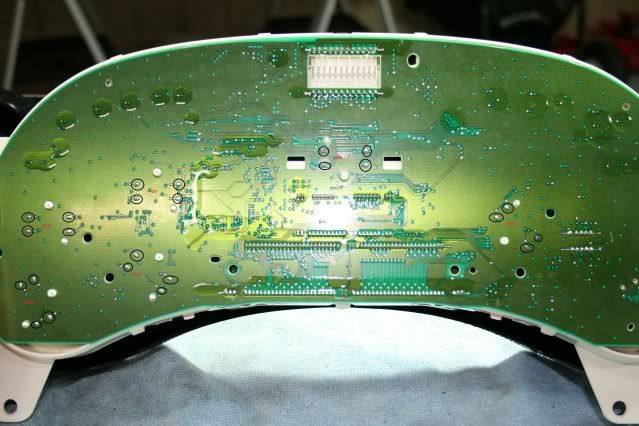
9. Now you need to remove the back plate. 4 clips on top, 3 clips on bottom.
10. Determine which gauge you need to fix. Do not apply a lot of heat to the circuit board. Apply just enough to liquefy the solder, and pull the stepper motor out. There is 4 solder points for each stepper motor.
11. After stepper motor is remove, put the new stepper motor in and re-solder.
12. Reassemble in reverse order, but do not attach front of cluster at this time.
13. After needles are in place, plug cluster into vehicle and check needle placement with vehicle warm.
You can verify mph needle placement with a GPS unit.
14. Once you are satisfied with all needle placements, you can install the front of cluster. Install the cluster in vehicle and reattach bezel.


 Reply With Quote
